Scenario
This tutorial will cover the steps involved when you want to only see specific columns in your Enter Grades table. This will make it easier to grade specific items when you have a really large gradebook – especially useful at this time of year! For further information, please contact desupport@camosun.ca for assistance.
Steps
- Go to the Grades tool in your course, and make sure you are in the Enter Grades.
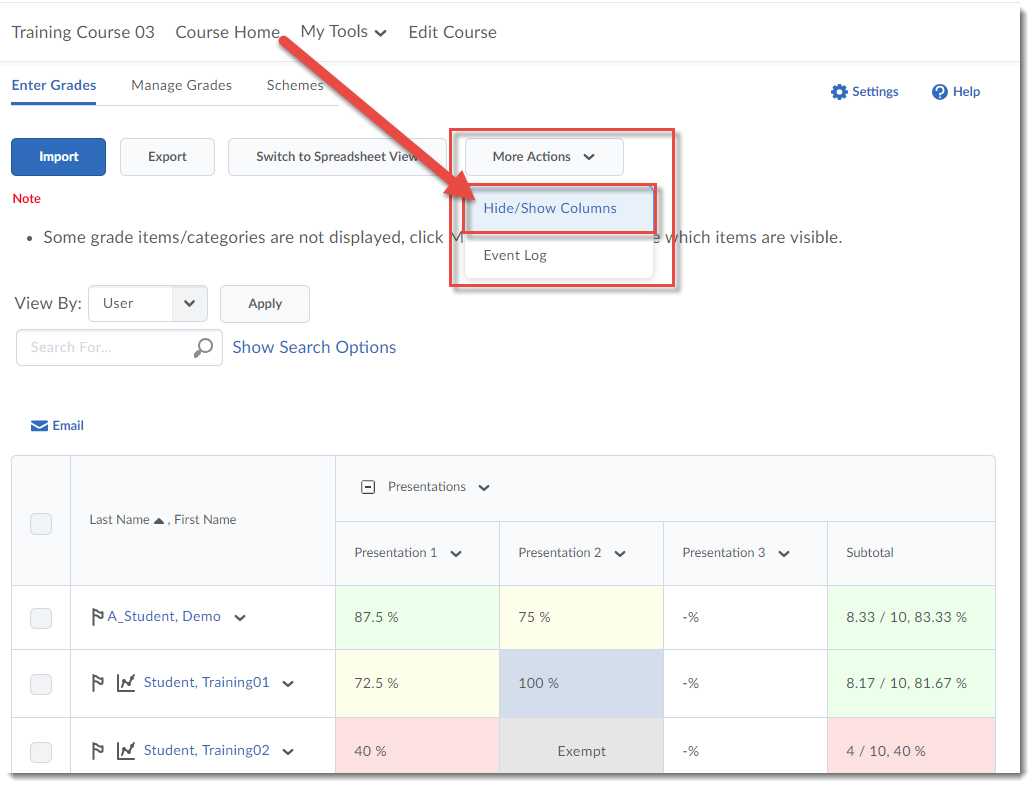
- Click the More Actions button and select Hide/Show Columns.
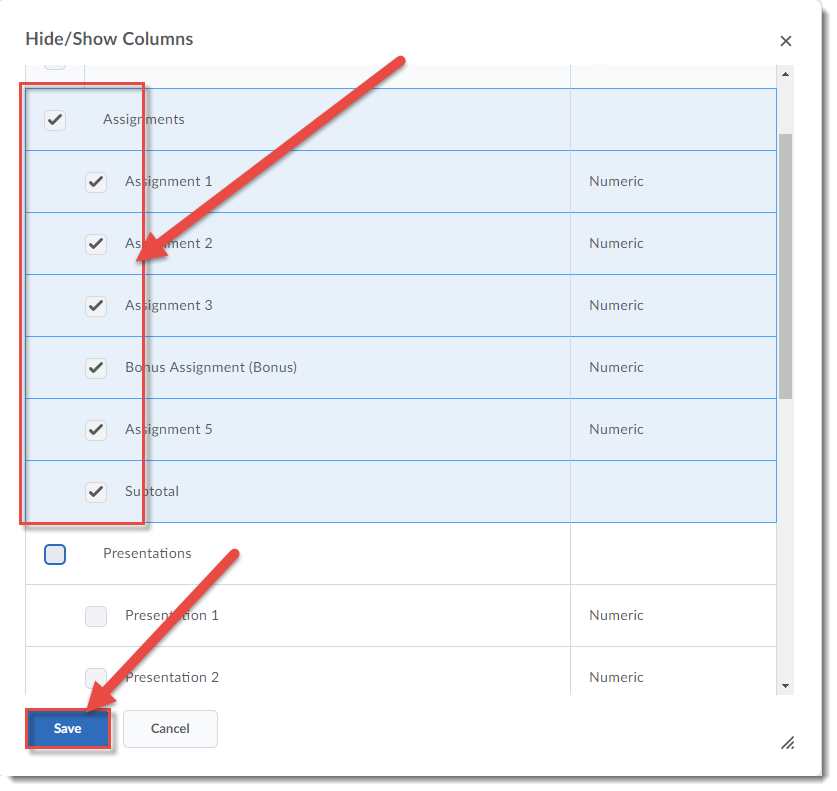
- In the Hide/Show Columns pop-up box, select the Grade Item columns you wish to see in the Enter Grades table, and then click Save. You will then see only those items in the table – you can go back to Hide/Show Columns at any point to change which columns you see.

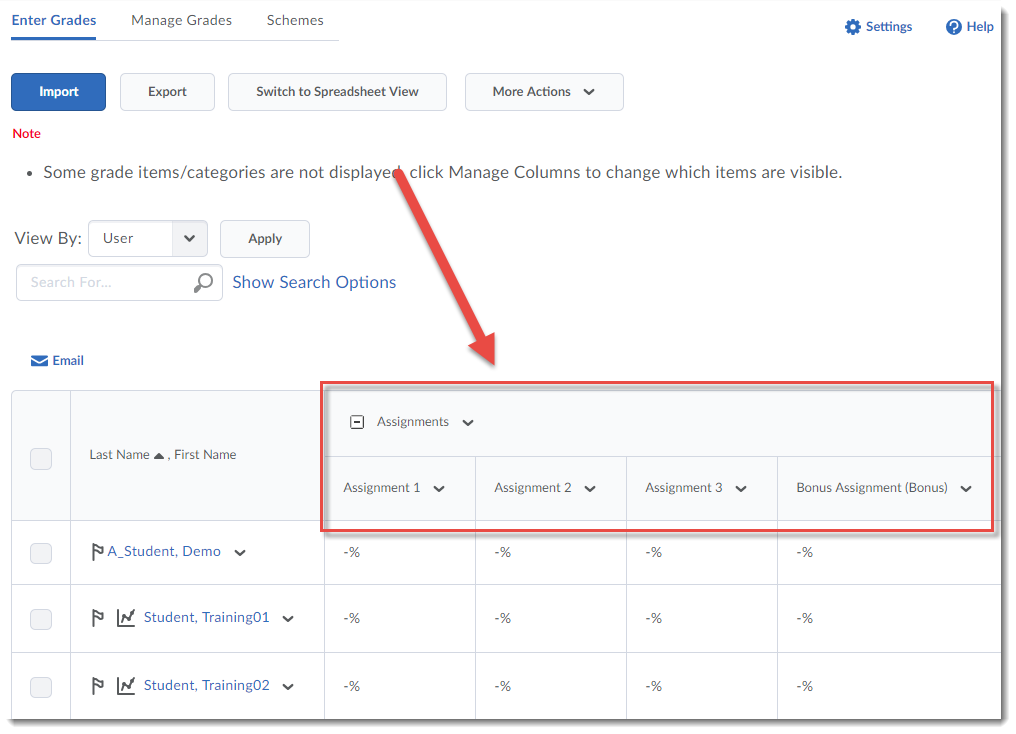
- You will now only see those selected items in the Enter Grades table.


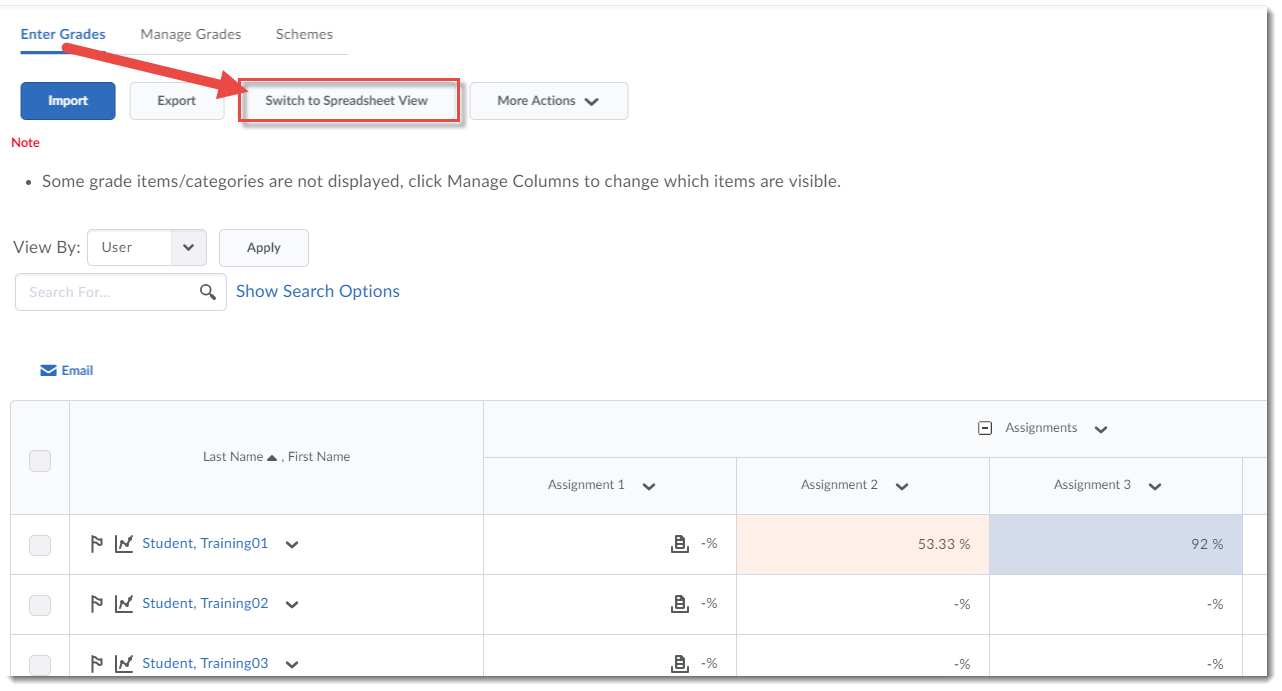
One other function that can help with grading in the Enter Grades table is switching the table from Standard View to Spreadsheet View. This is especially handy if you have more than one grade item to grade – Spreadsheet View allows you to enter grades for multiple items at once. To use Spreadsheet View:
- Go to Enter Grades in the Grades tool.
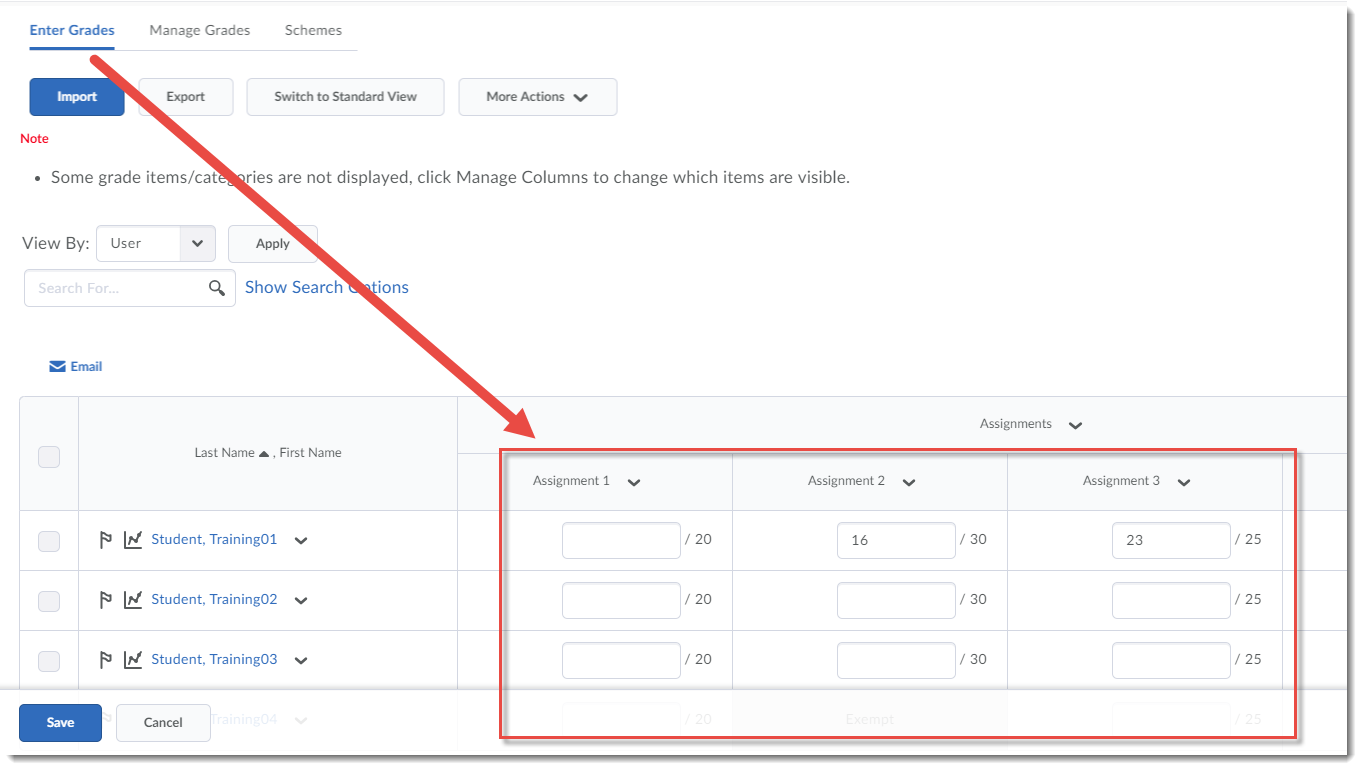
- Click Switch to Spreadsheet View.

- You will now see your grades table with boxes into which you can enter grades.

Things to Remember
When you choose which columns to see, remember that this is only for your view, as the instructor for the course. This will not affect the students’ gradebook view. To choose which grade items students see, you will need to edit the grade item(s) and use the Hide this grade item setting in the Restrictions tab.