This tutorial is designed for faculty who have previous experience using the various tools in D2L, and will cover the steps involved when you want to put your students into groups in D2L.
Using Groups means that you can release tools, activities, and content to specific groups of students, for example, Assignment folders which would be accessible only by a group of students, or modules of content which only specific groups of students can view. For further information, please contact desupport@camosun.ca for assistance.
Steps
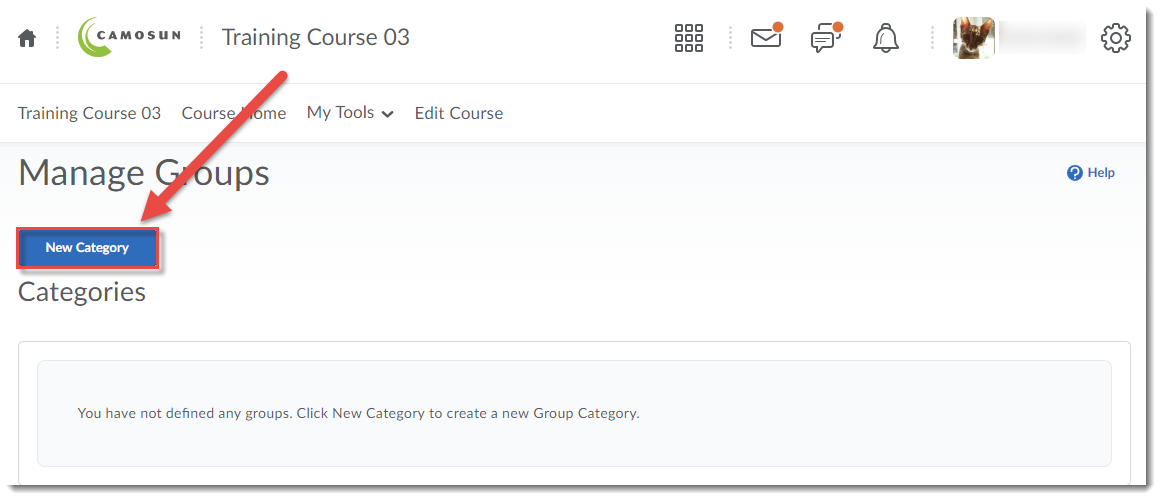
- Go to the Groups tool in your course. If you don’t see Groups in your My Tools drop-down, you can find it by going to Edit Course.
- Click New Category. A Category will contain the groups you will put your students into. For example, Assignment 1 Groups might be your Category, then you will have several Groups within that category into which you will enrol students.
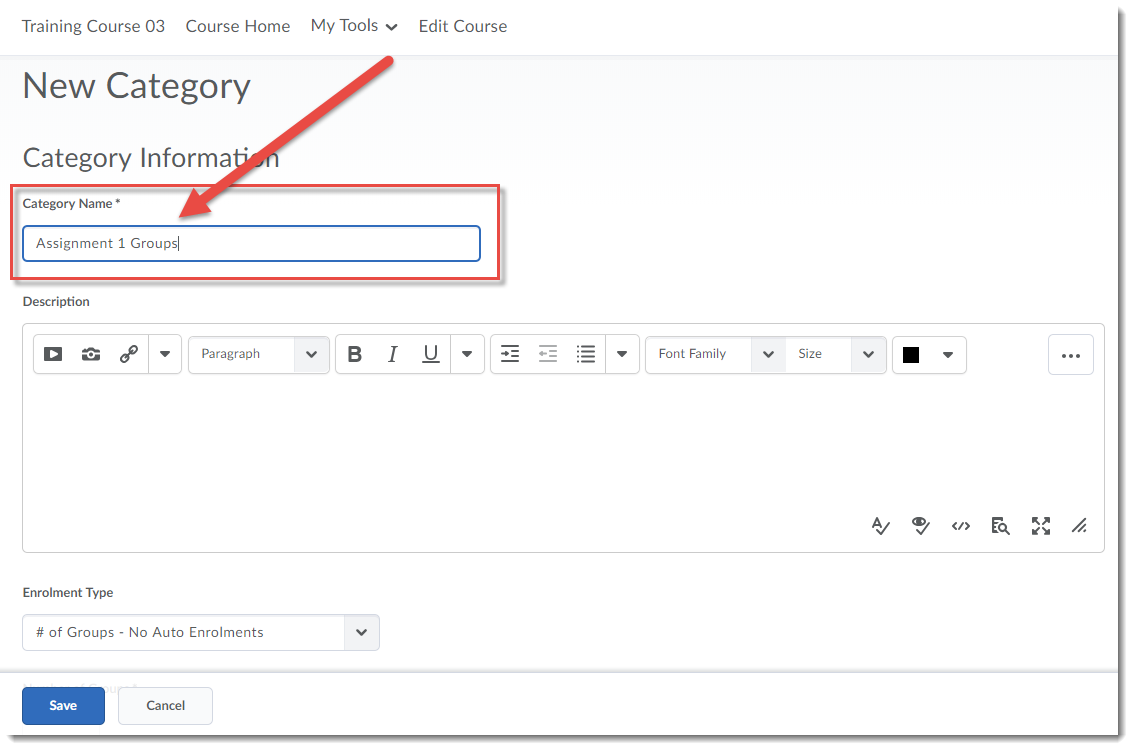
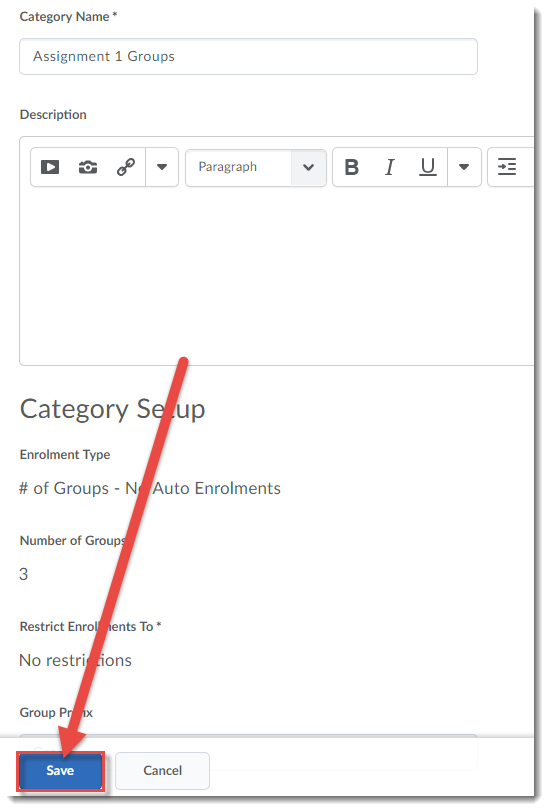
- Give your Category a Category Name (e.g., Assignment 1 Groups).
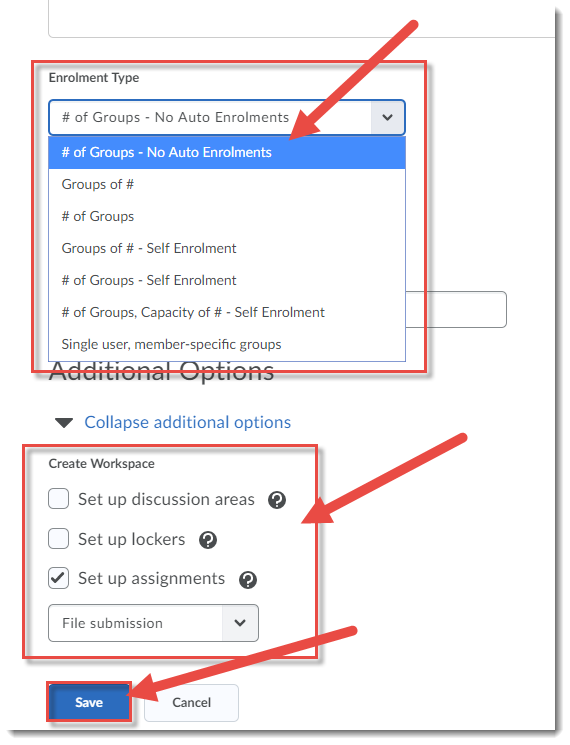
- Scroll down and select your Enrolment Type. Here are the choices:
- # of Groups – No Auto Enrolments – Use this when YOU want to enrol students into specific groups yourself
- Groups of # – Use when you know how many students you want in each group, but you want D2L to automatically enrol them
- # of Groups – Use when you know how many groups you want, but you want D2L to automatically enrol students into them
- Groups of # – Self Enrolment – Use when you know how many students you want in each group, but you want students to self-select which group they want to be in. (Self-enrolment can also be given an Expiry Date, after which remaining students will be auto-enrolled into empty group spaces),
- # of Groups – Self Enrolment – Use when you know how many groups you want, but you want students to self-select which group they want to be in
- # of Groups, Capacity of # – Self Enrolment – Use when you know how many groups you want AND how many students you want in each group, but you want students to self-select which group they want to be in
- Single user, member-specific groups – Use when you want to create groups of ONE (this is great if you want to provide students with Discussion forum space for personal journaling – so they can post journal entries that only you can see).Fill in the required boxes for whichever enrolment type you chose (e.g., Number of Groups, Number of Users), then select which tools/workspaces you would like to automatically create as you create your groups (note that you can connect tools/activities/content to groups AFTER you have created them as well). Then click Save.
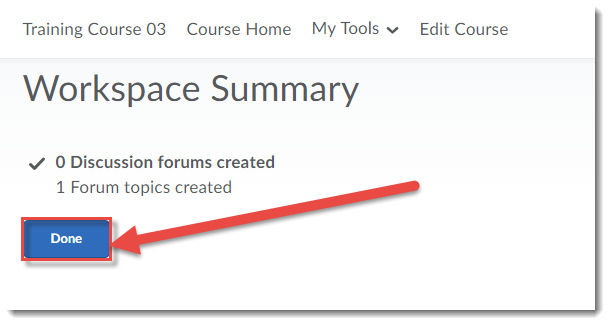
- Follow the instructions for creating the additional tools (Discussion, Locker, Assignments) if you have selected them, clicking Create and Next as you go. When you are finished, click Done.
- Finally, click Save.


Things to Remember
Note that if you have created self-enrolment groups, you will not be able to use View as Student to see what this looks like to your students – you need to be a registered student in the course to see how the process works. However, we have created a handoutfor students on Self Enrolling into Groups that you can find in the On-Demand Training course in D2L look at, or point students to in the D2L Student Guide.
![]() This content is licensed under a Creative Commons Attribution 4.0 International Licence.Icons by the Noun Project.
This content is licensed under a Creative Commons Attribution 4.0 International Licence.Icons by the Noun Project.