D2L Tool Tip of the Week: Customizing your Navigation Bar and My Tools Drop-down Menu
This tutorial is designed for faculty who have experience using D2L and will cover the steps involved when you wish to modify what is on your course’s Navigation Bar and/or in your My Tools drop-down menu. Note that this tutorial presumes you have NOT copied an already modified navigation bar from another course. If this is the case, all you will need to do is activate that navigation bar. For further information, please contact desupport@camosun.ca for assistance.
Steps
Step 1: Create a Navbar for your course


Step 2: Create a custom My Tools drop-down menu for your Navbar


Step 3: Add your custom link to your Navbar


Step 4: Activate your Navbar!
- Finally to activate your new Navbar, click on Navbars one more time.

Things to Remember
The edits you make to your Navbar and My Tools drop-down menu will only appear if you have activated your Navbar. Check this first if your NavBar changes do not appear.
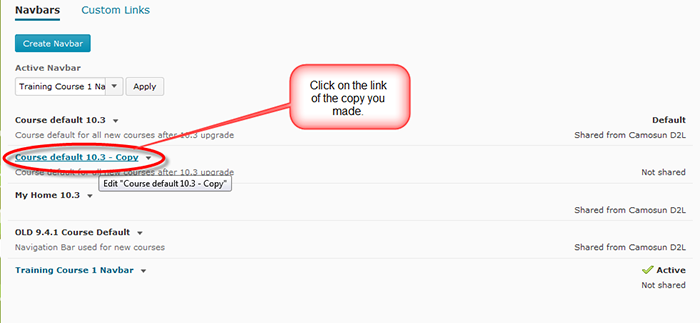
Once you have created a new Navbar, you can copy it into other courses. If you do this, the only thing you will have to do is activate it in the new course.