This tutorial will cover the steps involved when you wish to upload a video (or other media file, such as an image or an audio file) from your device into your My Media space (Kaltura) in D2L so that you can then embed it into a D2L page, or add it to a playlist in your Course Media area. Note that there are a few ways to access My Media in D2L – see the tutorial Setting up My Media (Kaltura) in D2L for more information. For further information, please contact desupport@camosun.ca for assistance.
Steps
- Go to your D2L course.
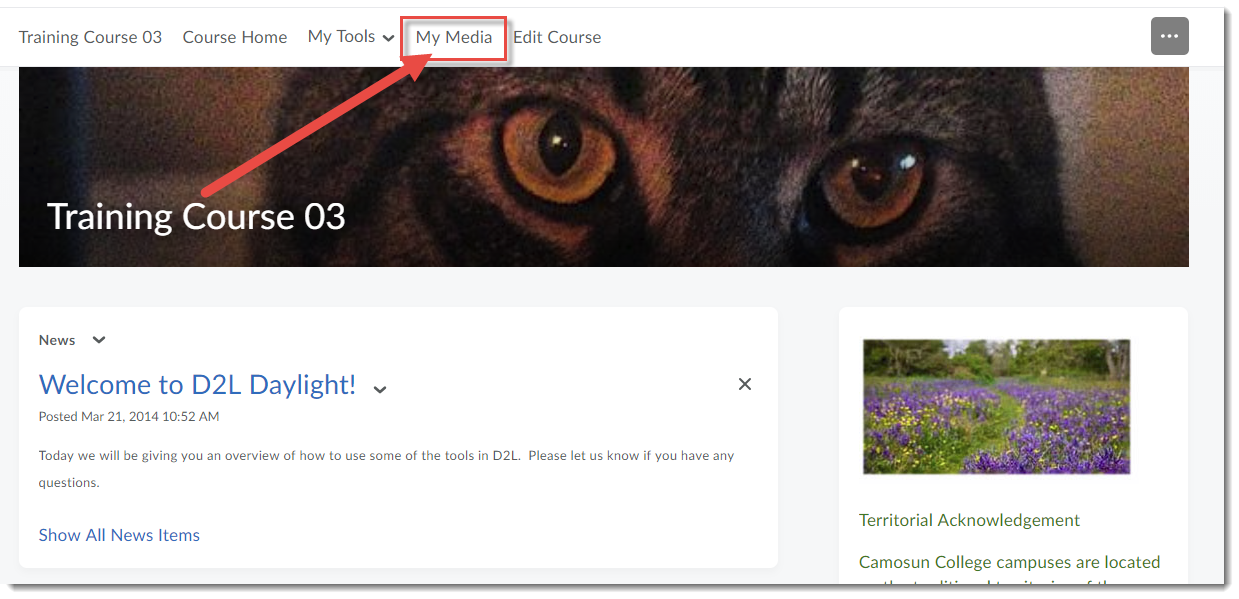
- Go to My Media (it may be a link on your NavBar or in your My Tools drop-down menu, or it may be added as a link using Insert Stuff within a Draft Topic in the Content tool) to open your personal Kaltura space. For the purposes of this tutorial, we will have the My Media link on the NavBar.

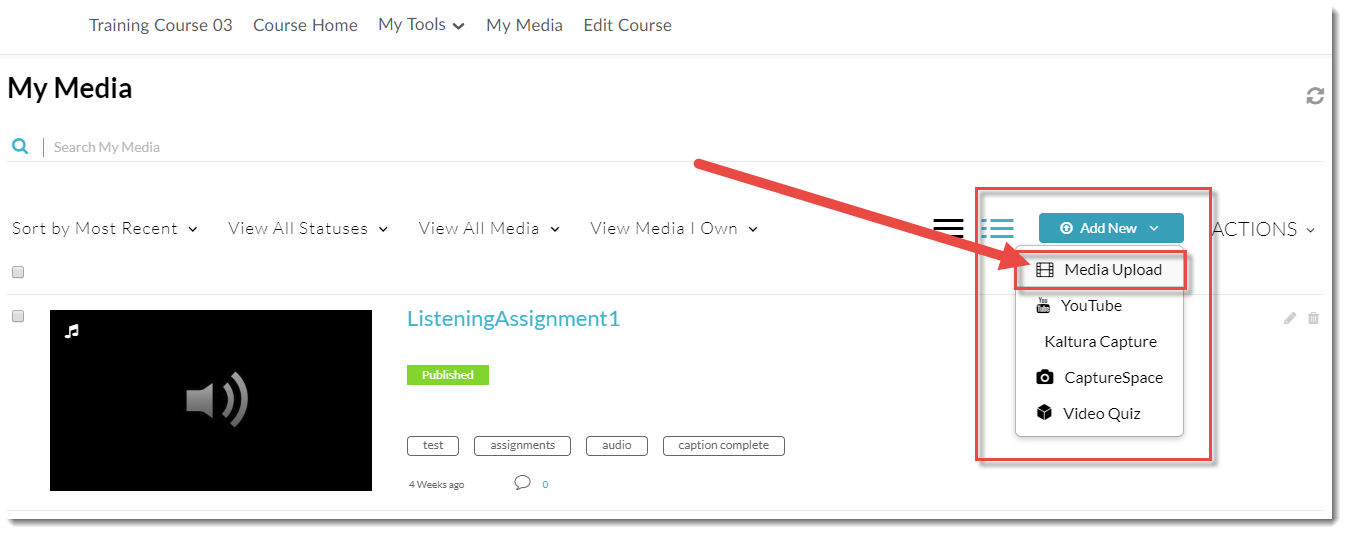
- Click Add New, and select Media Upload.

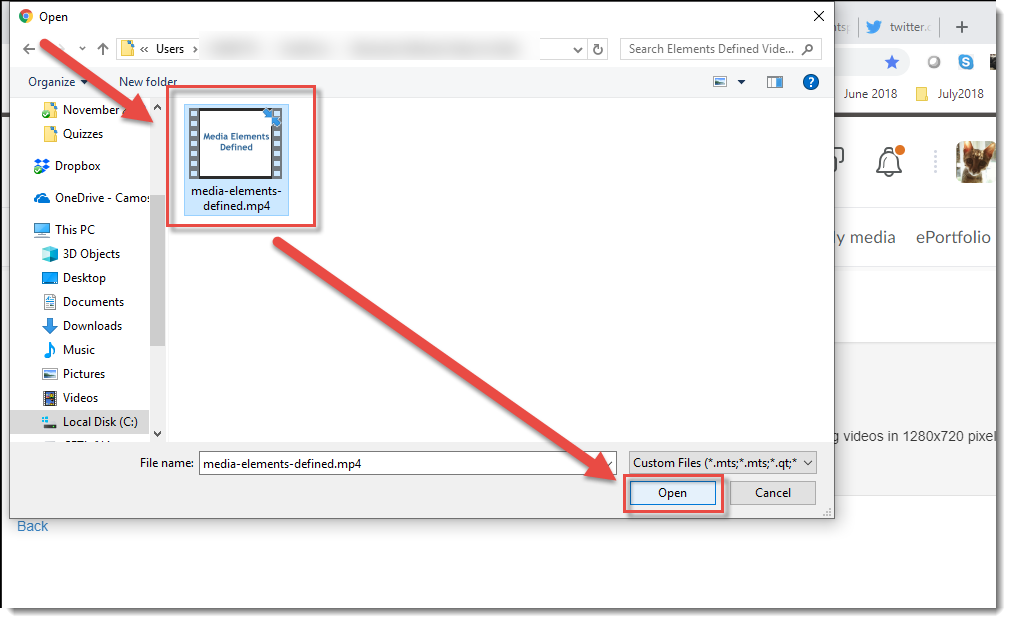
- Click Choose a file to upload, find the video file you want to upload from your device, and click Open. All common video, audio and images format are accepted. Only one file can be uploaded at a time.


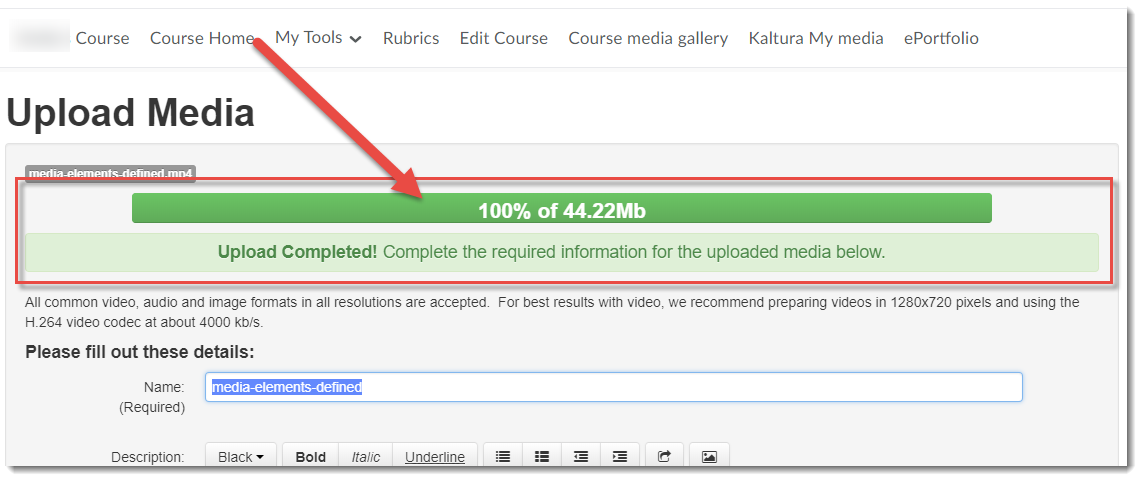
- It may take a bit of time for the video file to upload – the bar at the top of the screen will track the upload, and let you know when the upload is complete (as shown in the second image).
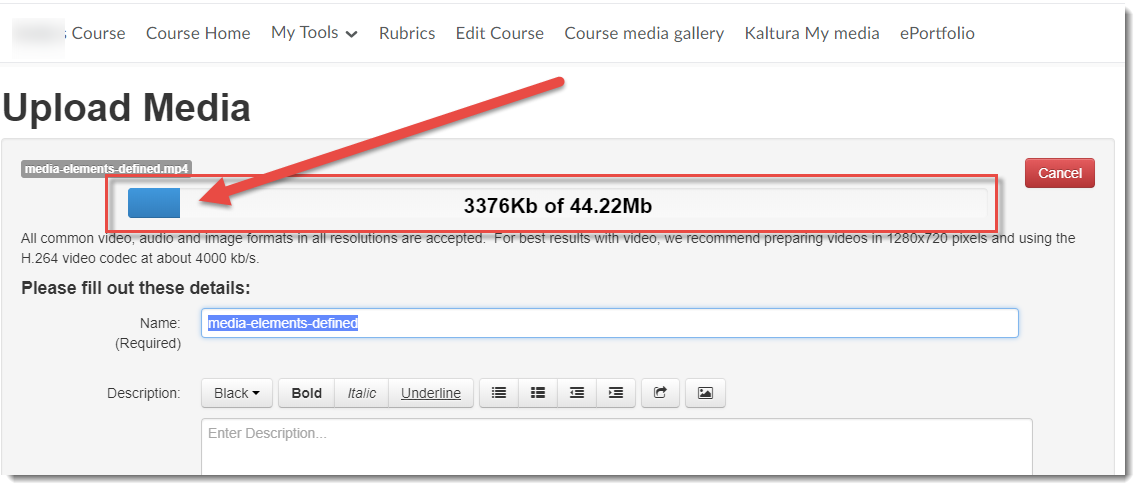

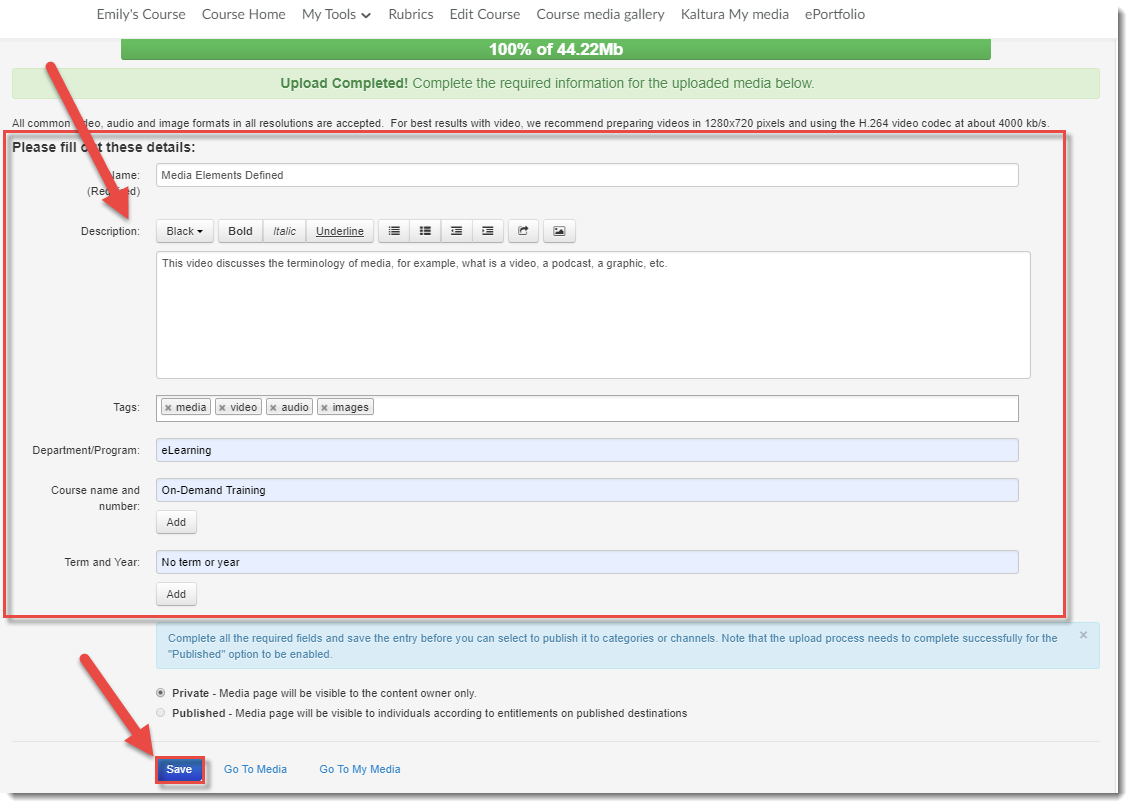
- Fill in the details as listed. You will be required to give your media file a Name, and we highly recommend adding information to the Description, Tags, and the additional fields to help you filter/sort your media files as you build your collection, and to help your students search for specific media files.Tags are words that can be used to search for specific media files, so think of terms that would most likely be used by your students to search for your video.
Note that you do NOT need to Publish your video for it to be available for use in your course. Click Save when you have filled in all the details (you can edit this information later if needed). Your media file has now been saved to My Media, meaning that it is available for you to use in any of your D2L courses.


Things to Remember
There are additional features you will want to set up before using your video in a course. See the tutorial Adding Features to Your Kaltura Media to learn more.
![]() This content is licensed under a Creative Commons Attribution 4.0 International Licence.Icons by the Noun Project.
This content is licensed under a Creative Commons Attribution 4.0 International Licence.Icons by the Noun Project.