There is a new tool to help you with giving feedback to students in submitted Assignments. When students submit WORD docs, PDF files, EXCEL spreadsheets, or images as Assignment submissions, you can add comments, and other markups right on the file in D2L.
This tool is especially handy for short assignments where commenting is minimal (rather than using the feedback box and referring back to the document). For longer assignments, we would still recommend you download them and provide feedback using track changes and commenting.
Here’s how it works:
- Go to the Assignments tool, and click on the title of the assignment you want to grade. Note that to use the annotation tool, the assignment must be a File submission type (i.e., not a Text submission type).
- Click on an assessment document to open the Evaluate Submission
- You will see a notice “Document conversion is in process”.
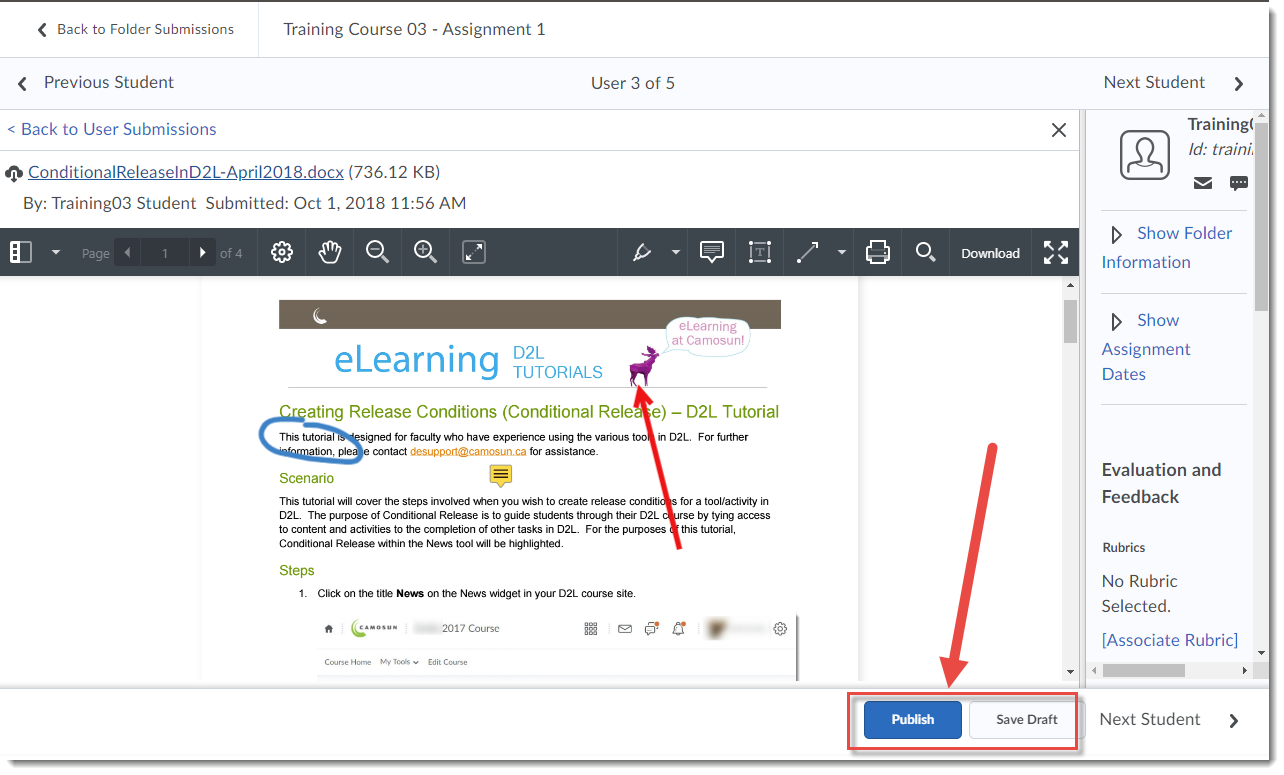
- Then the document will open in the annotation tool.
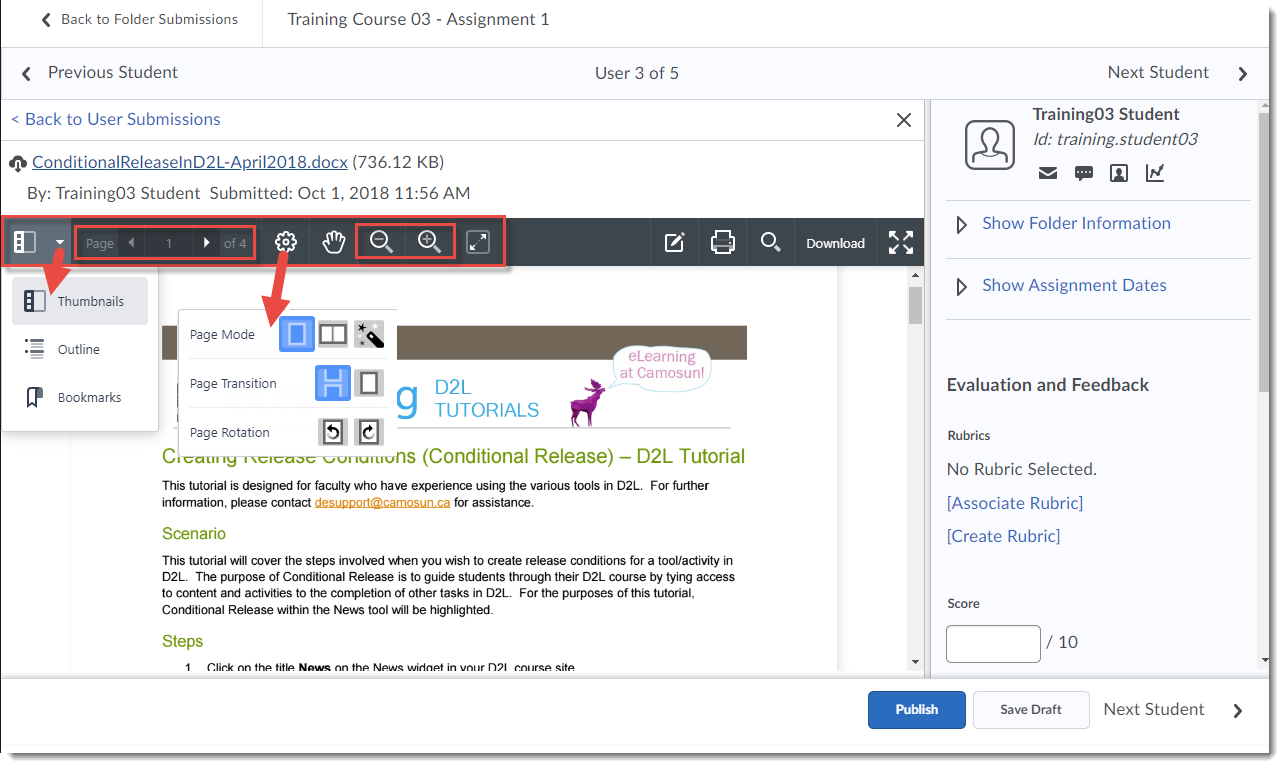
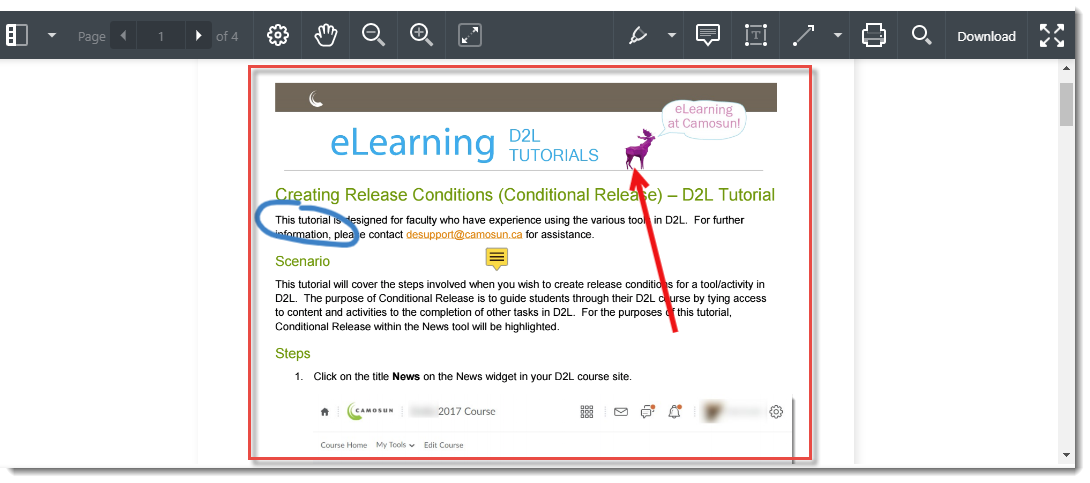
- First we will look at the annotation tools on the left side of the annotation toolbar, from left to right:
- Document view: Thumbnails (the default), Outline (opens a table of contents for multi-page documents), Bookmarks (allows you to bookmark pages so you can quickly navigate back to them)
- Page forward and back (if you have a multi-page document to grade)
- Page Layout: Page Mode (Single page, Double page, Automatic); Page Transition (Continuous – gives you a scroll bar, Jump – move from page to page using the table of contents); Page Rotation (Rotate Right, Rotate Left) – play around and choose the layout that works best for you.
- Pan Mode (allows you to drag the page up and down)
- Zoom Out and Zoom In
- Fit Page (fits the document page to the annotation tool window)
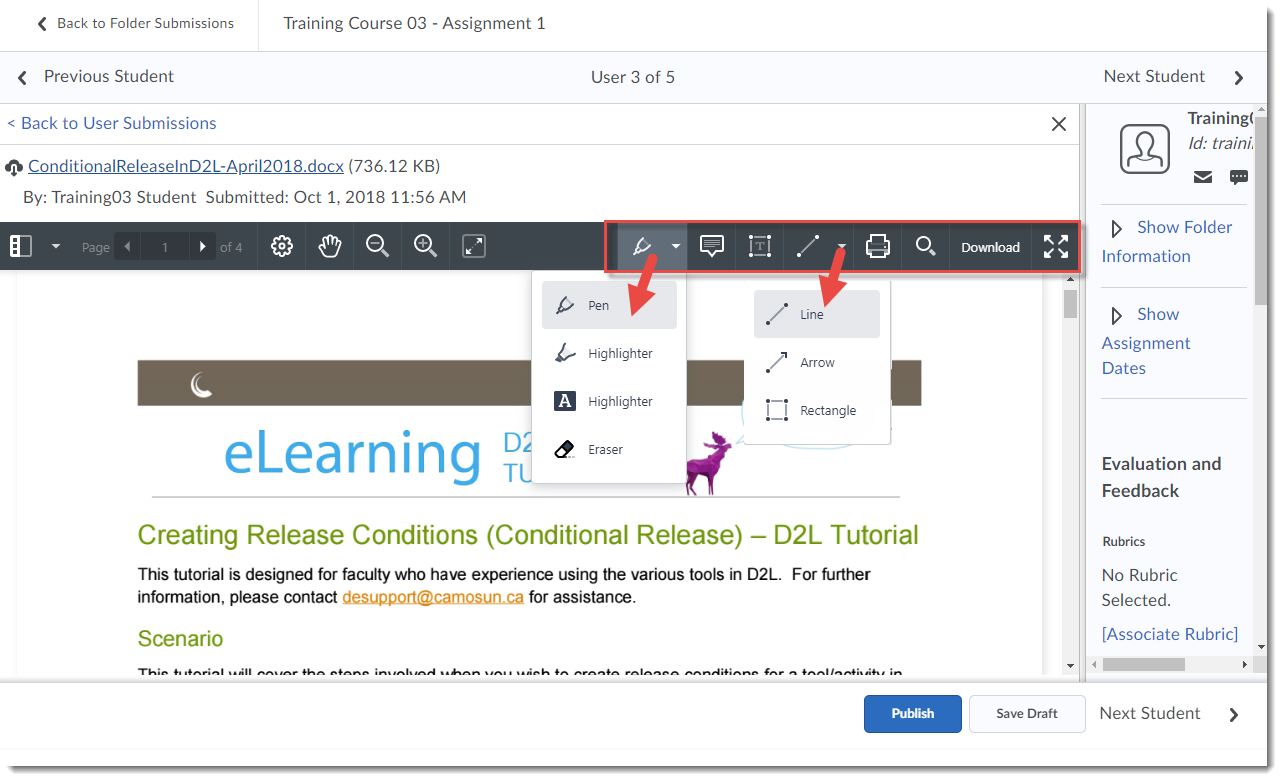
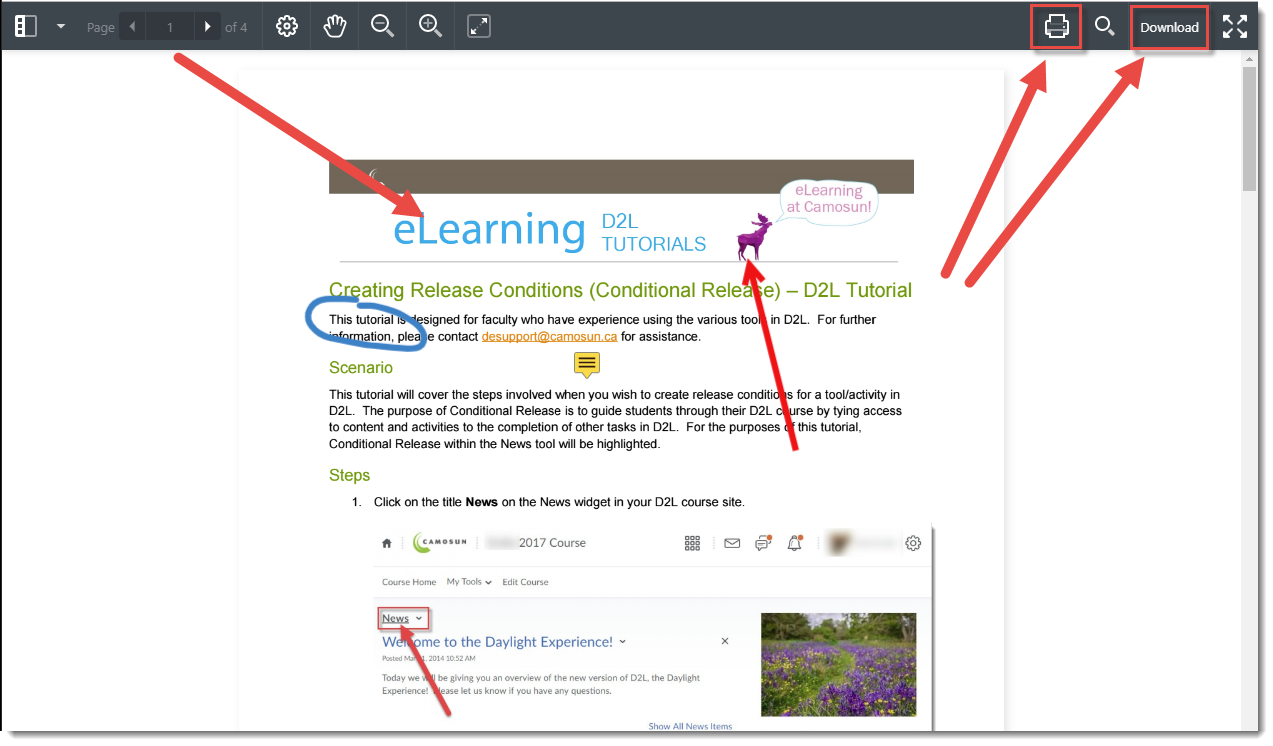
- Now, the tools on the right side of the annotation toolbar, from left to right:
- Pen, Highlighter, reverse Highlighter, Eraser
- Note tool (add comments to locations in the document)
- Text box tool
- Line, Arrow, Rectangle (underline and point things out in the document)
- Search Document
- Download
- Toggle Fullscreen
The Note tool opens another toolbar which includes options to change the Note colour, shape, and icon style.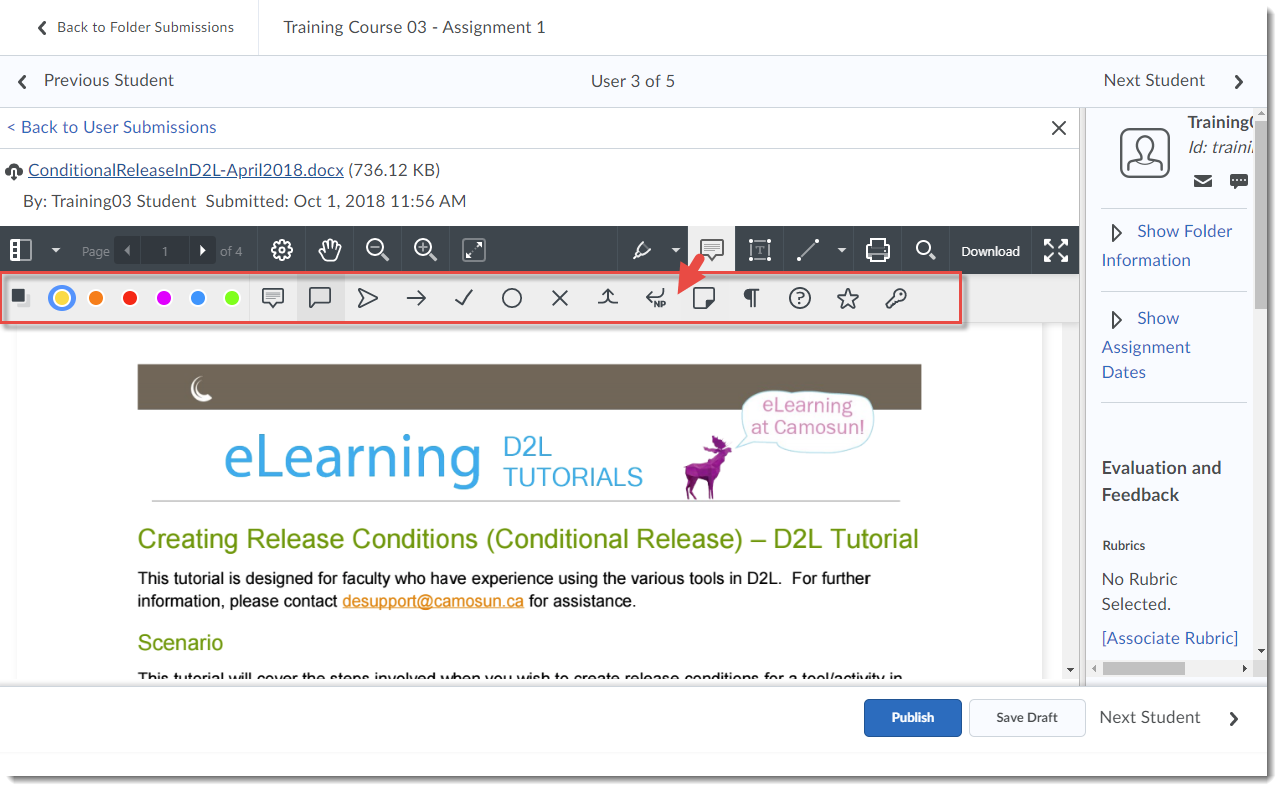
The Text box tool opens another toolbar which includes options to format the text (size, colour, font), and align it top, centre, or bottom.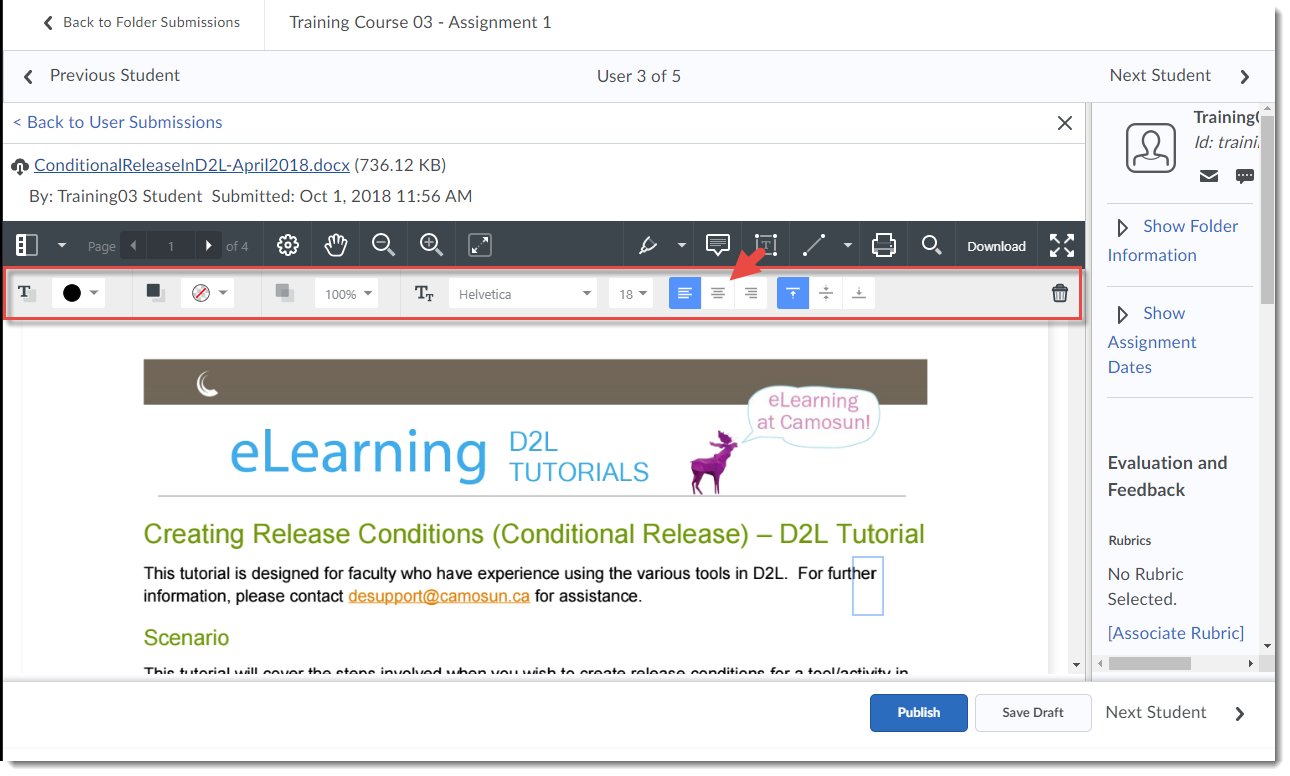
- As you add annotation to the document (e.g., using arrows, text boxes, notes, etc.) they will appear on the document.

- Click Save Draft if you need to go back to finish annotations (or if you will be marking several students and want to publish all feedback at once). Finish grading the assignment as you normally would, adding the Score, or using a Rubric, then click Publish to publish the annotated feedback to students.


Students can download annotated feedback file as a PDF (would have to actually rewrite the file if they were submitting a rewrite, not just accept changes).
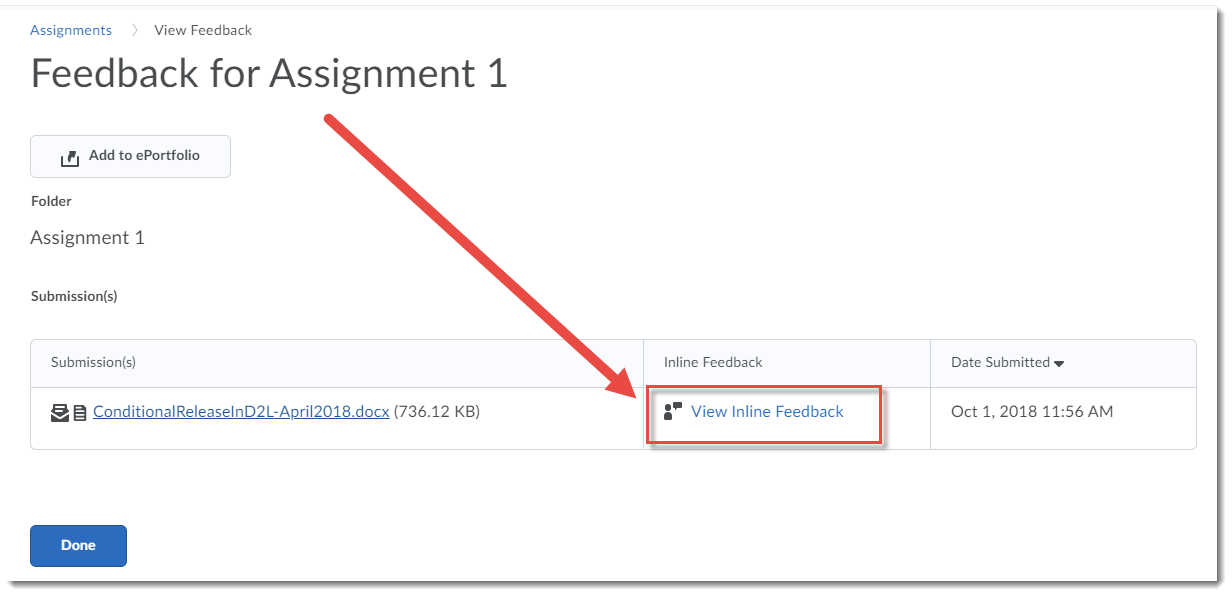
Here’s what the annotated file looks like to a student (once they have gone to the Assignments tool and clicked the Feedback: Unread link:
- Students click View Inline Feedback.

- Students can view the feedback, and Print or Download it (it will save as a PDF file).

Things to Remember
Re students using screen readers to access online content: The images placed on documents using the annotation tool are NOT tagged, therefore screen readers DO NOT read them. We advise that you not use the annotation tool for submissions from students who require screen reader technology to access their online course content.