This tutorial is designed for faculty who have previous experience using D2L and Blackboard Collaborate Ultra, and will cover how to show PowerPoints in your Blackboard Collaborate Ultra session. For further information, please contact desupport@camosun.ca for assistance.
Steps
- Go to the location in your D2L course site where you have linked to your Blackboard Collaborate Ultra room (for example, in the Content tool), click on your Blackboard Collaborate Ultra session and enter your session.
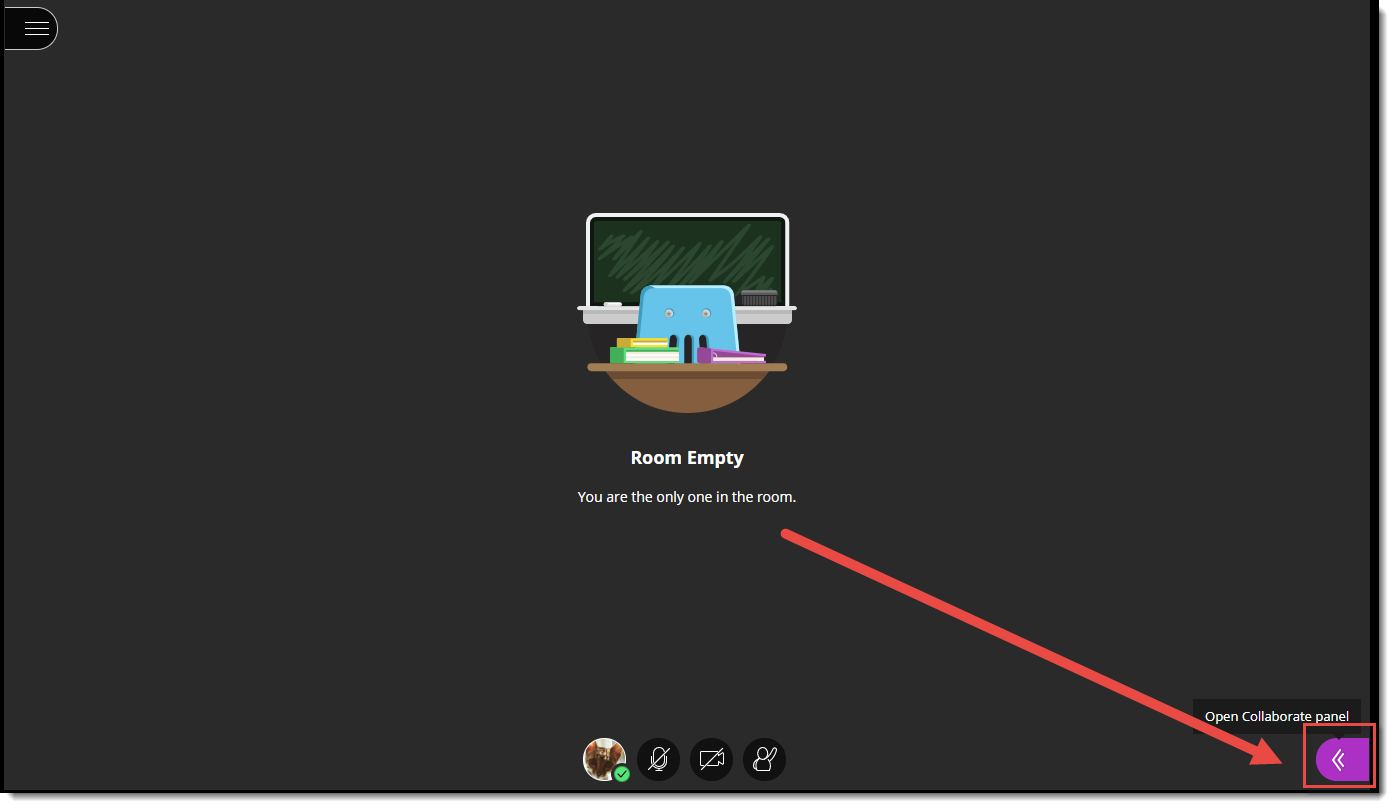
- Open the Collaborate panel (the bottom right icon).

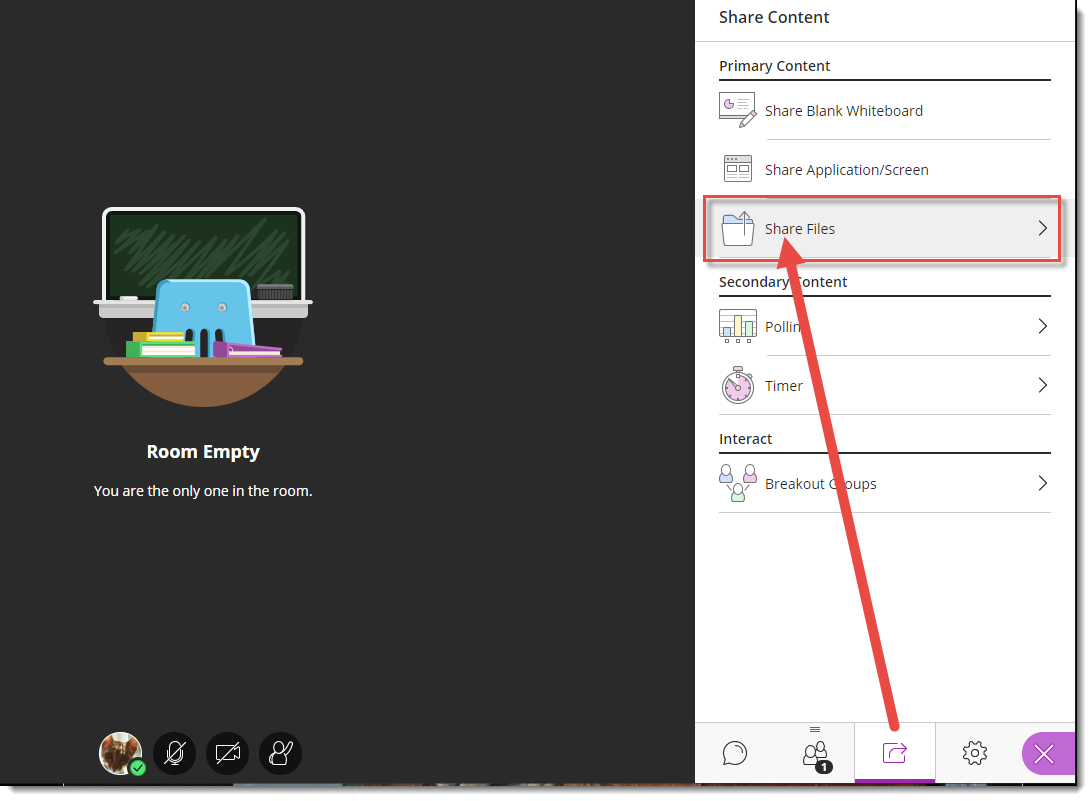
- Click the Share Content icon.
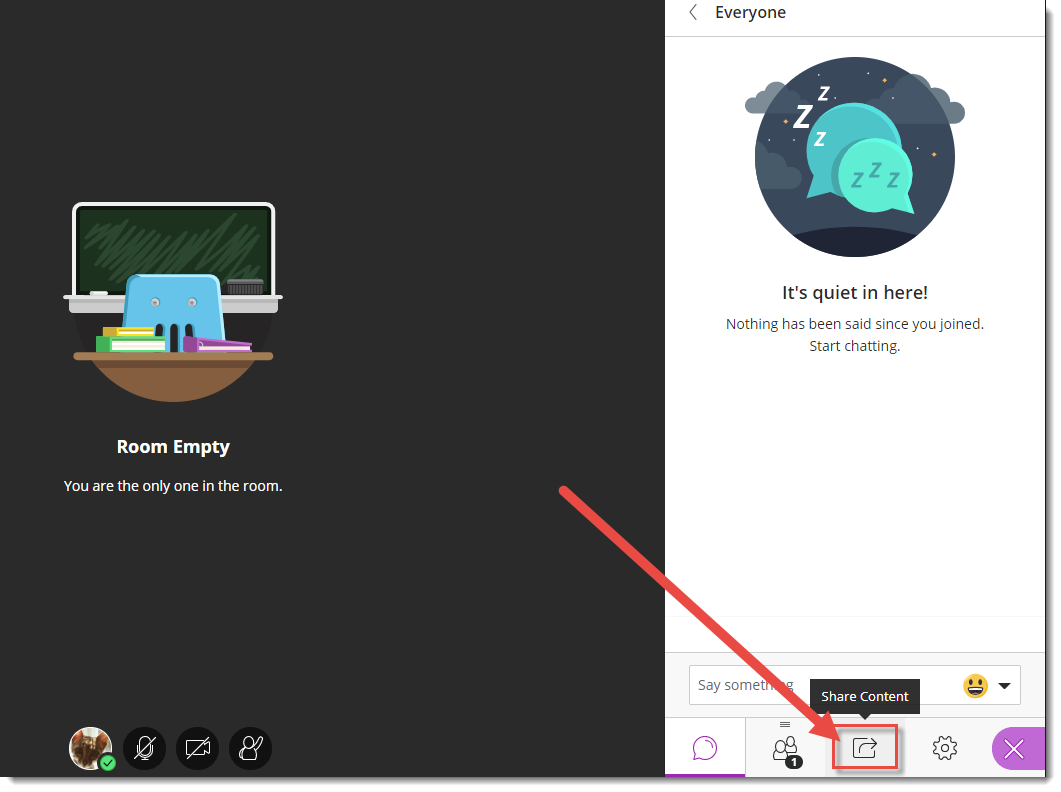
- Click Share Files.

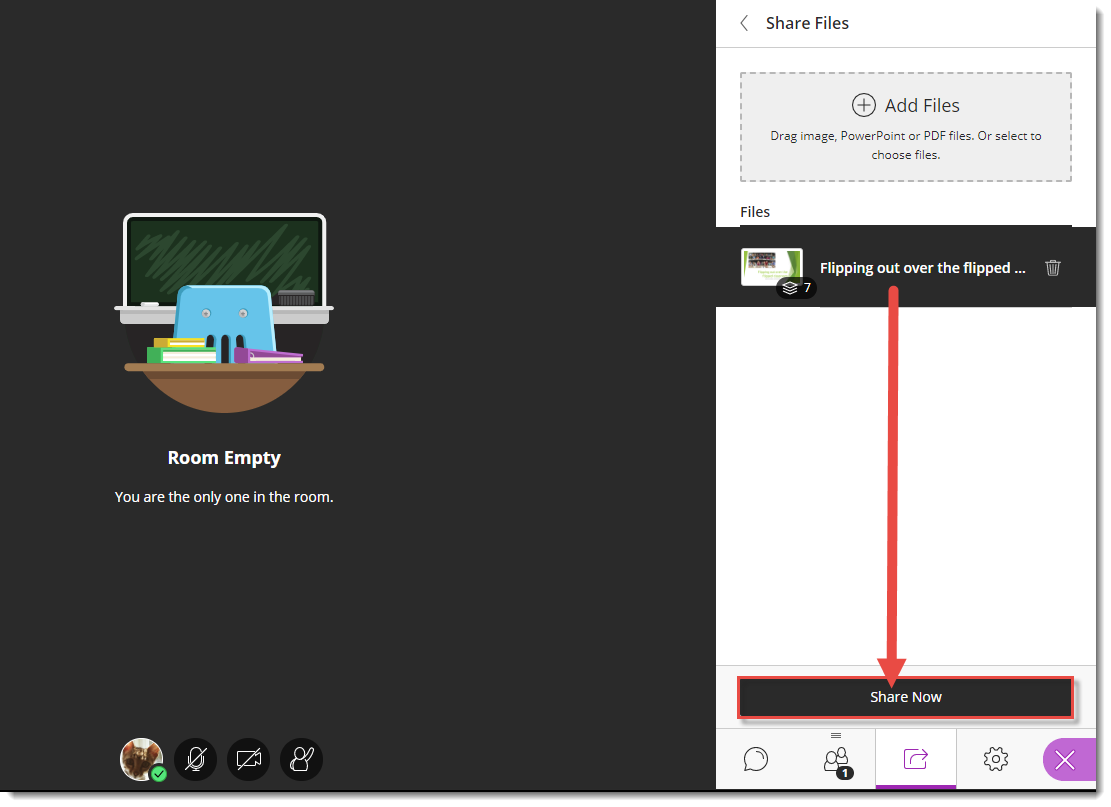
- Click Add Files to upload a PowerPoint from your computer (or drag the PowerPoint into the Add Files box).

- When the file has finished uploading, select it, then click Share Now.

- Select a slide to begin sharing (the slide will appear in the main window of your session).
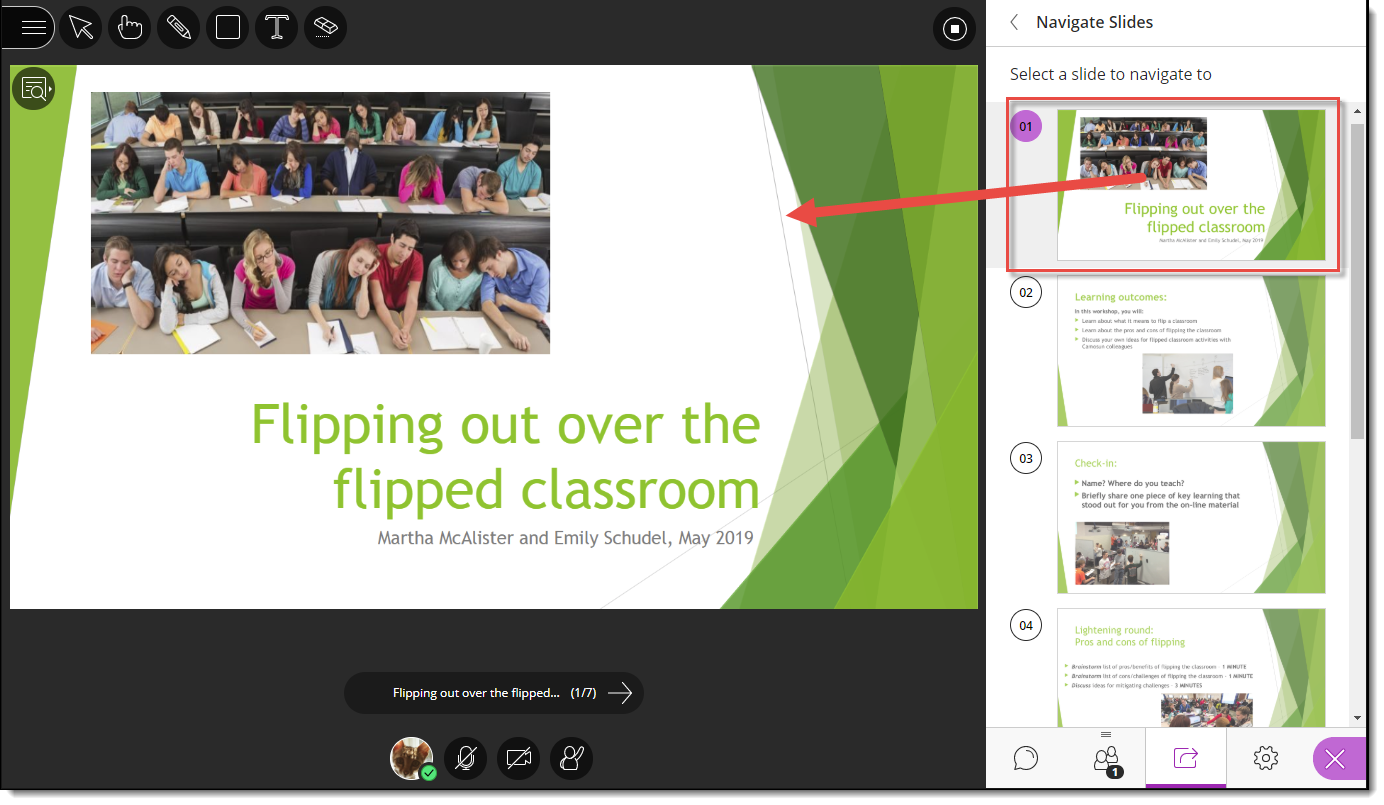
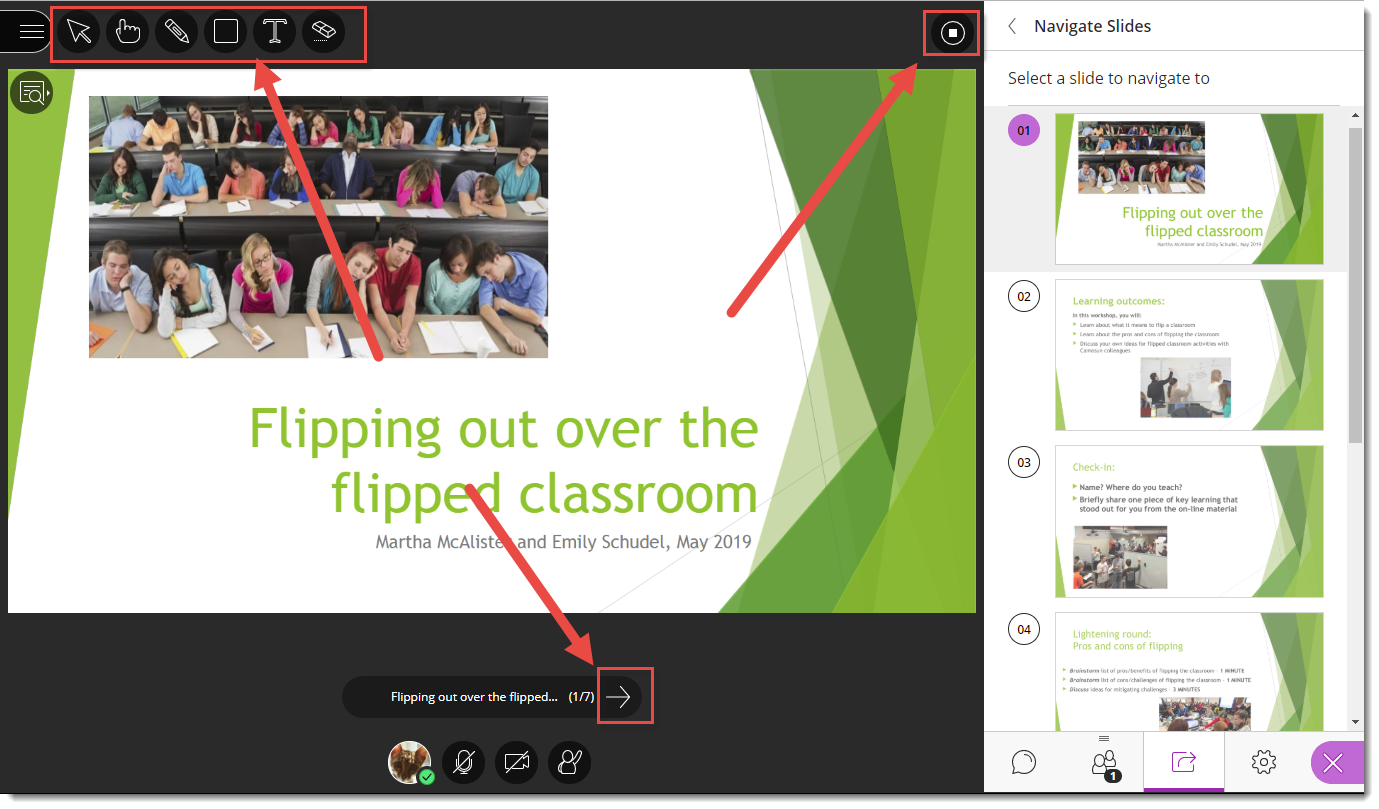
- You can either use the arrow under the main slide to navigate through your presentation, or click on any slide in the Navigate Slides area to jump to another slide. Use the drawing/pointing icons at the top-left to enhance the presentation. Click the Stop icon (top right of the slide in the main window) to end the presentation.


Things to Remember
Once you have added a PowerPoint file to a session, it will stay there as long as the session is active. Once the session is over (and disappears from your Blackboard Collaborate Ultra room in D2L), it will disappear and have to be re-uploaded to any new sessions you create.
![]() This content is licensed under a Creative Commons Attribution 4.0 International Licence.Icons by the Noun Project.
This content is licensed under a Creative Commons Attribution 4.0 International Licence.Icons by the Noun Project.