Over the summer, the Whiteboard in Collaborate was updated. Here is our new tutorial on how to use the Whiteboard in Collaborate (also available on our Tutorials site).
This tutorial is designed for faculty who have previous experience using Blackboard Collaborate Ultra. For further information, please contact elearning@camosun.ca for assistance.
Scenario
This tutorial will cover how to use the Whiteboard in your Collaborate session.
Steps
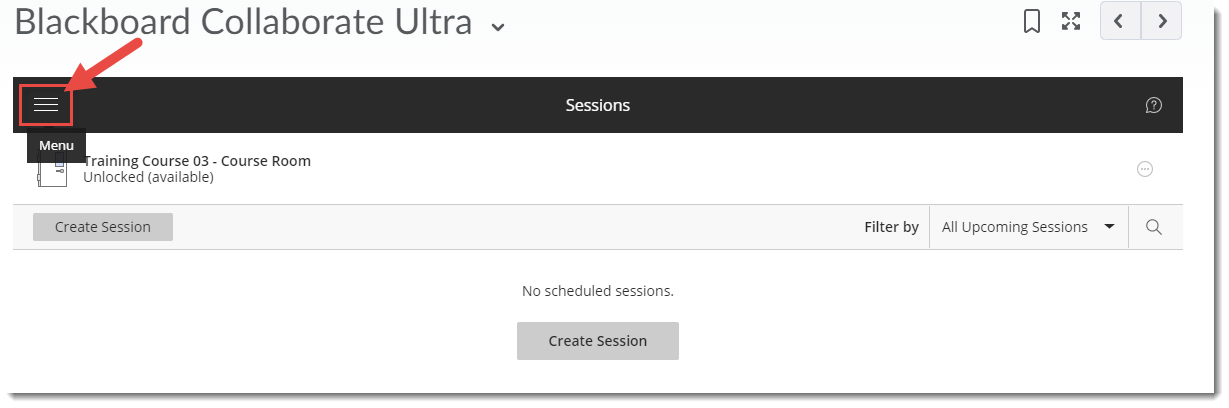
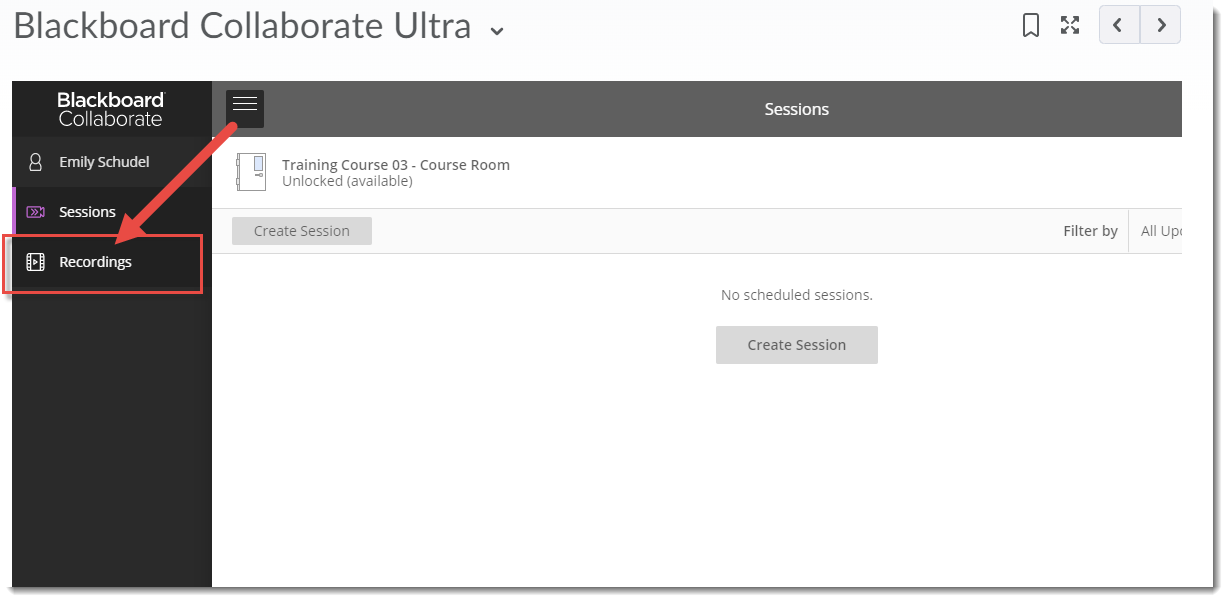
- Click the Collaborate link on your Navbar, and click on a Collaborate session link to enter the session.
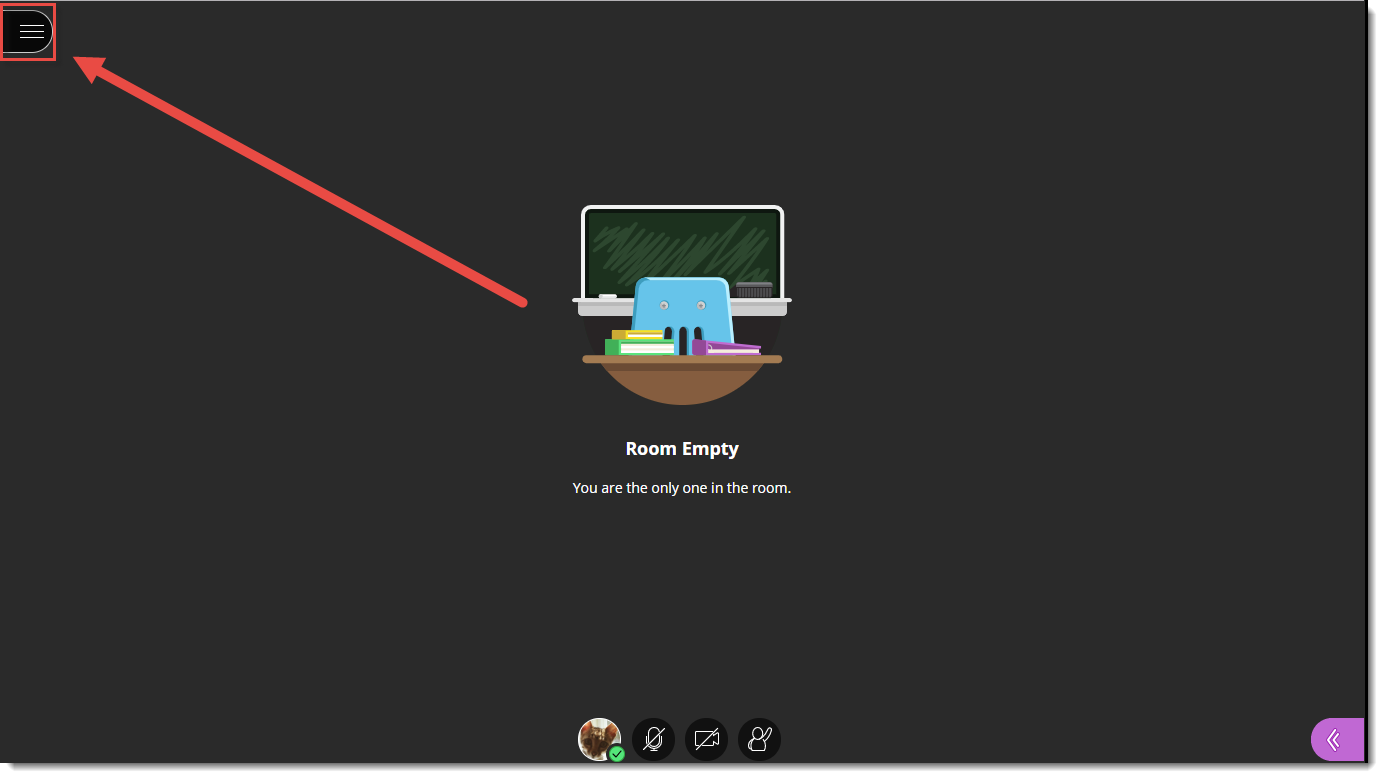
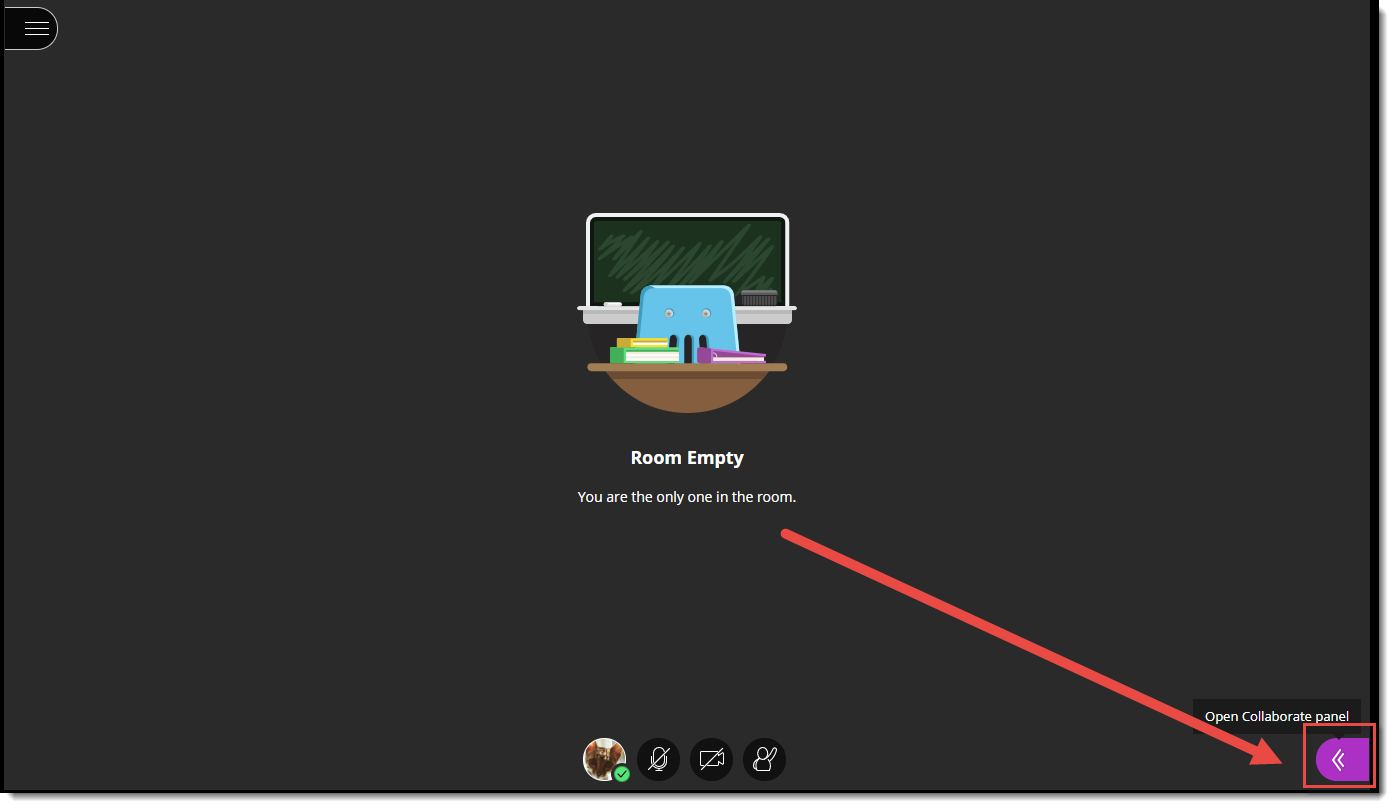
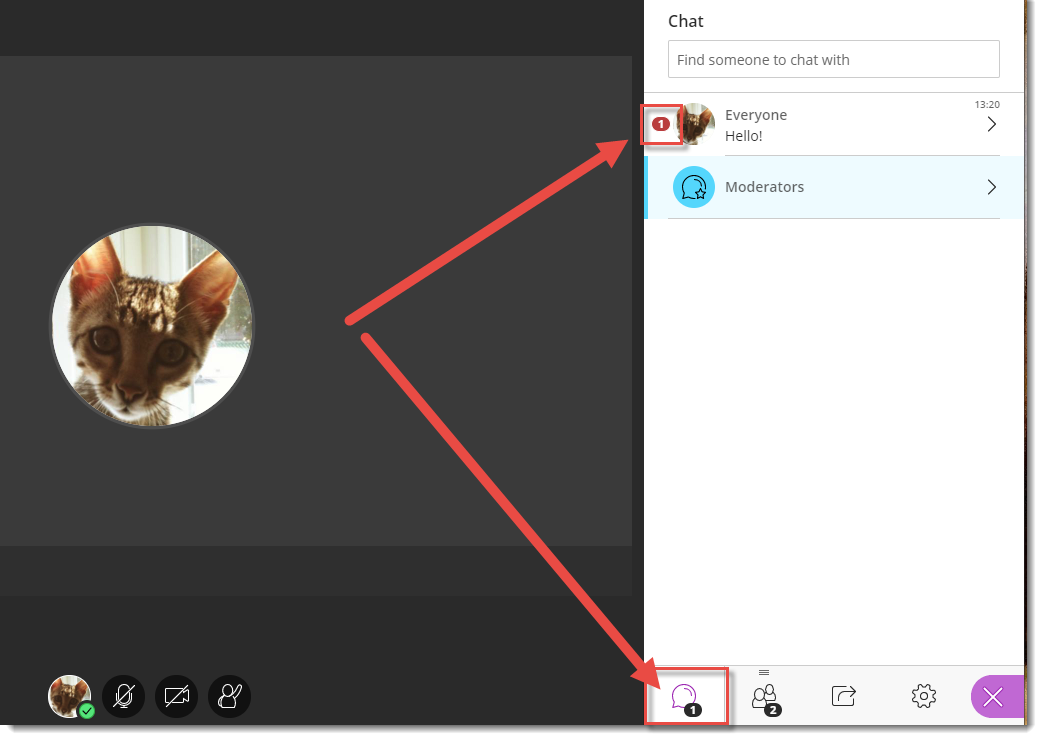
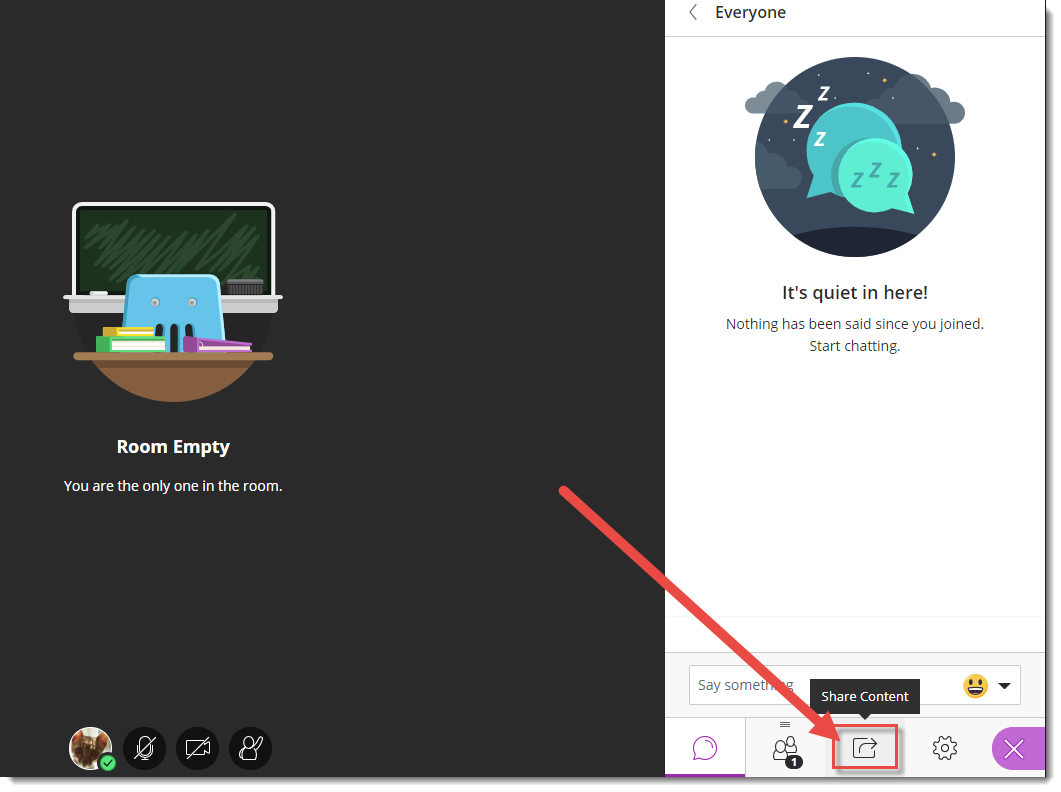
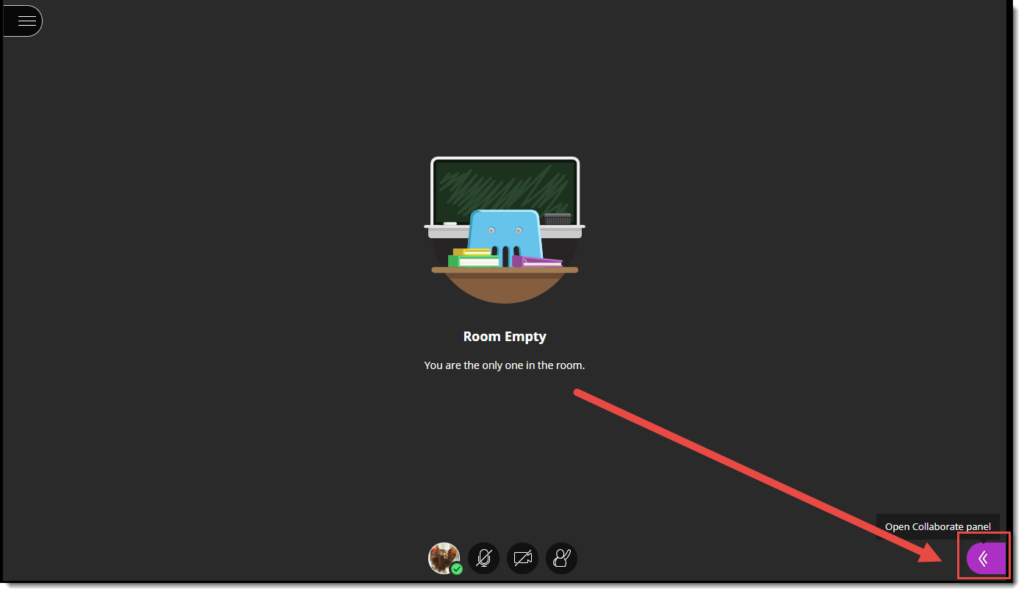
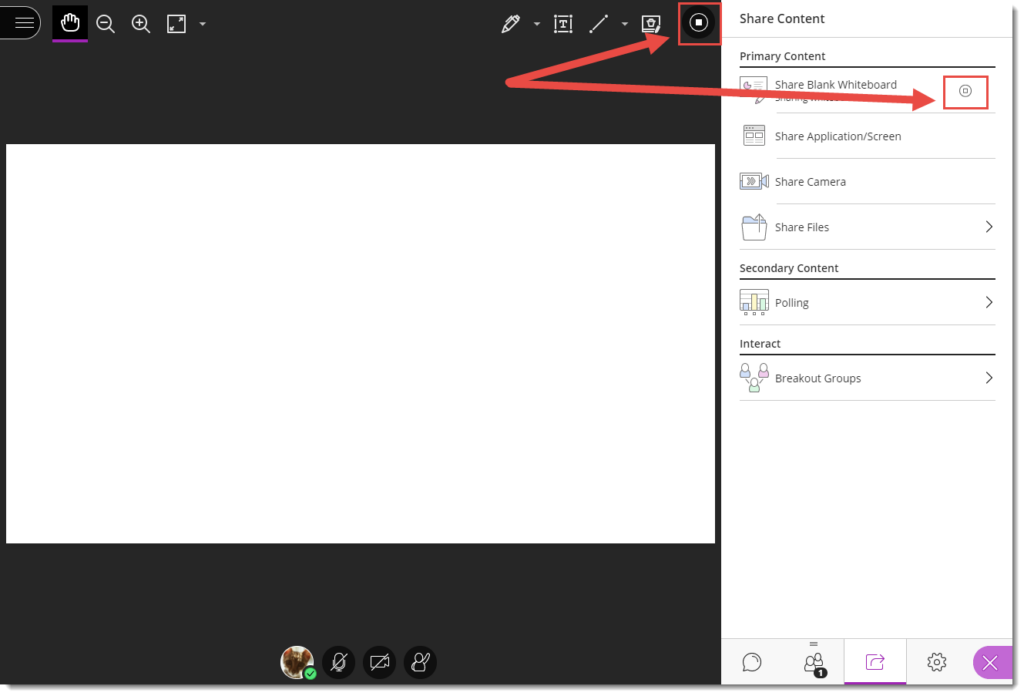
- Open the Collaborate panel (the bottom right icon).
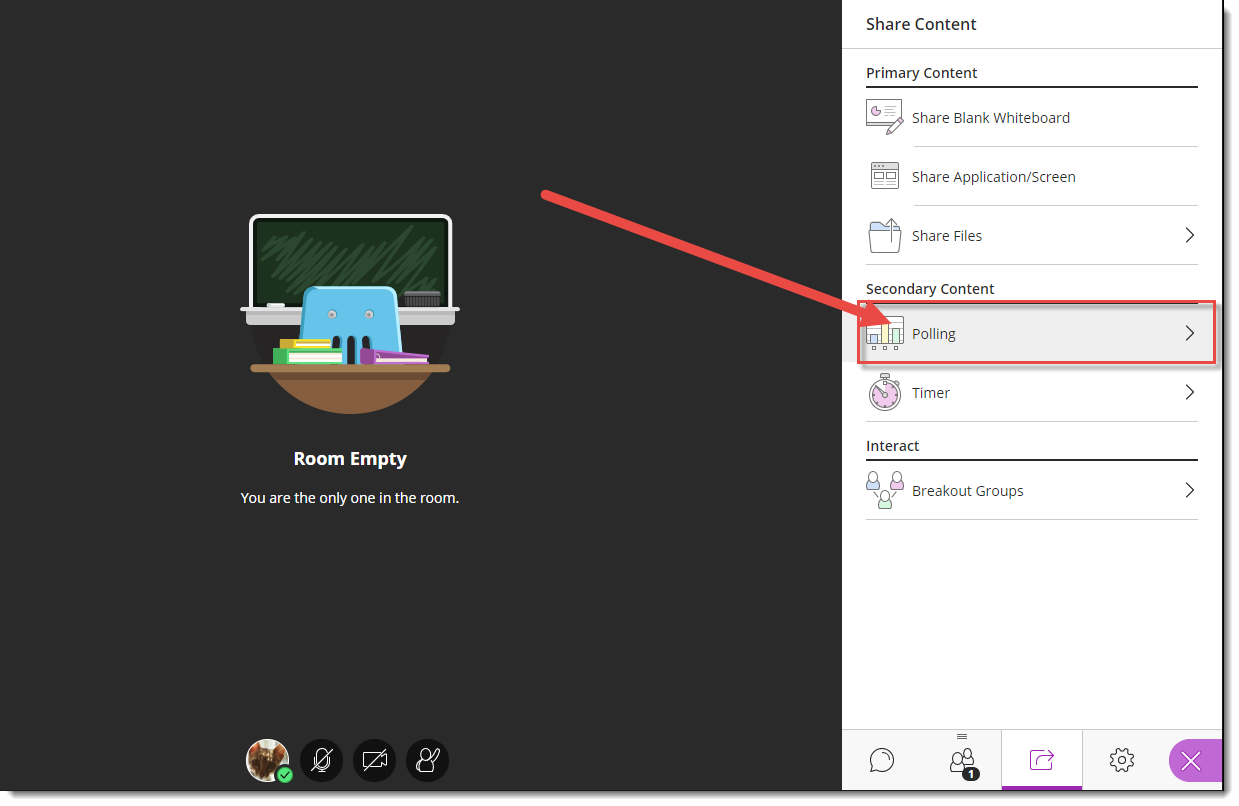
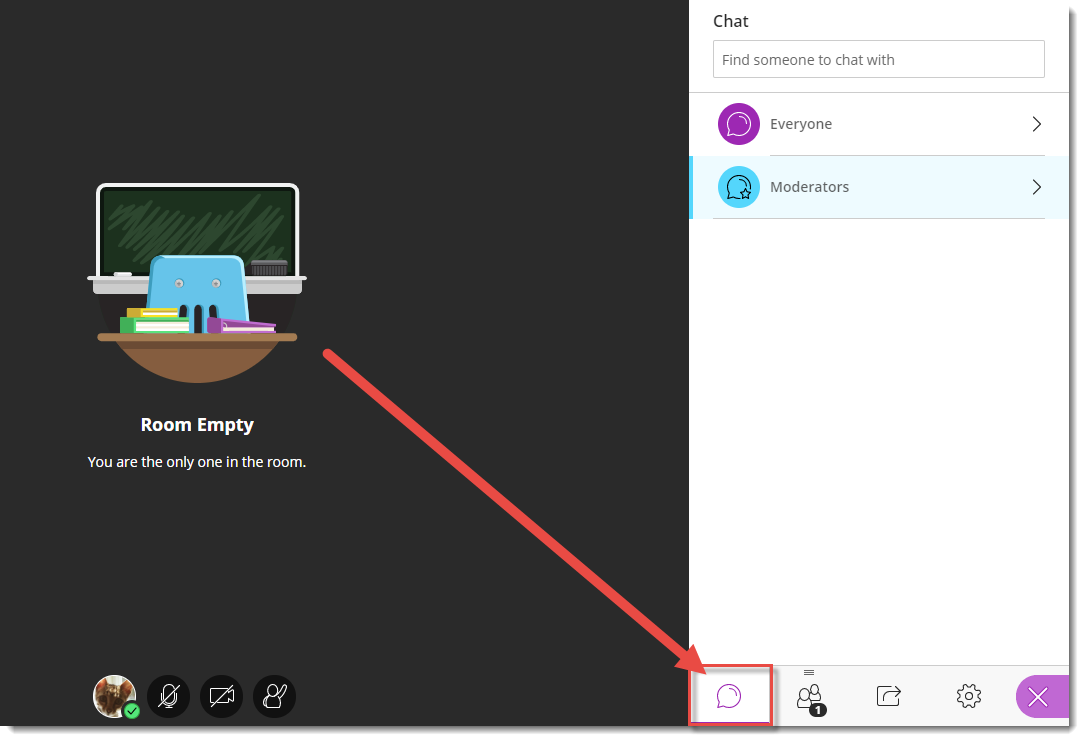
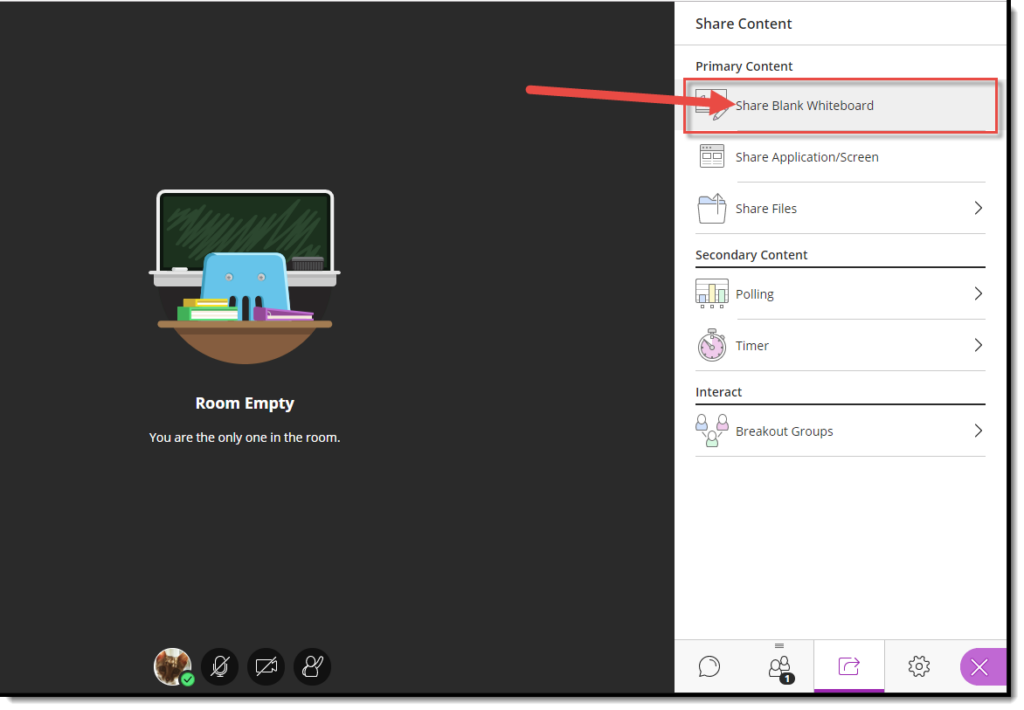
- Click the Share Content icon.
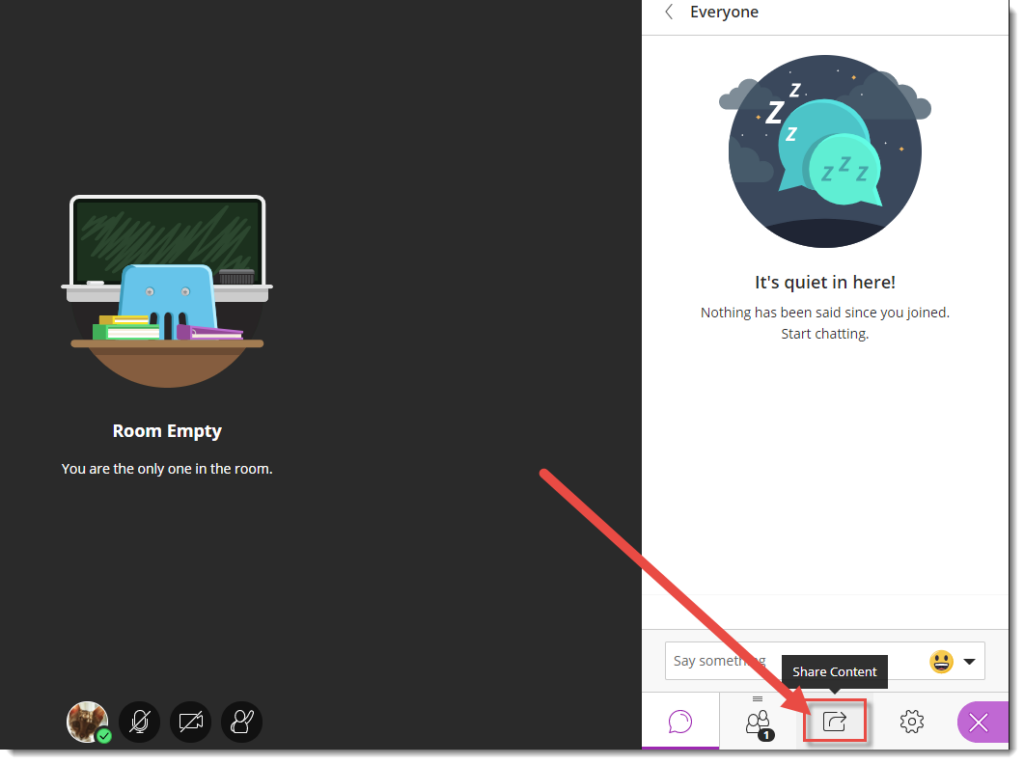
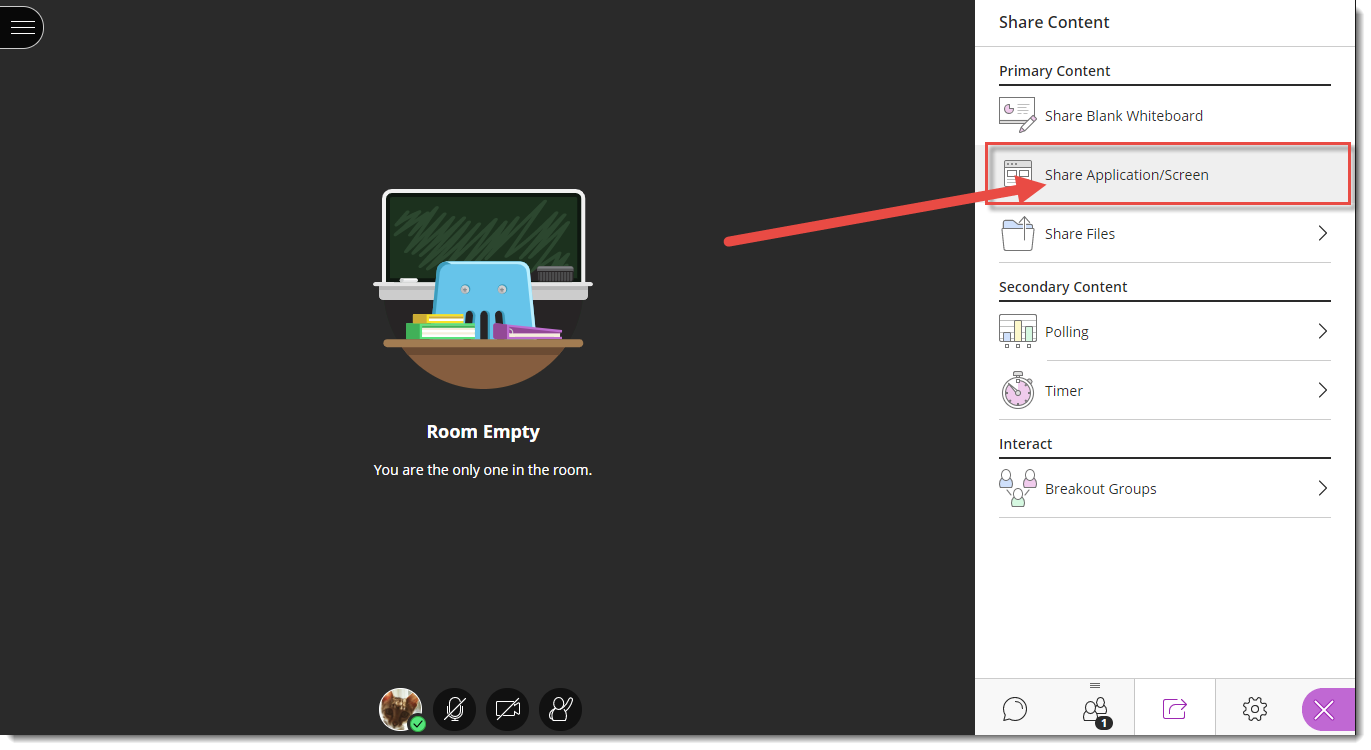
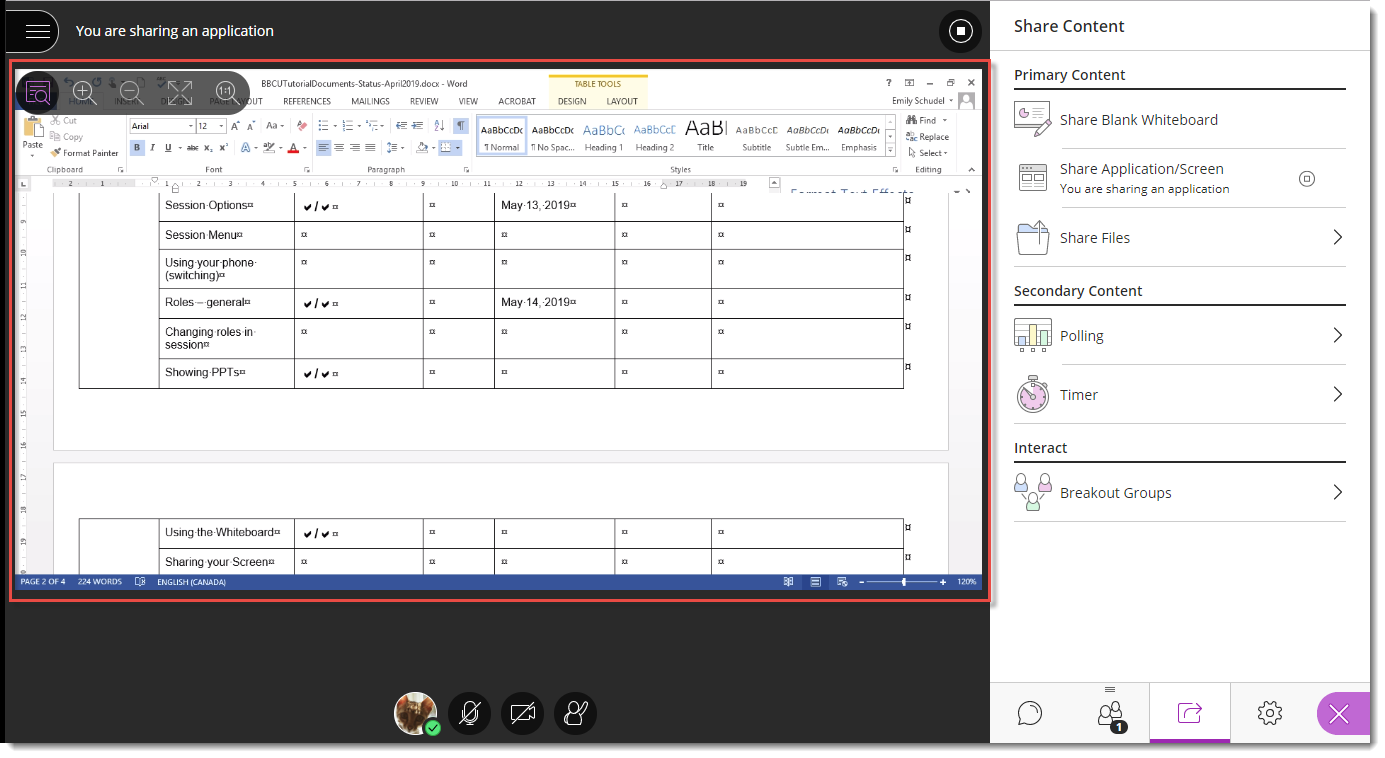
- Click Share Blank Whiteboard. The Whiteboard will open in the main session area.
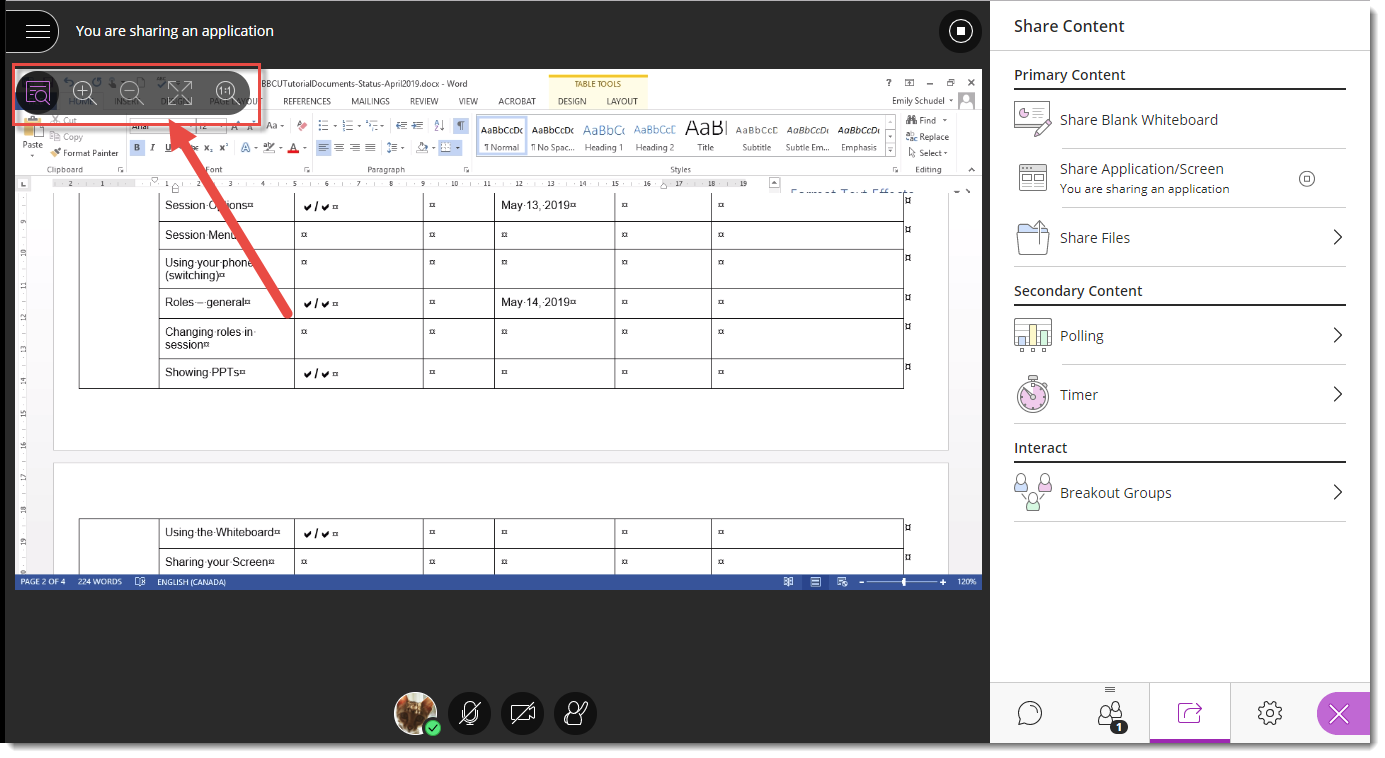
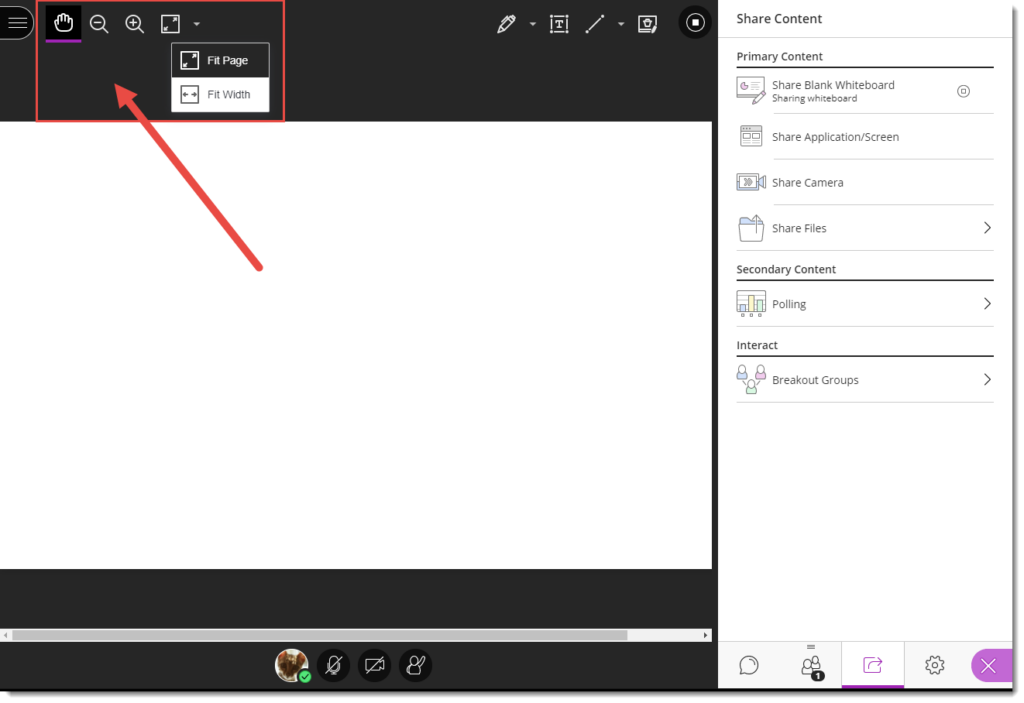
- There are two panels above the whiteboard. The one on left contains:Pan Mode (the hand). Pan Mode allows you to select an object. Once it’s selected, you can then move it around, add a note to it, delete it (by clicking the Delete key), or duplicate it.
Zoom Out (a magnifying glass with a minus sign) and Zoom In (a magnifying glasses with a plus sign).
Fit Page (click the down arrow to select Fit Page or Fit Width).
Note that the Zoom and Fit functions are user-dependent, meaning that participants will need to Zoom in on a Whiteboard (or PPT) for themselves – you can’t do that for them.
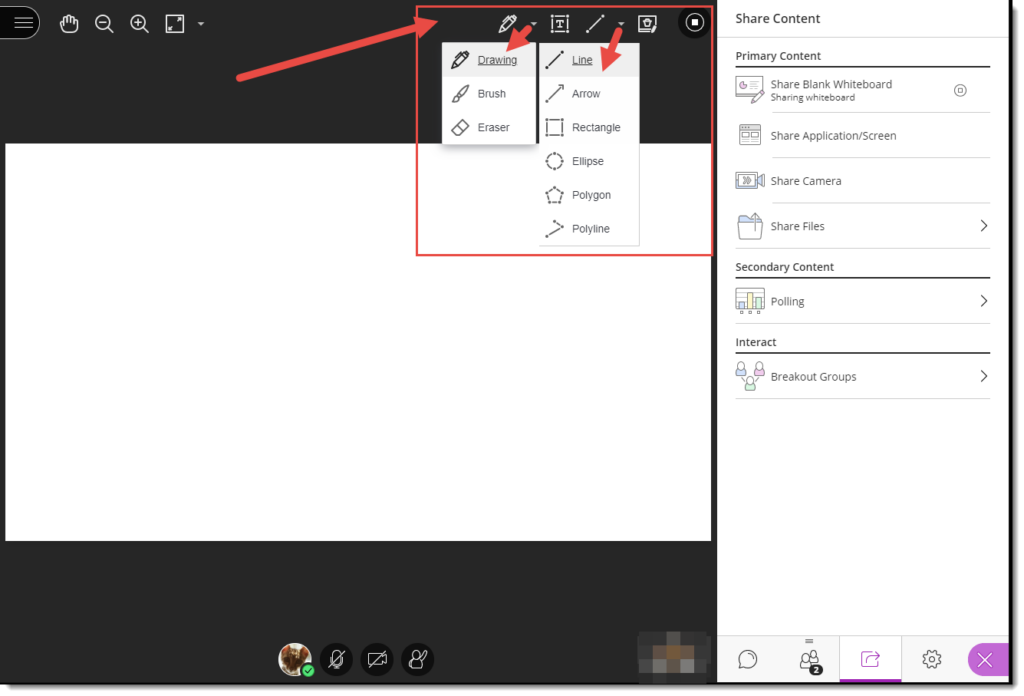
- The panel on the right side contains the drawing functions. These are:Drawing (pen icon) allows you to draw, or select Brush or Eraser (acts like a pencil eraser). We will look at these functions more in Step 7.
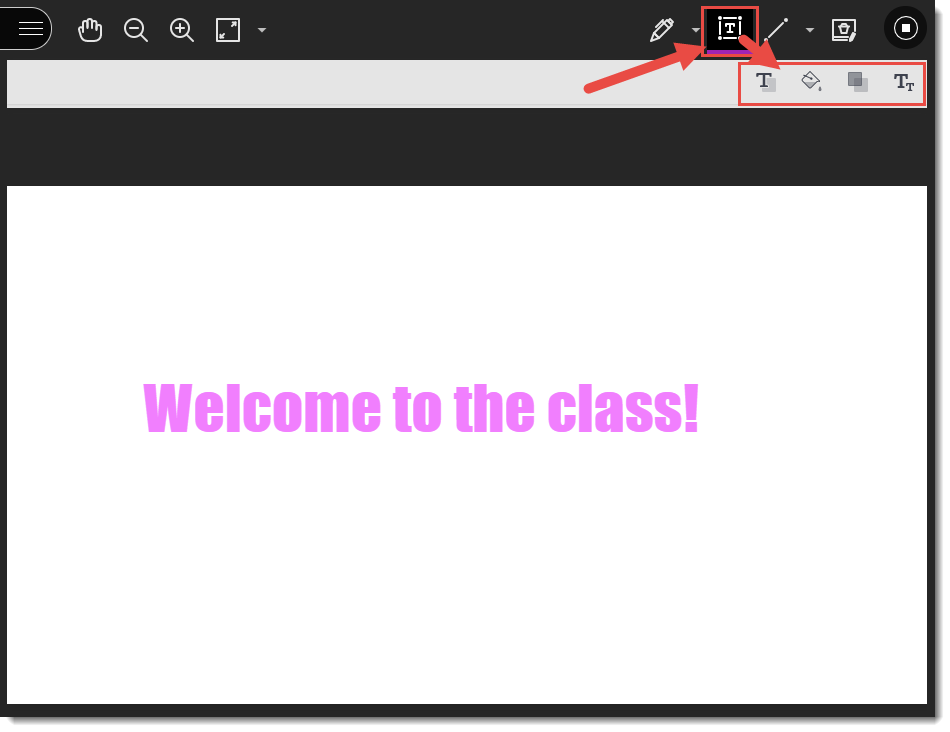
Text (the T icon) allows you to add text. We will look more at this function in Step 8.
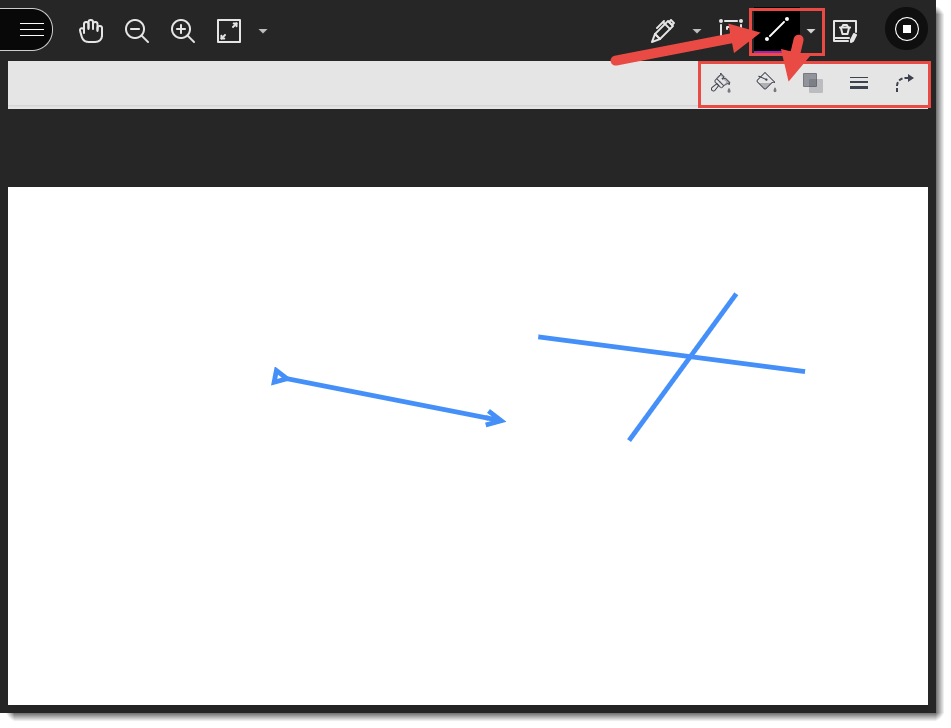
Line (the diagonal line) allows you to draw Lines, Arrows, Rectangles, Ellipses, Polygons, and Polylines. We will look more at this function in Step 9.
Clear Annotations (the trash can) clears everything. You will be given a warning that this will delete everything on the whiteboard, and it cannot be undone. Only Moderators and Presenters have this ability.
Stop Sharing (the square) stops the Whiteboard.
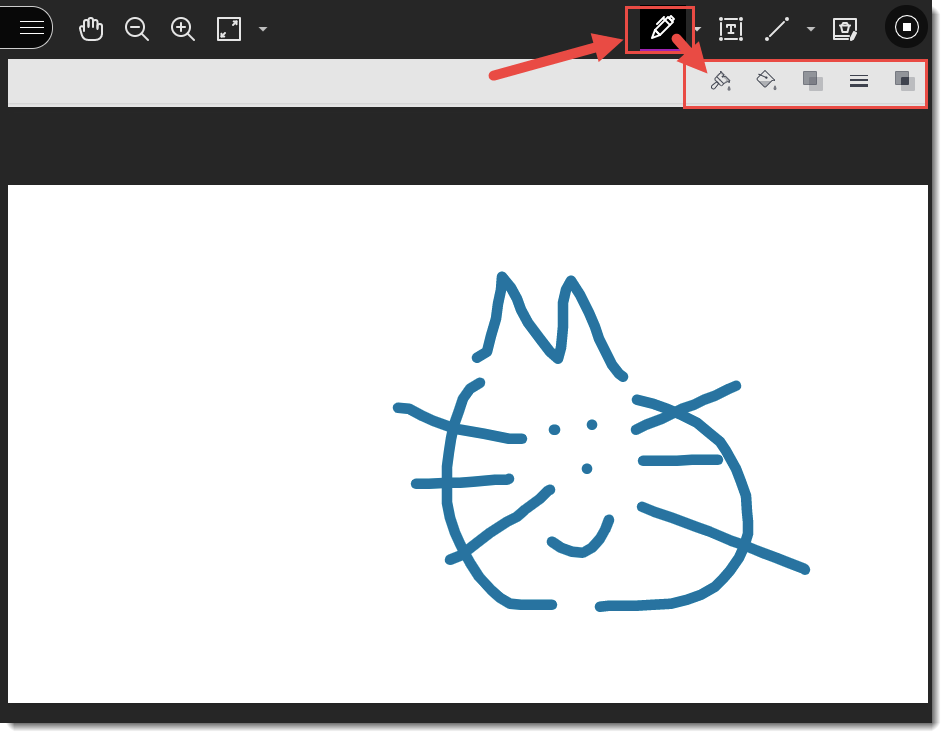
- Drawing Both the Drawing and Brush functions allow for:Changing the Colour (the paintbrush)
Adding a Fill Colour around the drawing (the bucket)
Changing the Opacity (the two overlapping squares), which makes the object lighter or darker
Changing the Thickness (the set of three lines)
Adding Blend Mode (the two overlapping squares at the far right) which allows you to manipulate the colour and saturation of an object by drawing over it.
- Text The Text function allows for:Changing the Colour (the T with the square behind it)
Adding a Fill Colour around the drawing (the bucket)
Changing the Opacity (the two overlapping squares), which makes the object lighter or darker
Changing the Font (the set of three lines) which give you the option to change the font type, the font size, the alignment (left, centre, right), and the placement (top, middle, bottom of the text box)
- Line The Line function allows for:Changing the Colour (the paintbrush)
Adding a Fill Colour around the drawing (the bucket)
Changing the Opacity (the two overlapping squares), which makes the object lighter or darker
Changing the Thickness (the set of three lines)
Changing the Line Style (the dotted curved arrow). This give many options to change a plain line to various kinds of arrows (you could use this as a pointer for a presentation by moving it around on the whiteboard) pointing in both directions from the line, and various kinds of dotted lines.
- Click the Stop icon (top right of the slide in the main window) to stop sharing the Whiteboard. The Whiteboard will be saved in the session, meaning that when you launch it again in the session, the annotations will persist.
Things to Remember
While the Whiteboard annotations persist during a session (unless you delete them), you can’t save a Whiteboard from a session to your device. If you want to keep a copy of a Whiteboard, you can either use the screen printing option on your computer, or right-mouse click on the whiteboard, to save an image of the Whiteboard to your computer.
You can’t add an image (picture, graphic, etc.) to the Whiteboard. To present and work with an image in the main session area, you need to use Share Files.