Uploading Media to Kaltura’s My Media in D2L

This tutorial will cover the steps involved when you wish to upload a video (or other media file, such as an image or an audio file) from your device into your My Media space (Kaltura) in D2L so that you can then embed it into a D2L page, or add it to a playlist in your Course Media area. Note that there are a few ways to access My Media in D2L – see the tutorial Setting up My Media (Kaltura) in D2L for more information.   For further information, please contact desupport@camosun.ca for assistance.

Steps

  1. Go to your D2L course.
  2. Go to My Media (it may be a link on your NavBar or in your My Tools drop-down menu, or it may be added as a link using Insert Stuff within a Draft Topic in the Content tool) to open your personal Kaltura space. For the purposes of this tutorial, we will have the My Media link on the NavBar.Go to My Media
  3. Click Add New, and select Media Upload.

    Click Add New and select Media Upload

  4. Click Choose a file to upload, find the video file you want to upload from your device, and click Open. All common video, audio and images format are accepted. Only one file can be uploaded at a time.

    Click Choose file to upload
    Select video and click Open

  5. It may take a bit of time for the video file to upload – the bar at the top of the screen will track the upload, and let you know when the upload is complete (as shown in the second image).

    Status bar for video upload
    Completed upload status bar

  6. Fill in the details as listed. You will be required to give your media file a Name, and we highly recommend adding information to the Description, Tags, and the additional fields to help you filter/sort your media files as you build your collection, and to help your students search for specific media files.Tags are words that can be used to search for specific media files, so think of terms that would most likely be used by your students to search for your video.

    Note that you do NOT need to Publish your video for it to be available for use in your course. Click Save when you have filled in all the details (you can edit this information later if needed). Your media file has now been saved to My Media, meaning that it is available for you to use in any of your D2L courses.

    Complete the details as much as you can, then click Save.

Things to Remember

There are additional features you will want to set up before using your video in a course. See the tutorial Adding Features to Your Kaltura Media to learn more.

This content is licensed under a Creative Commons Attribution 4.0 International Licence.Icons by the Noun Project.

Setting Up My Media (Kaltura) in D2L

Now that Kaltura is available in Camosun’s D2L, and we have run the first round of workshops for faculty, it’s time to start sharing our tutorials on using Kaltura in D2L.  Remember, Kaltura is our new streaming media service which you (and your students) can use to house your media files, create videos/audio, and integrate your media into your D2L course.

This first tutorial is designed for faculty who have previous experience using D2L, including adding items to a course Navbar and My Tools drop-down menu, and will cover the steps involved when you wish to add Kaltura’s My Media space to your D2L course.  There are three scenarios covered – choose the one that works best for your purpose.  For further information, please contact desupport@camosun.ca for assistance.

My Media is your own personal media storage space in D2L.  The My Media link gives you access to only YOUR media space, and if a student can see the My Media link, it will give her access to HER media space.  In addition, any media added to My Media will be available across D2L.  This means you can add videos stored in your My Media to any of your D2L courses.

Scenario 1: Adding My Media to your NavBar

If My Media is linked on your NavBar or My Tools drop-down menu, students will also have access to their own media space in Kaltura (this will NOT have an impact on your My Media space.)  Use this option if you would like students to be able to create or upload their own media for sharing in your D2L course (for example, if you would like them to add video/audio as an Assignment, or embed video as part of a Discussion).

Steps

  1. Go to your course in D2L.
  2. Click Edit Course.Click Edit Course
  3. Click Navigation and Themes.Click Navigation and Themes
  4. Click the title of your course’s NavBar. (If you have not yet created your own NavBar, click the down arrow next to Course default 10.3 and click Copy – then click on the title of the Copy.)Click the title of your course navbar
  5. In the Links area, click Add Links.Click Add Links
  6. Scroll down until you find My Media, click the select box next to it, and click Add.Select My Media and click Add.
  7. Click Save and Close.Click Save and Close
  8. Make sure your NavBar is selected as Active in the Active Navbar drop-down menu. You will then see the My Media link appear in your NavBar.My Media appears in the NavBar

Scenario 2: Adding My Media to your My Tools drop-down menu

This tutorial will cover the steps involved when you wish to add the link to My Media to the My Tools drop-down menu on the NavBar in your D2L course. Note that if My Media is linked on your NavBar or My Tools drop-down menu, students will also have access to their own media space in Kaltura.

Steps

  1. Go to your course in D2L.
  2. Click Edit Course.
  3. Click Navigation and Themes.
  4. Make sure you have already created custom NavBar for your course (see Customizing your Navigation Bar for more information). Then click Custom Links.Click Custom Links
  5. Click My Tools.Click My Tools
  6. Scroll down to the Links area and click Add Existing Link.Click Add Existing Link
  7. Scroll down until you find My Media, click the select box next to it, and click Add.Select My Media and click Add.
  8. Click Save.Click Save
  9. Click Navbars and make sure your NavBar is selected as Active in the Active Navbar drop-down menu. You will then see the My Media link appear in your My Tools drop-down menu.My Media appears in the My Tools menu

Scenario 3: Adding My Media in a draft Topic in Content

This tutorial will cover the steps involved when you wish to add the link to My Media to a draft Content Topic – this will mean that students will not have access to their own My Media space through your course site.

Steps

  1. Go to your course in D2L.
  2. Click My Tools and select Content.Click My Tools and select Content


  3. Click the title of the Module you would like to add your draft Topic to. For the purposes of this tutorial, we have added a Module called Kaltura Videos, and set it to Draft.Click the module you want to add your topic to
  4. Click New and select Create a File.Click New and select Create a File
  5. Give your Topic a Title. Then, in the HTML editor box, click Insert Quicklink.Add a title and click Insert Quicklink
  6. Scroll down, and click External Learning Tools.Click External Learning tools
  7. Click My Media launch.Click My Media launch
  8. Click Save as Draft.Click Save as Draft
  9. Click Cancel.Click Cancel
  10. Click the My Media launch link, and the My Media space will open in the Topic window.Click the My Media launch link

    My Media in the Topic window

Things to Remember

If you are not sure how to create a new NavBar or My Tools drop-down menu, see the tutorials Customizing your Navigation Bar and Customizing your My Tools Menu in the On-Demand Training course for more information.

If you need more help creating Topics in the Content tool, see the tutorial Creating Modules and Topics in the Content Tool for more information.


CC-BY This content is licensed under a Creative Commons Attribution 4.0 International Licence.Icons by the Noun Project.

Two Additional Kaltura Workshops Added to our Workshop Schedule!

By popular demand, we are adding two additional Kaltura workshops to our schedule.  These workshops will take place at Interurban.  Please register at https://www.surveymonkey.ca/r/B7KYD8P

Title: Kaltura 1: Getting Started with Kaltura
Time: 1:30-3:30
Date: May 16, 2019
Location: LACC 235

Description:  Kaltura is Camosun’s a streaming media tool (we sometimes call it Camosun’s YouTube). This means faculty and students now have a place to create, edit, and house their course-related videos. Kaltura also integrates with D2L. Come to this hands-on session to find out more about what Kaltura is, what it can do, and learn how you can use it for your courses.

Title: Kaltura 2: Creating Media Magic Using Kaltura Capture
Time: 1:30-3:30
Date: June 6, 2019
Location: LACC 235

Description:  Are you interested in creating engaging media pieces for your courses in D2L? Not sure where to begin? Join Bob Preston for this hands-on workshop on Kaltura Capture. Learn the basics of creating and chaptering basic screencasts, PowerPoint presentations with voiceover, as well as creating video quizzes that you can link to the gradebook.

If you have a laptop, please bring it to the session.

Questions?  Email Emily Schudel at schudele@camosun.ca

Top 10 Things for Faculty to Know about Kaltura in D2L

What is Kaltura?

Kaltura is a new streaming media tool recently adopted by Camosun, which will be integrated into D2L, and supported by eLearning, in May.  Kaltura gives faculty and students a place to upload, create, and edit their course-related videos, audio files, and images.  These media files can then be embedded into the HTML editor, wherever it appears in D2L (for example, in the Content tool), or viewed in your course’s Media Gallery.  Because Kaltura is hosted in BC (at UBC), and not on U.S. or foreign servers, it is compliant with BC-FIPPA legislation.

Talk to eLearning before starting!!

Because Kaltura is a complex tool, we recommend you either attend a Kaltura workshop or make an appointment with an instructional designer in eLearning prior to setting up and using Kaltura in your D2L course site.  Tutorials will be available in the On-Demand Training site, but they have been designed as reminders rather than as first-step learning tools.

Top 10 questions about Kaltura:

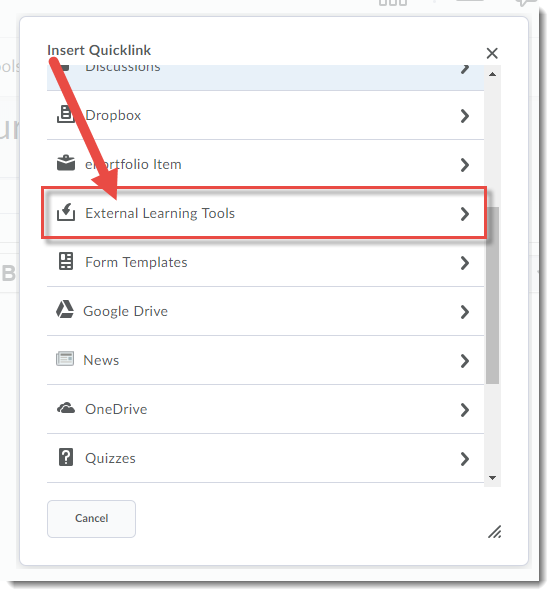
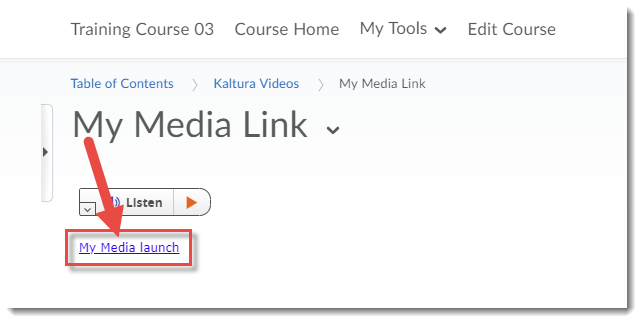
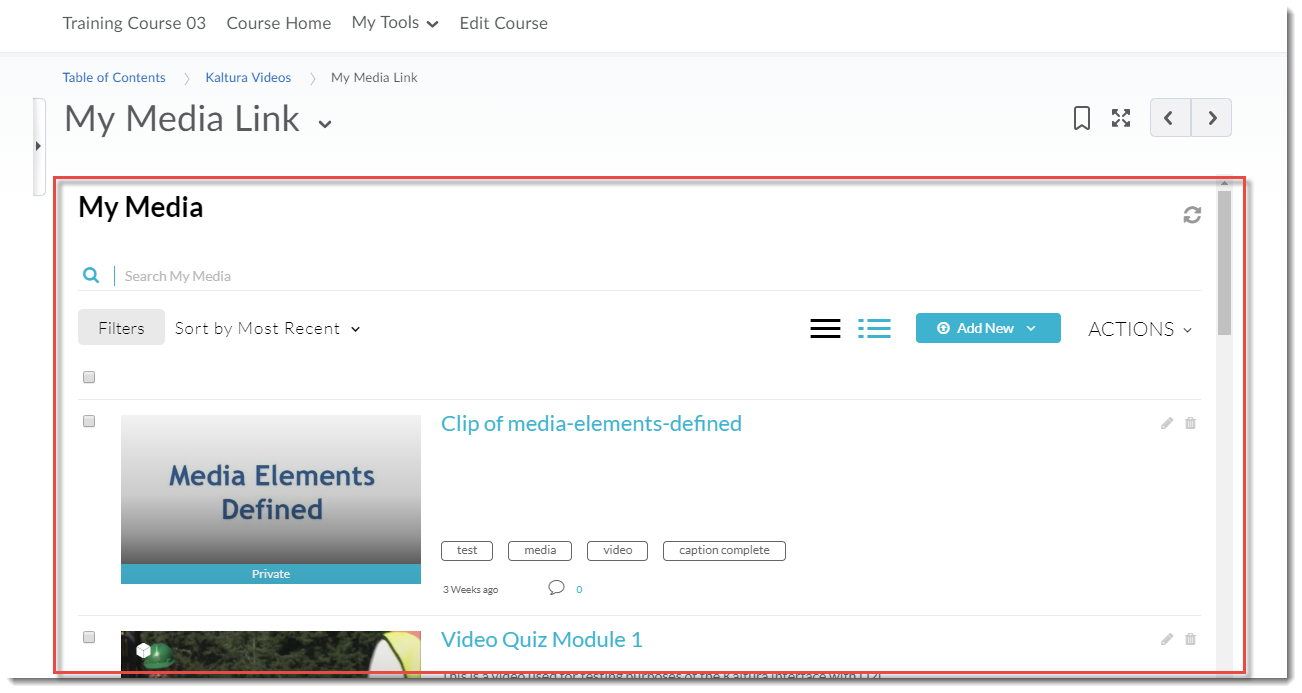
1.      Where do I find Kaltura in D2L?

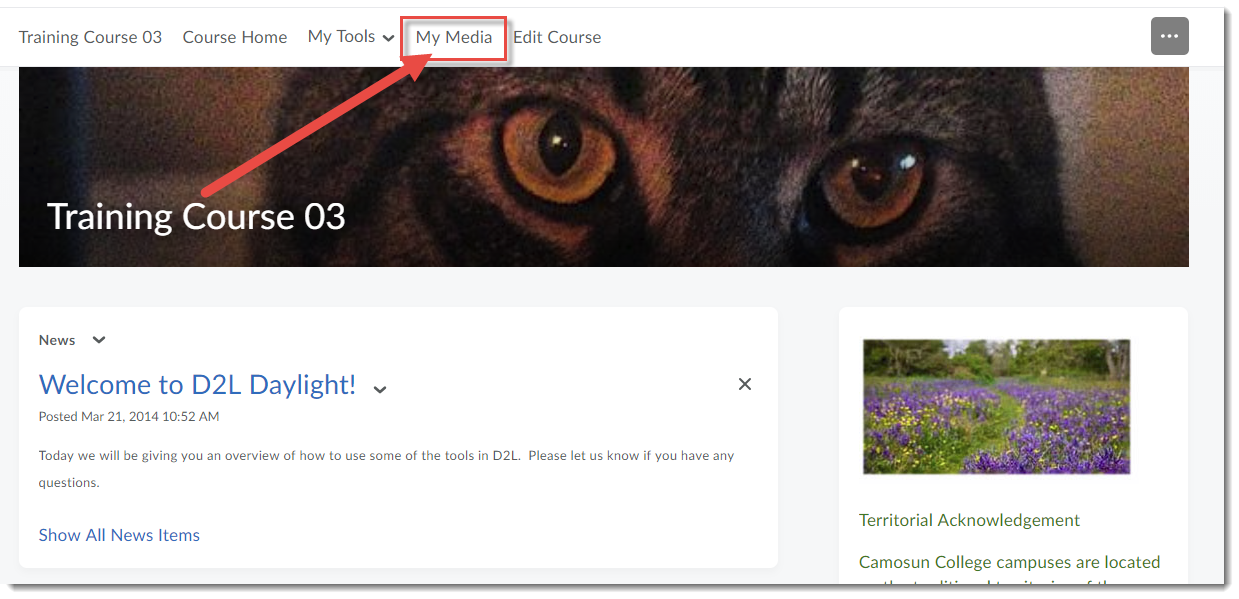
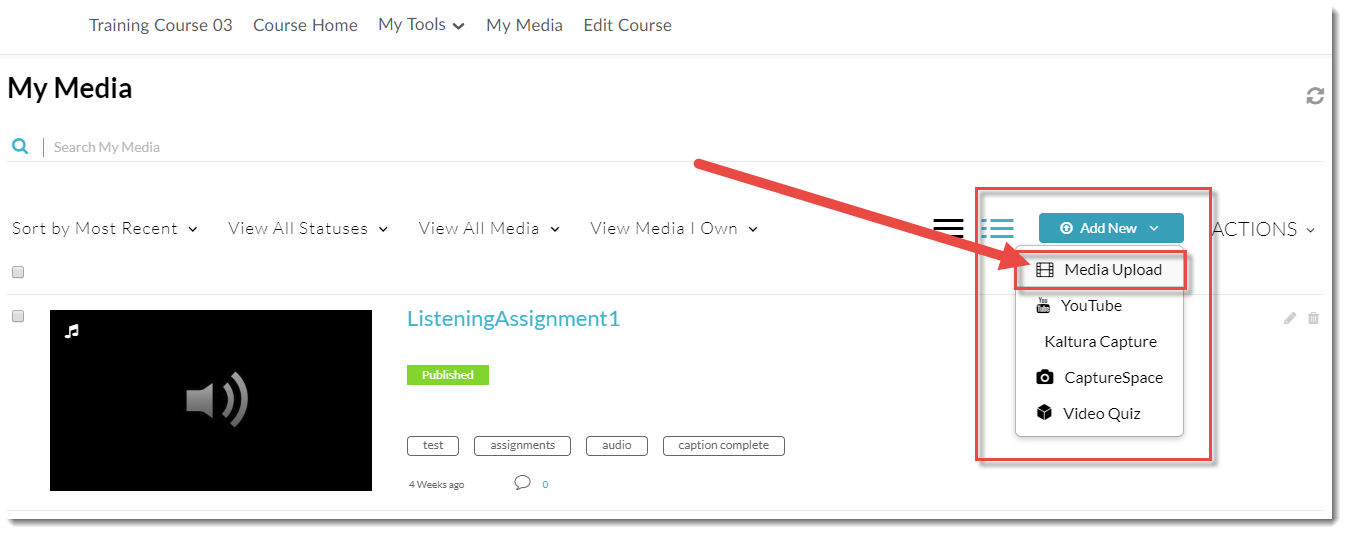
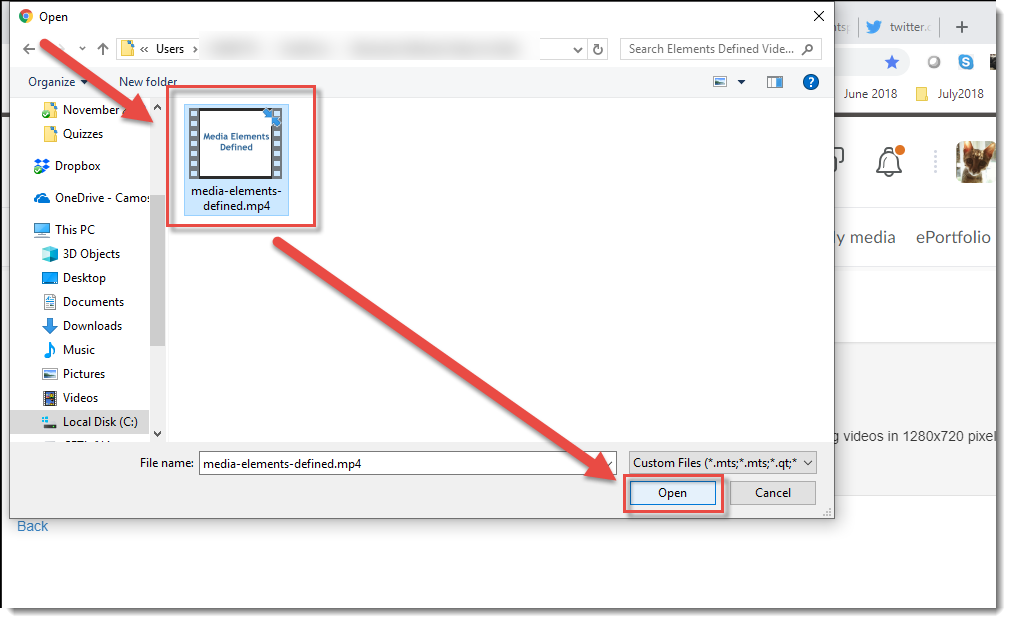
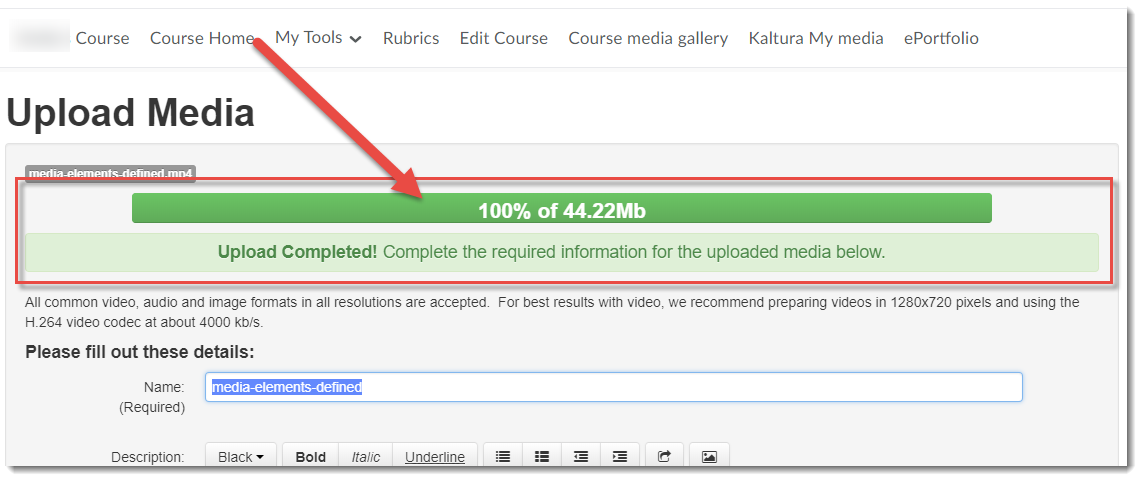
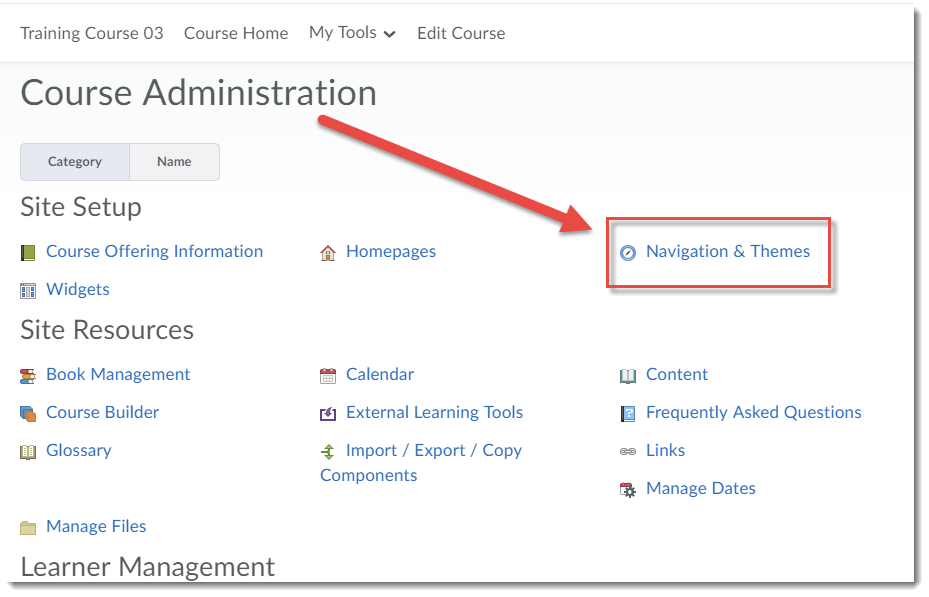
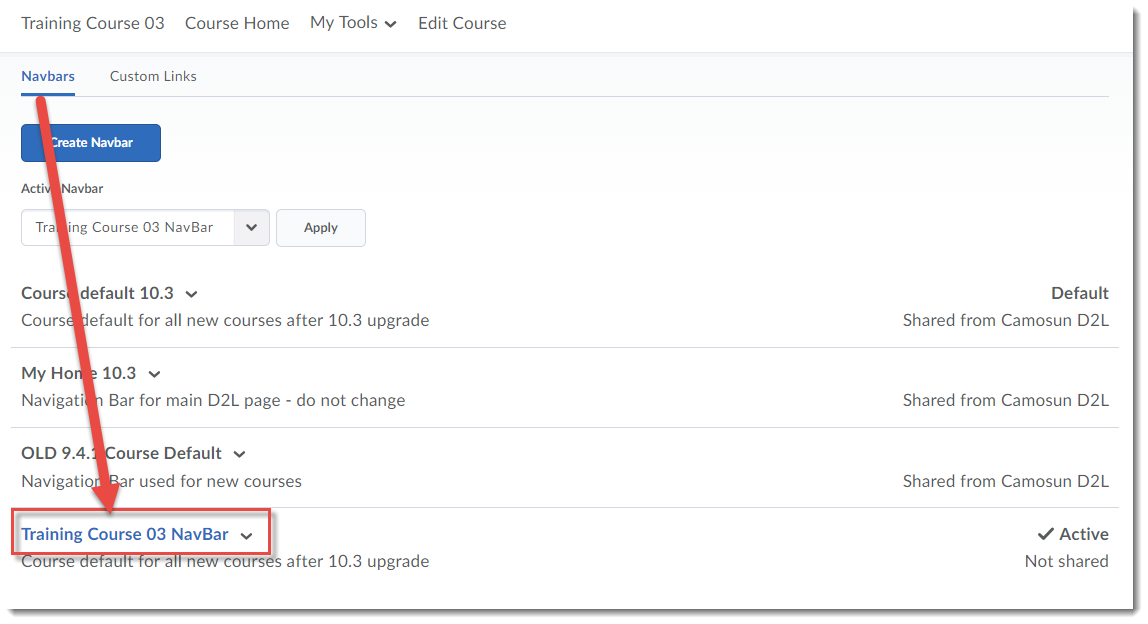
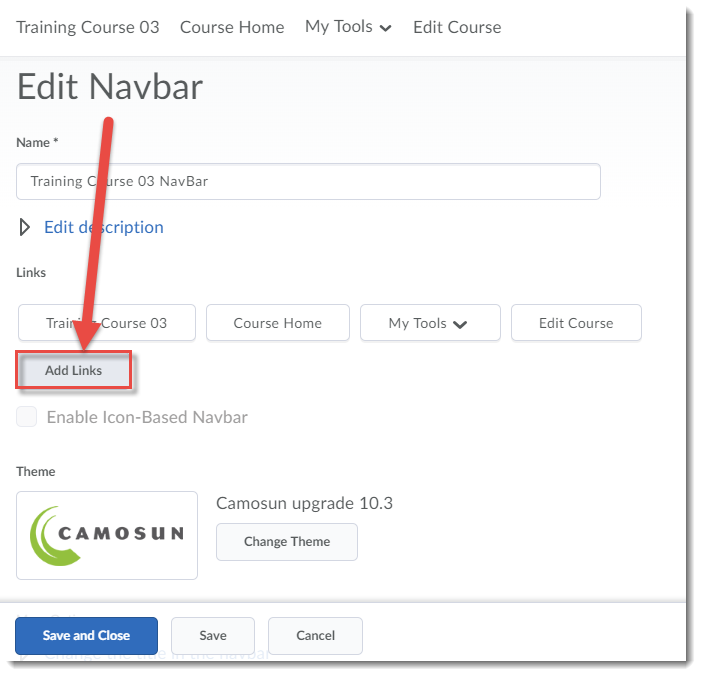
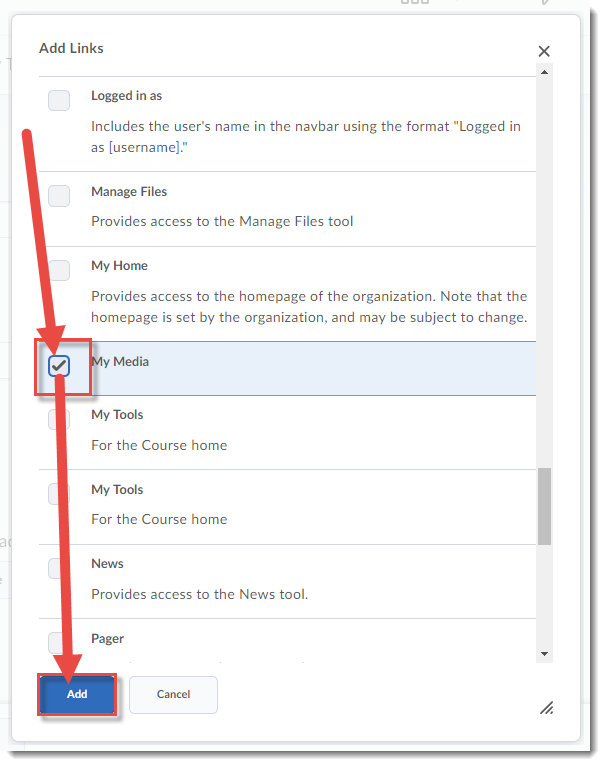
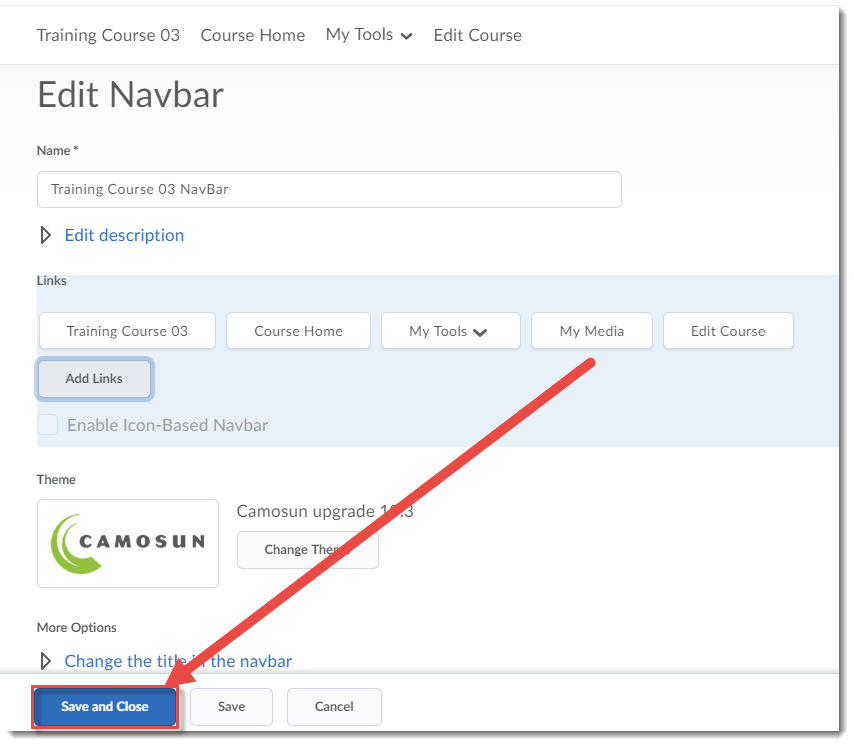
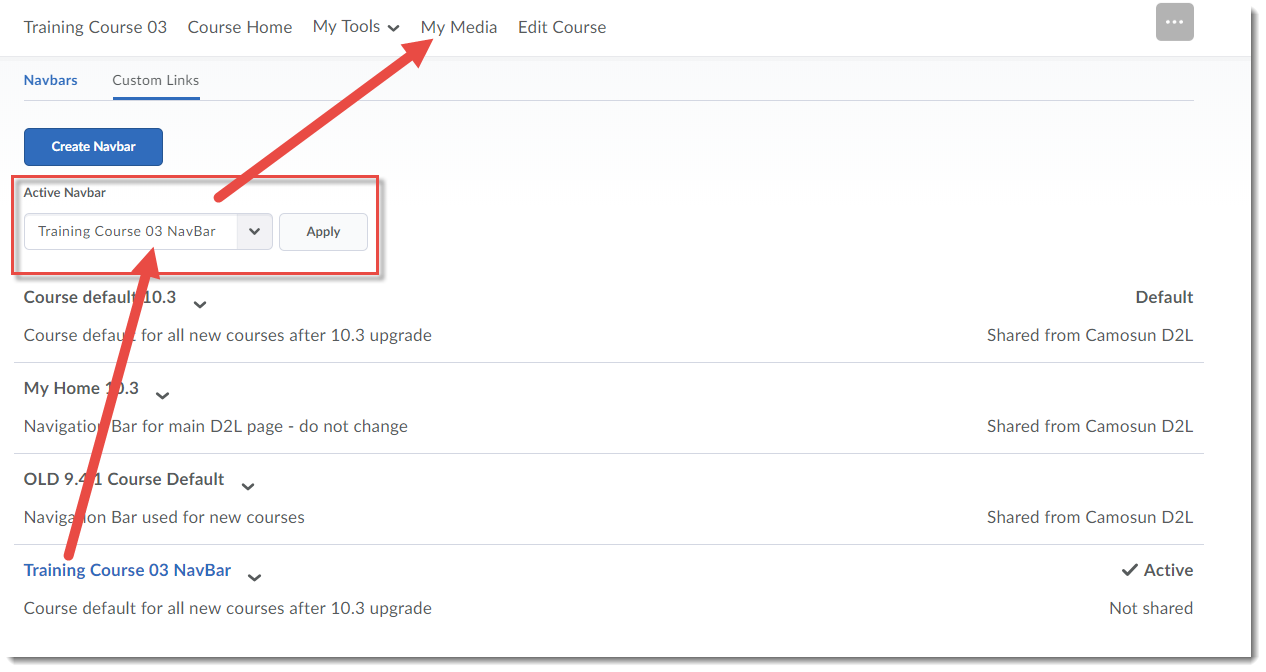
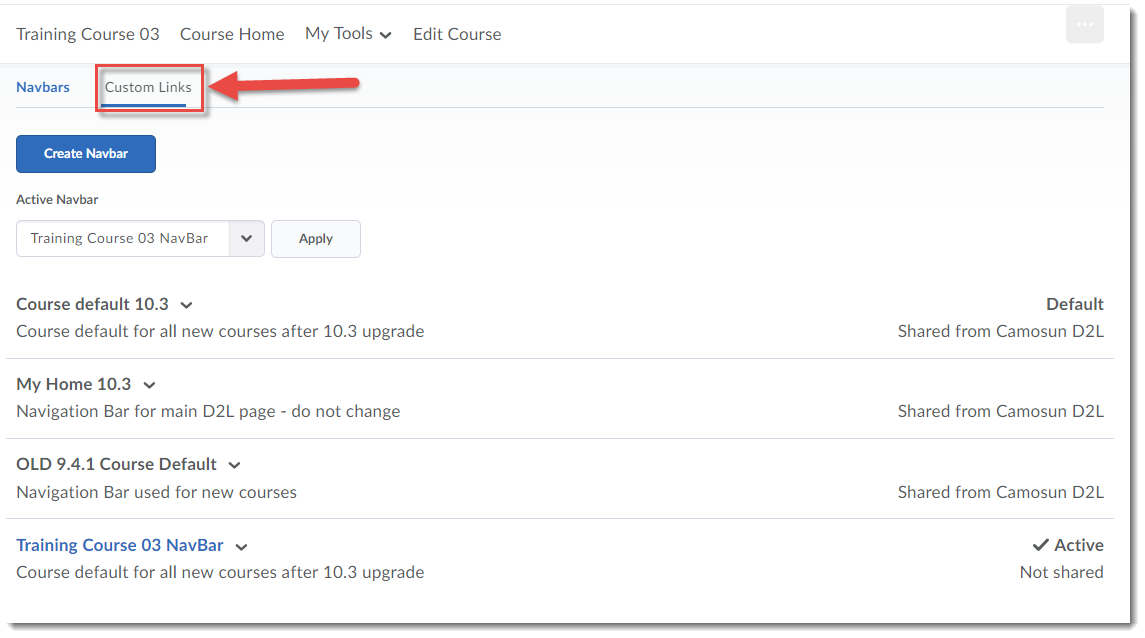
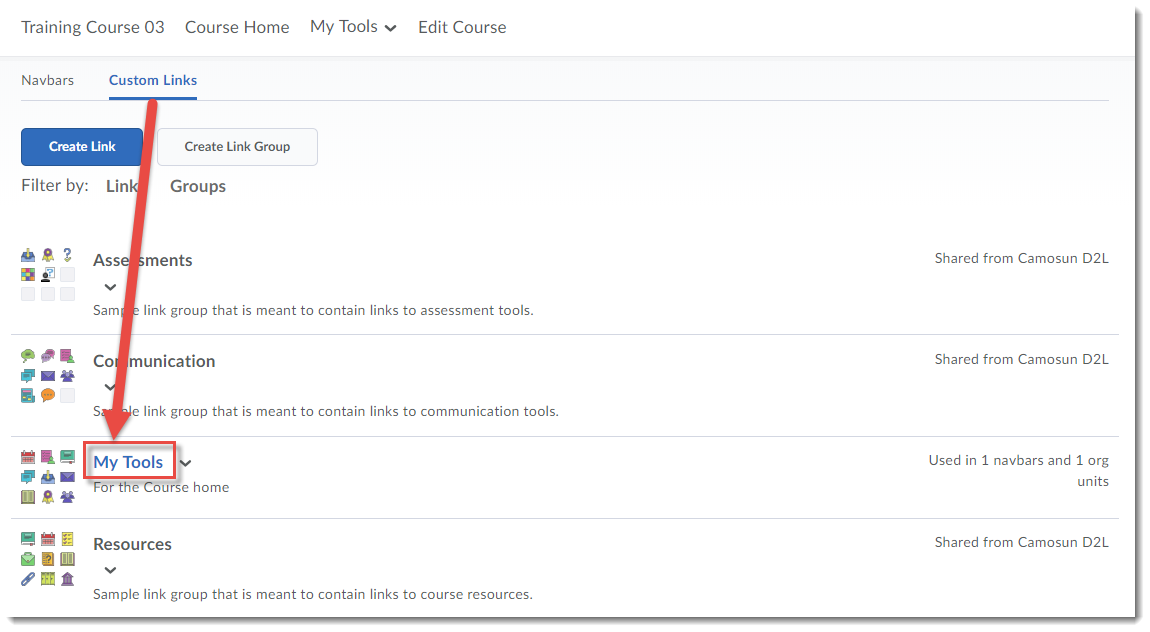
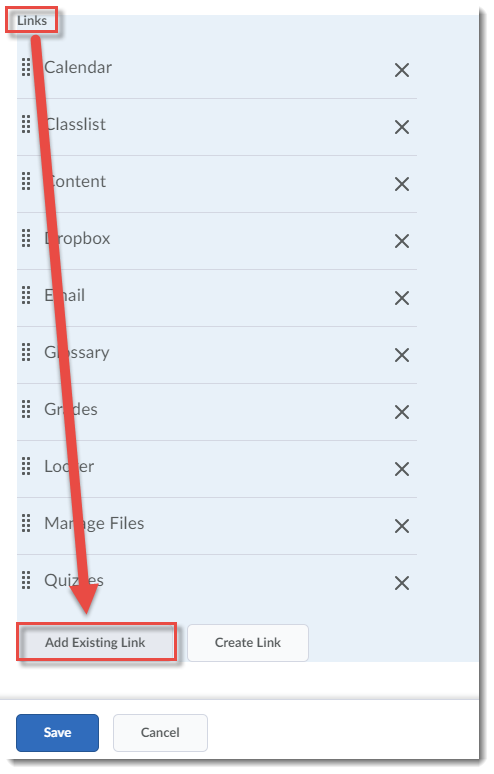
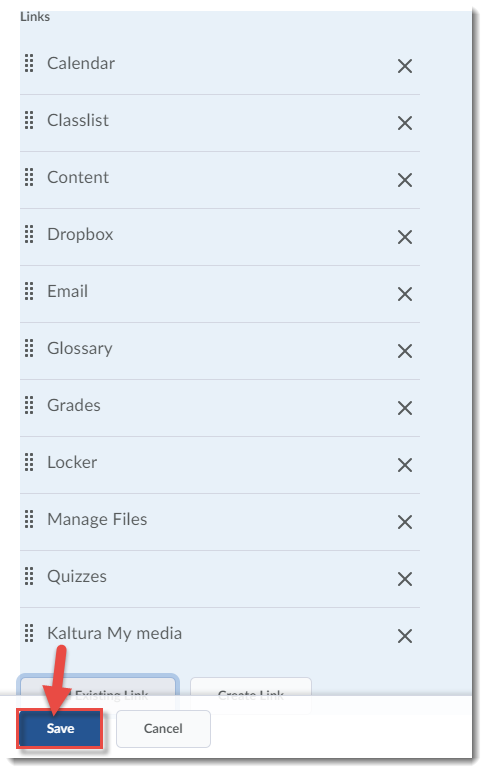
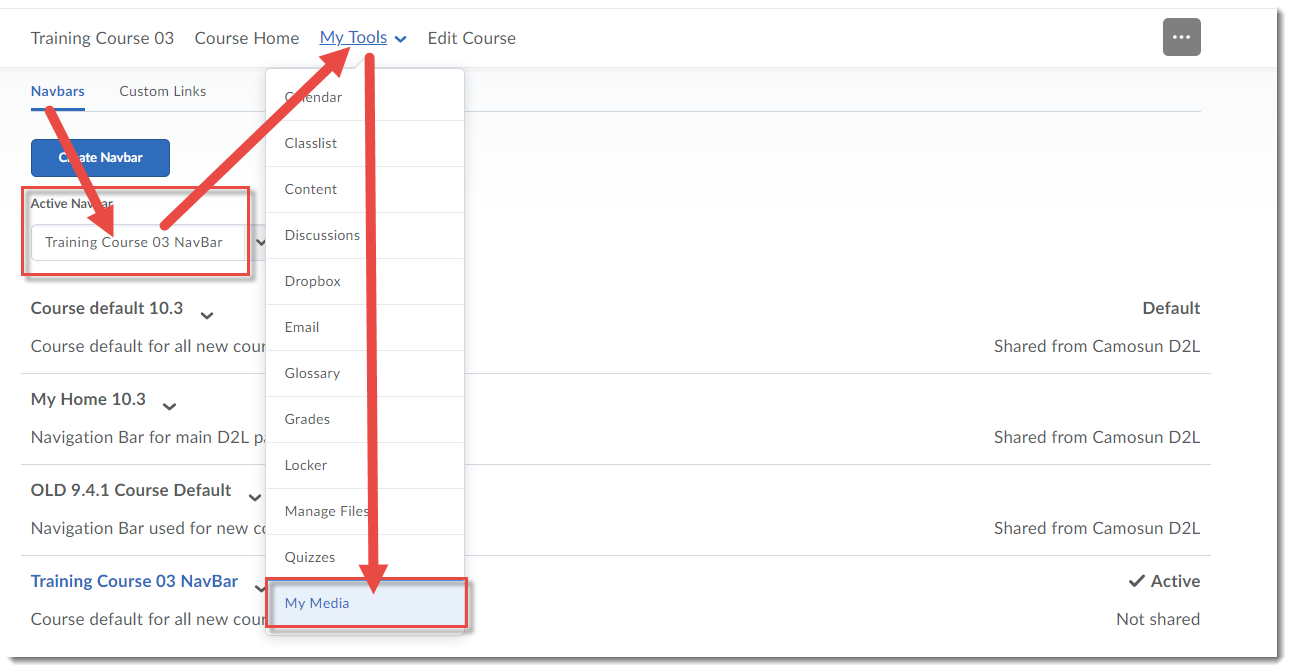
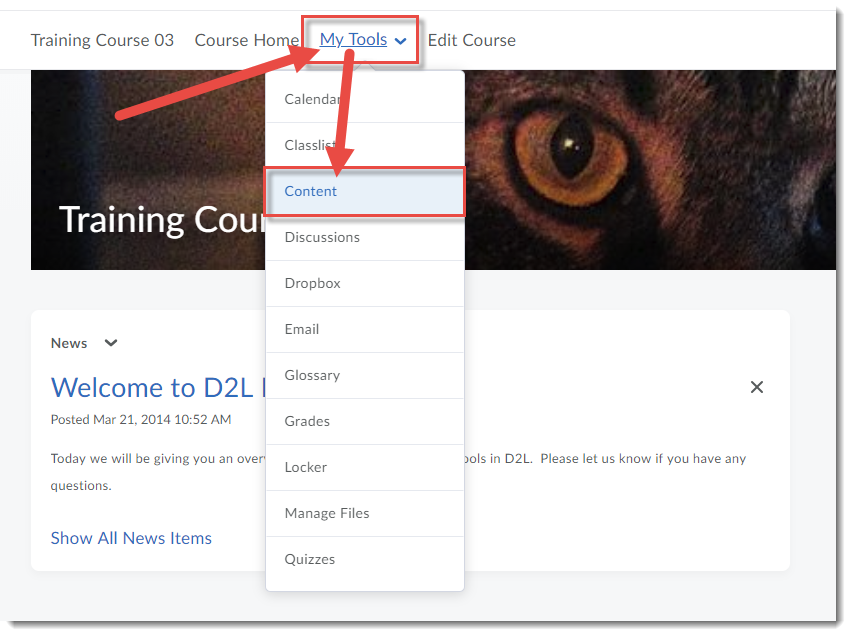
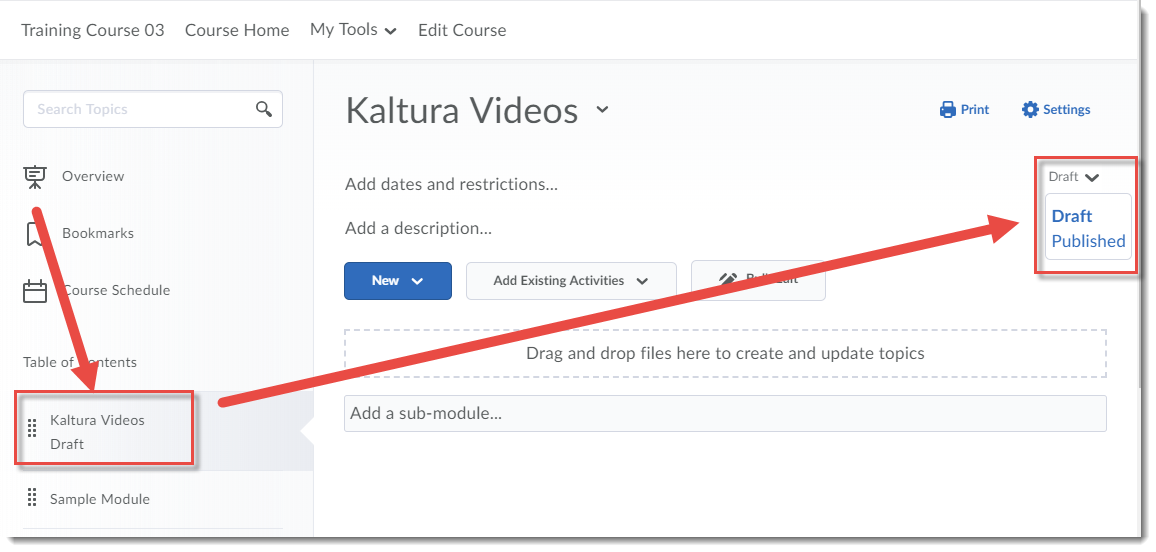
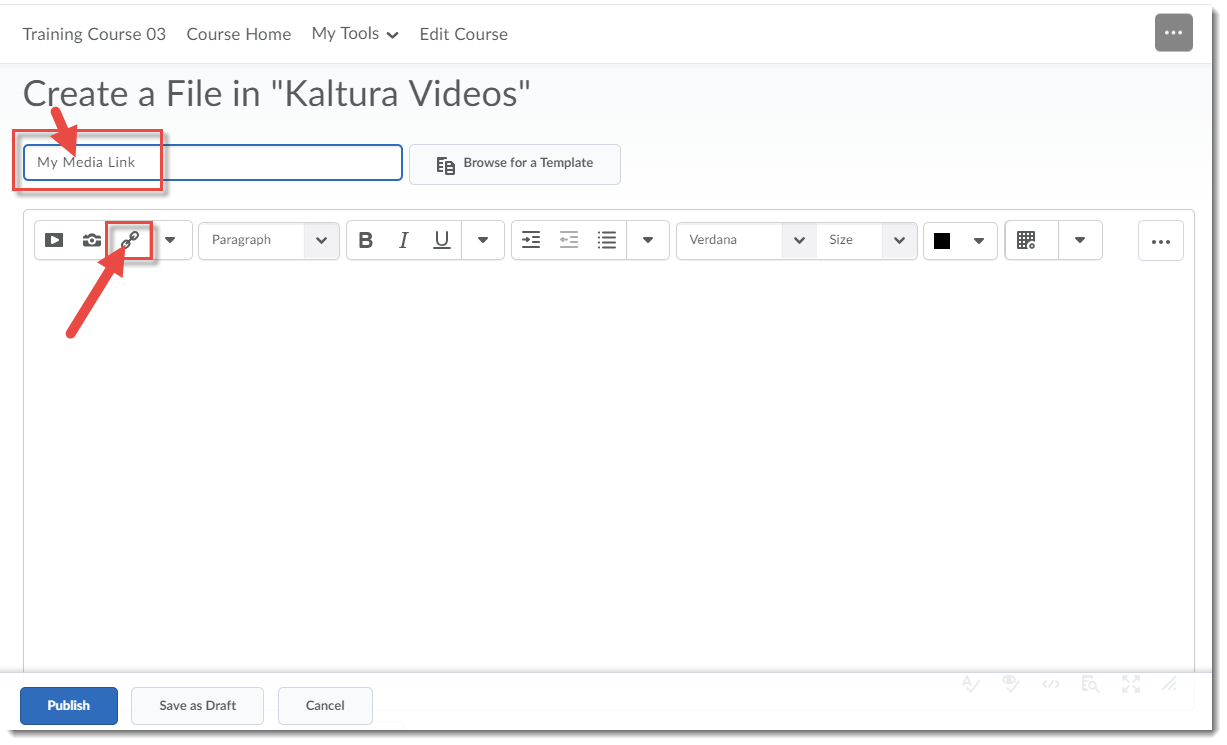
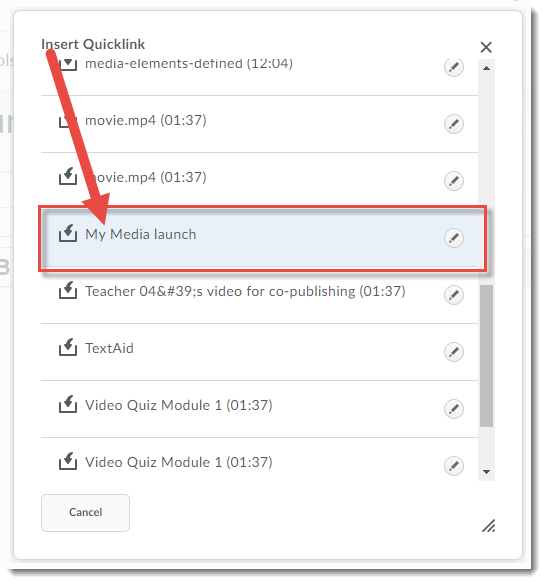
Kaltura is an External Learning Tool in D2L, and has two sides: a personal My Media space (which links a user to a personal media upload space) and a Course Gallery (which you can set up to contain all the media for that specific D2L course site).  You can either set up a link to your My Media area in a draft Content topic (preventing students from using it) or add links to My Media and/or the Course Gallery on the NavBar or My Tools menu in your D2L course.

2.      Can my students use Kaltura in D2L?

If you have the My Media link on your NavBar or My Tools menu, your students will also be able to upload video to their own personal My Media space.  You will need to make sure they have access if you are requiring them to upload videos to Discussions or Dropbox for assessment.

3.      Can I share videos with other instructors?

If other instructors have access to copy components from your D2L site (we recommend using a DEV or Master Course site for this purpose), they can copy videos embedded in Content, and from other tools with video embedded in the HTML editor.  They would either copy the whole course, or select the appropriate components (for example, Content and External Learning Tools) to copy into their own course site.

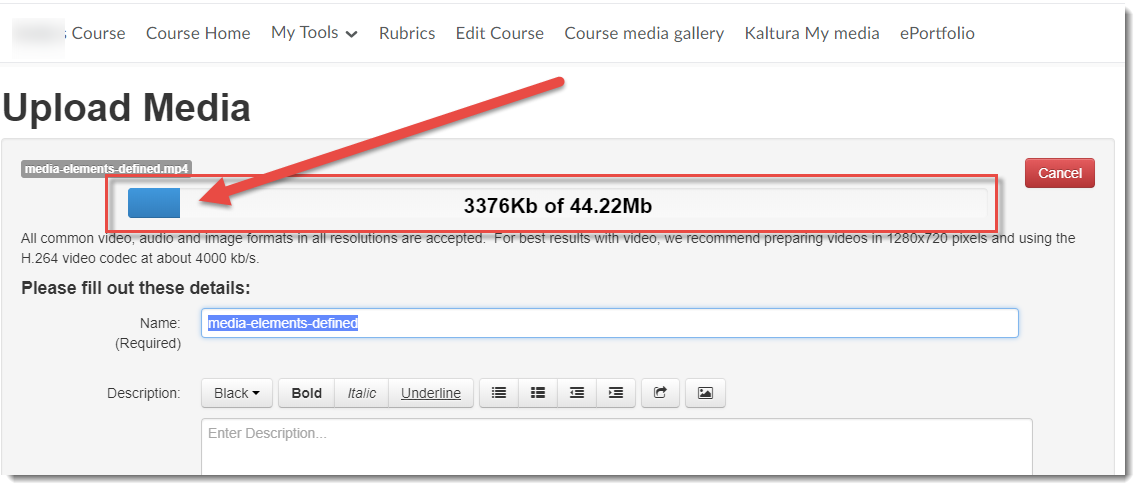
4.      Can I create a video in Kaltura?

You can use the Kaltura Capture tool to create audio files and/or video containing video captured from your webcam and/or your computer screen(s).  In addition, you can use Kaltura Capture to create a PowerPoint presentation with voiceover.  And yes, students can also use this function.

5.      Can I add YouTube videos into my Kaltura?

You can add YouTube videos to your My Media space, and also include them in playlists you create in the Course Gallery. This means when you embed these videos into a Content page, for example, they will play without advertising or providing “helpful” suggestions for additional videos to watch.

6.      Do Kaltura videos have closed captions?

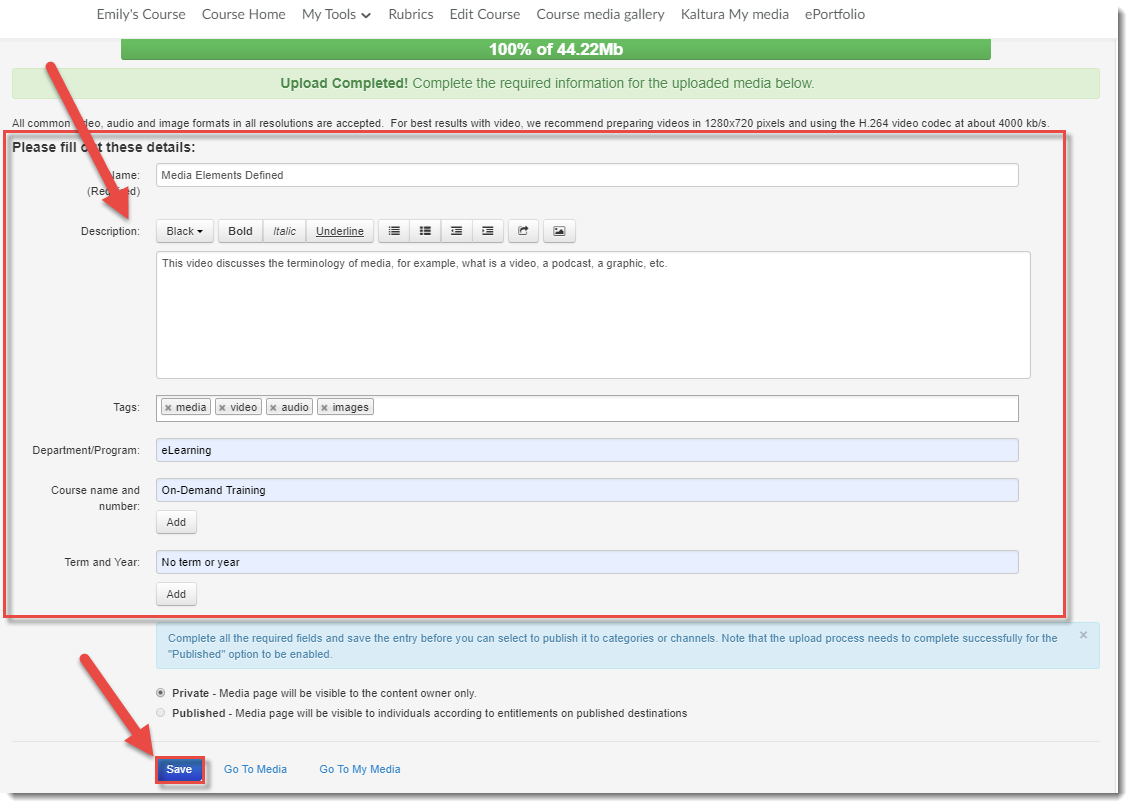
Every video you upload to Kaltura will have captions automatically created for it.  You can then edit the captions if they are not accurate, or replace the auto captions with paid captions if you have arranged for those to be created.  Be aware: the automated captioning is about 70% accurate and is it your responsibility to ensure captions are accurate.

7.      Can I edit videos in Kaltura?

You can make minor edits to videos through Kaltura (for example, you can trim beginnings and endings of a video, or chop pieces out of it).  If numerous edits are needed, especially if they are complex, we recommend you make them in a video editing program on your own computer before uploading your video to Kaltura.

8.      Can my students download my videos or audio files?

No.  At this time, you cannot give permission to students to download media from Kaltura.  You could, however, email copies of your media to students if you need to.

9.      Where can I get help with Kaltura?

You can get help with Kaltura from eLearning.  Contact desupport@camosun.ca to arrange for a consult with an instructional designer to get you started!

10.   What else do I need to know?

  • You can create Interactive Video Quizzes out of your uploaded videos, adding multiple choice, true/false questions, or reflection points. These can be connected to the gradebook in your D2L course.
  • You can also create Playlists from videos you add to the Course Gallery, so you could, for example, create a playlist of videos for each of the Modules or Units or Topics in your course. You can then embed these playlists in the Content area.
  • When creating a video for a course, consider its purpose and length. First, take some time to consider if video is the best presentation option for the content in question.  Remember, you can present content in multiple ways – use video when it makes the most sense.  Second, the longer the video, the longer it takes to plan and create, edit, and upload it into Kaltura.  In addition, research shows that students stop absorbing video content after about 6 minutes, so keep your videos short and sweet, and make sure to chunk longer videos into shorted pieces.

What’s this Kaltura I keep hearing about?

Kaltura is a streaming media tool that is coming to Camosun. This means faculty and students will now have a place to upload, create, and edit their course-related videos. Kaltura also integrates with D2L, meaning that you can upload, create and edit videos through D2L, and those files can then be viewed on a course page or in your course’s media gallery. It is this integration which we are launching first this spring.

Kaltura can be used to:

  • Upload images, video, and audio files to your course that you can then embed in the HTML editor (wherever it appears in D2L), or as a Topic link in the Content tool.
  • Do some basic editing of your video files right in D2L (note that we do recommend that more complex editing be done in video editing software, as the tools in Kaltura are limited in scope)
  • Create webcam and screen capture recordings (for example, create a voiceover PowerPoint presentation with picture in picture, or capture how to use a piece of software with audio)
  • Create interactive video quizzes (which can then be connected to your gradebook)
  • Collect video and audio assignments from your students
  • Add YouTube videos into your Kaltura media list – this means when you embed these videos, they will play without advertising or providing “helpful” suggestions for additional videos to watch.

In addition, you will be able to

  • Share videos with other instructors
  • Create playlists of videos for your course
  • Use closed-captioning to ensure your videos are accessible
  • Add tags so that your videos can be searched for
  • View analytics on who has watched a video, how long they spent on it, etc.
  • Add Creative Commons licencing to your videos

More information about how you will be able to access Kaltura through D2L will be coming in late April. And a series of hands-on sessions will be offered the first week of June. Go to https://decamosun.wordpress.com/2019/01/28/elearning-spring-workshops-open-for-registration/ to find out more.

If you have any questions about how and when you can have access to Kaltura, or would like a demo or to talk to someone about how you might use Kaltura, contact desupport@camosun.ca to arrange for a meeting with Bob Preston, or one of our instructional designers.