This tutorial is designed for faculty who have previous experience using D2L. For further information, please contact desupport@camosun.ca for assistance.
Scenario
This tutorial will cover the steps involved when you wish to see what your course looks like to a student. This is especially handy when you have “hidden” components in your course and want to double-check to make sure your students can’t see them.
View as Student
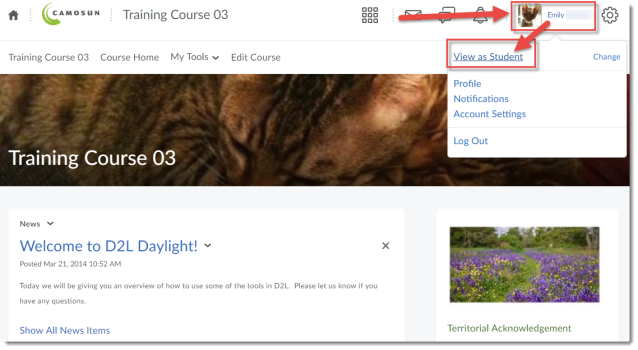
- Go to your course homepage.
- Click on your name in the top right-hand side of the page, and select View as Student.

You will now see your course as a student would, with the following exceptions:
- Viewing as Student means that you are still “you” – you simply lose access to the editing functions you have in your normal “teacher” role. This means if you post a discussion message or send an email while Viewing as Student, those will appear as if they come from YOU (i.e., with your name attached).
- You can’t test group enrolment using View as Student – you can neither be enrolled as a student in a group, nor can you self-enrol into a group when viewing as student.
- While you can view the gradebook as a student, Viewing as Student does not allow for having actual grades in the Grades tool. See below for more information on how to Preview a student’s gradebook.
- You cannot complete a quiz or have that quiz’s grade sent to the Grades when Viewing as Student. See below for more information on how to Preview a quiz.
- You cannot submit a Dropbox assignment and have the grade sent to the Grades when Viewing as Student. See below for more information on how to Preview the Dropbox.
- You can’t be attached to Special Access when Viewing as Student.
- To stop Viewing as Student, click on your name again, and click on the X next to Viewing as Student.


Previewing Quizzes
While Viewing as Student won’t allow you to take a quiz in your course (it allows you to click on the quiz, but there will be no Start Quiz button), you can Preview a quiz which allows you to test a quiz.
- Go to the Quizzes tool in your course.
- Click on the down arrow next to the quiz you wish to preview, and select Preview.

- Read through the instructions, etc., and then click Start Quiz.

- Preview your quiz, answering questions if you like (question answers will auto save once you complete them), and click Submit Quiz when you have completed it.

- Select Allow this preview attempt to be graded in the Grade Quiz area if you like (note that this will NOT send the grade to the Grades tool!), then click Submit Quiz.

- You can now view the various Submission Views you may have set up for your quiz, then click Done.
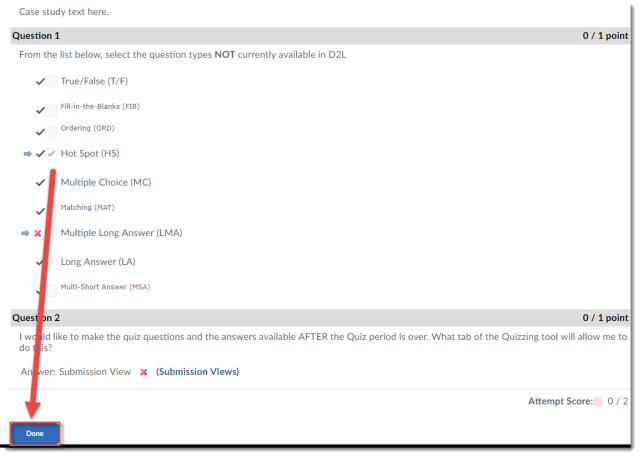
- Click Exit Preview.

- If you want to see this attempt in the Grade Quiz area, click the down arrow next to the quiz, and select Grade.

- Under Restrict to, click on the Users who have completed an attempt drop-down menu, and select Users who have previewed attempts, then click the magnifying glass above!
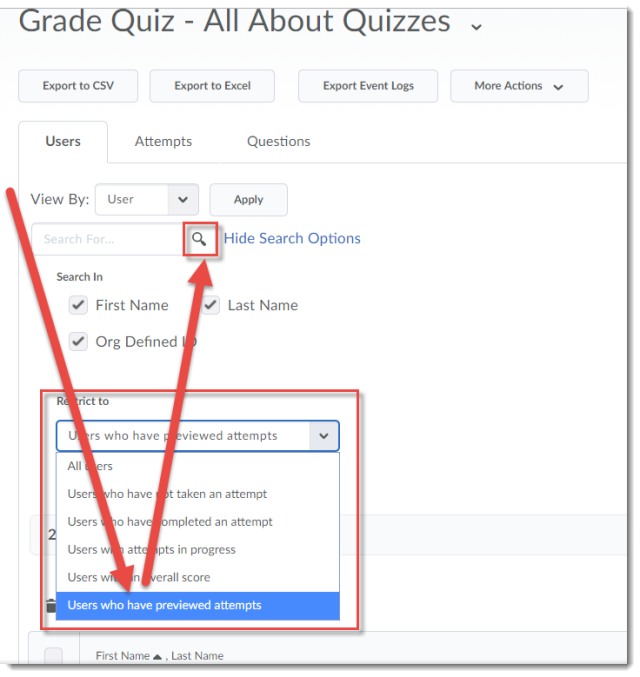
- You can then click on the attempt you just completed to look at the grading area for the quiz. See the Grading or Re-Grading Quiz Submissions tutorial for more information.


Previewing a Student’s Gradebook
Viewing as Student will allow you to see what your course gradebook will look like to a student, but you will not be able to see actual grades or feedback in this view. You can, however, preview one of your student’s gradebooks to see what grades and feedback look like to your students. This is especially useful for helping students who may be confused about where and how to see feedback in the Grades tool.
- Go to the Grades tool in your course and click on Enter Grades.

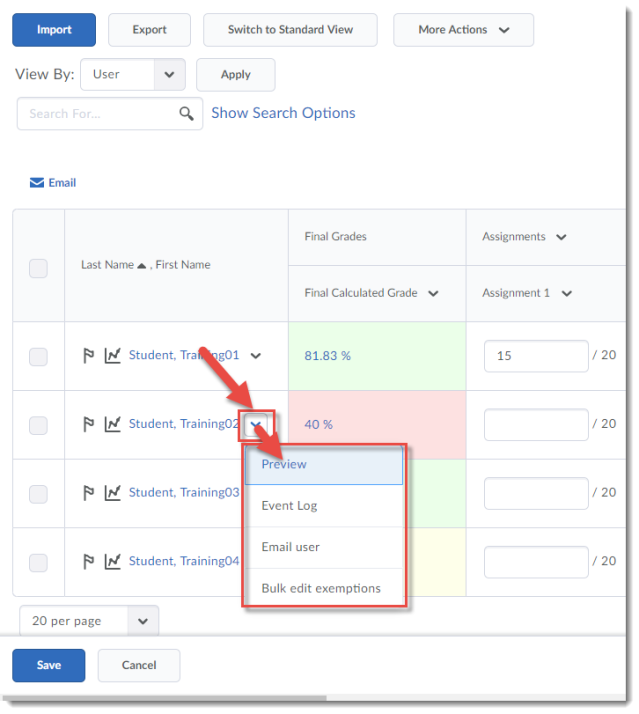
- Click the down arrow next to the name of the students whose gradebook you wish to preview, and select Preview. That student’s gradebook will open in a pop-up box.
- Click Close when you have finished previewing the student’s gradebook, and the pop-up box will close.


Previewing Dropbox
You can submit an assignment to the Dropbox when Viewing as Student, but you will be unable to view the attempt in the Evaluate Submission area. The following steps will be useful for you when you want to learn how to grade student submissions before any of your students have submitted anything.
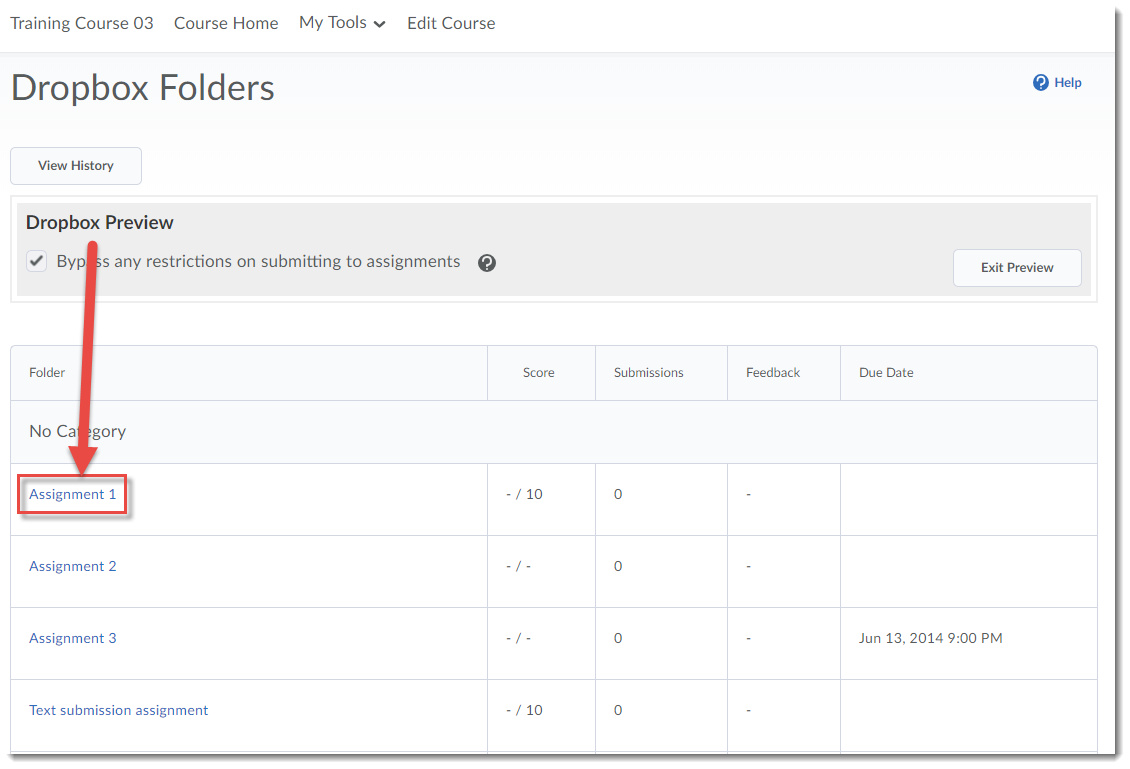
- Go to the Dropbox tool in your course. Click More Actions and select Preview.

- Click on an assignment’s title to open the submission area.

- Add a File to add your submission, add any Comments if you wish, then select Allow this preview submission to be available in the dropbox folder if you like (note that this will NOT send the grade to the Grades tool!), then click Submit.

- Click Done.

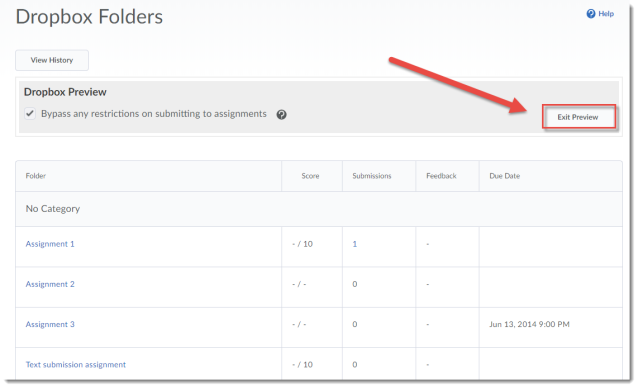
- Click Exit Preview.
- If you want to see this attempt in the View Submissions area, click the down arrow next to the assignment, and select View Submissions.
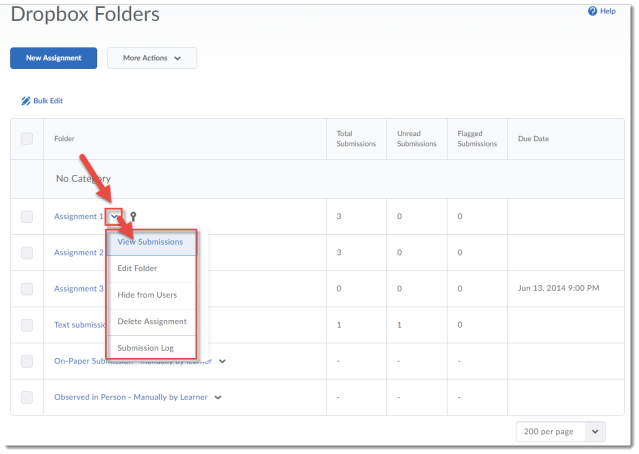
- Click Show Search Options if needed, then under Submissions, click on the drop-down menu, and select Users with preview submissions, then click the magnifying glass above!

- You can then click on the submission you just completed to look at the Evaluate Submission area for the preview submission. You can then add feedback, a grade, and Publish your feedback (it will NOT go to the gradebook). See the tutorial Grading Dropbox Submissions for more information.


Things to Remember
While there are some tools and functions you will not be able to test fully from a student perspective unless you are an actual registered student in the course (for example, Groups), you can contact an eLearning instructional designer to check those tools and functions for you in your live course sites.