It’s the end of the term, and if you are a Camosun student whose courses use D2L, you may be wondering how long you will have access to your course site, and what to do if you want to keep materials from your course.
Due to how D2L integrates with the college’s systems, student have access to their D2L course sites for 20 days after the official course end dates. If you have an accommodation need (i.e., through the Centre for Accessible Learning) for extended access, talk to your instructor who will then confer with eLearning around options for you.
Before you lose access, you may want to save content or other items from your course site for future reference, so I’ll walk you through some of the options for this.
First, you can print or save files from the Content area. To do this:
- Go to the Content tool in your D2L course.
To print documents (WORD, PDF, PPT)
- In the Table of Contents box, click on the title of the Module containing the files/pages you want to print.

- Click on the title of the content page you want to print.
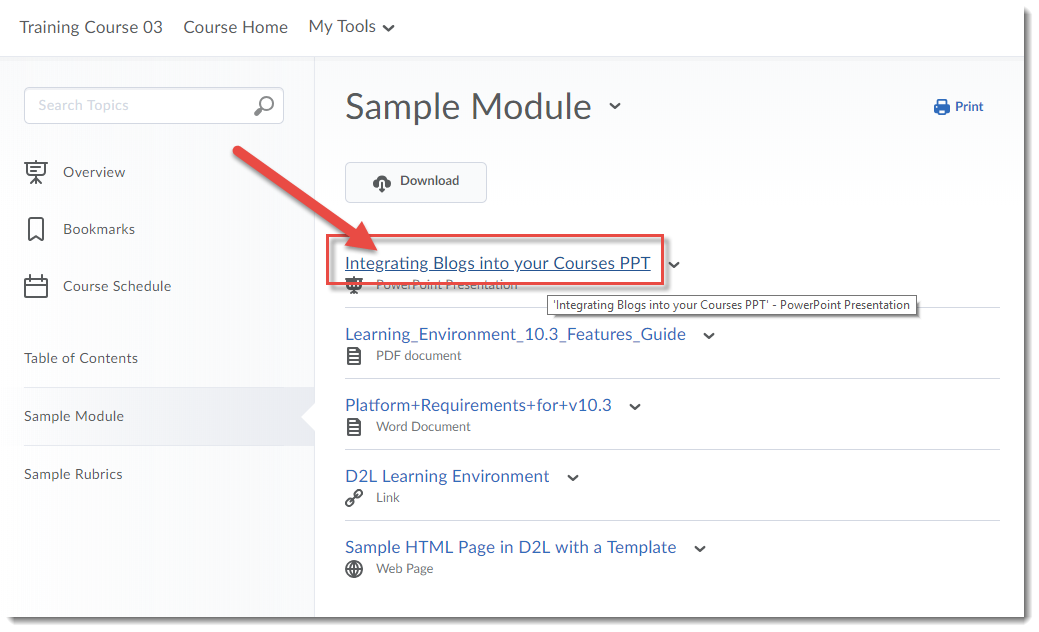
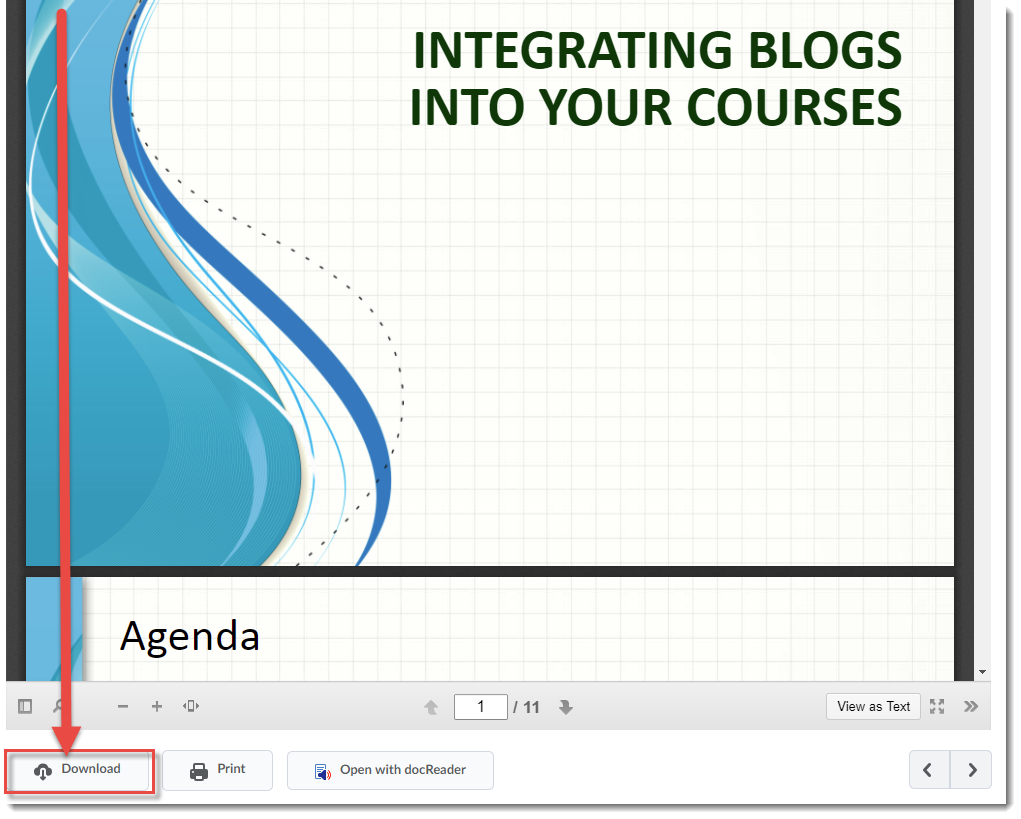
- Scroll down to the bottom of the content page and click the Download button to save the file to your computer, then open it in the appropriate program (for example, WORD or PowerPoint) and print the document from there.


To print multiple pages of Content
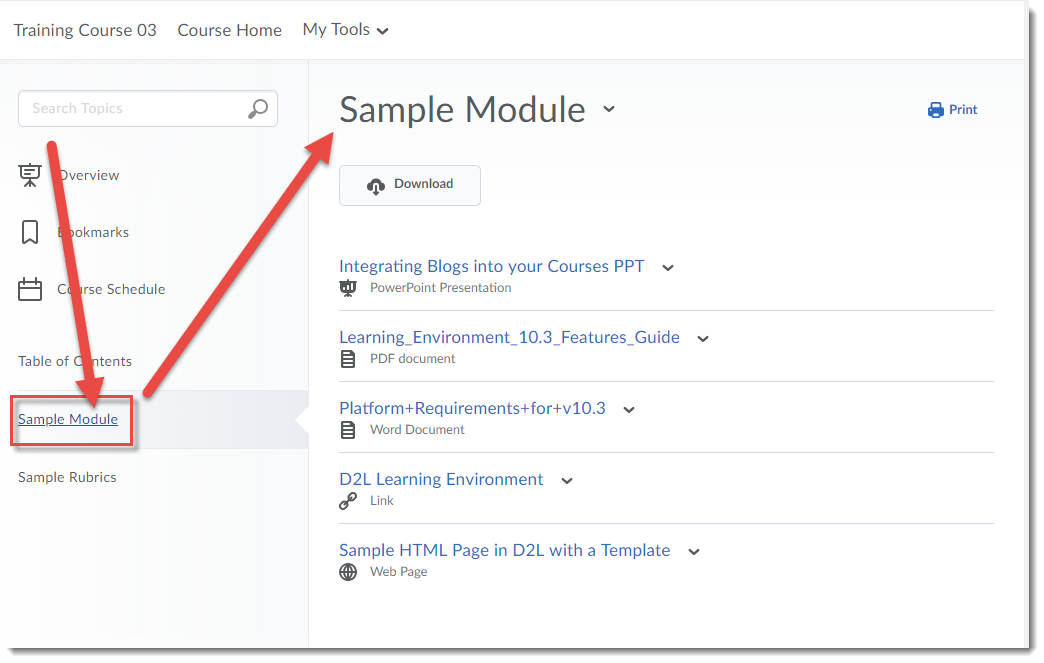
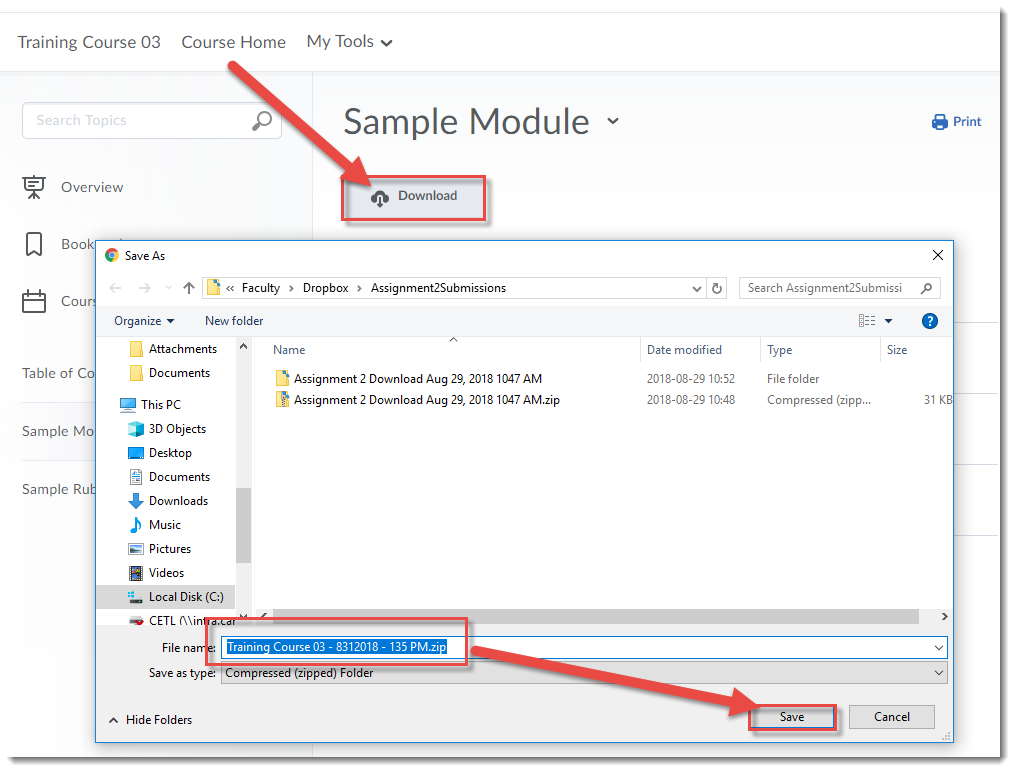
- In the Table of Contents box, click on the title of the Module you want to work with.
- Click the Download button at the top of the page. The files in the Module will be “compressed” into a zip file, which you can save onto your computer, and then unzip into separate files which you can then print.

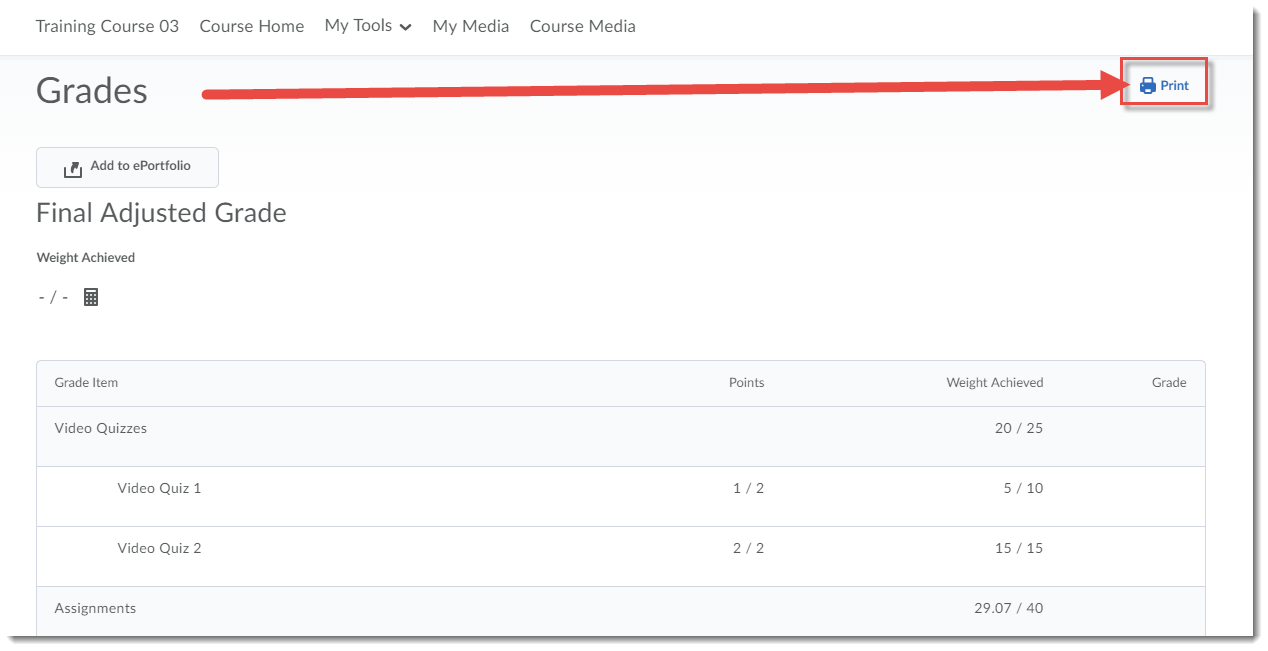
You can also print your Gradebook, or use the print function to save your Gradebook as a PDF file. To do this:
- Go to the Grades tool in your D2L course.
- Click Print (at the top, right of your Grades area).
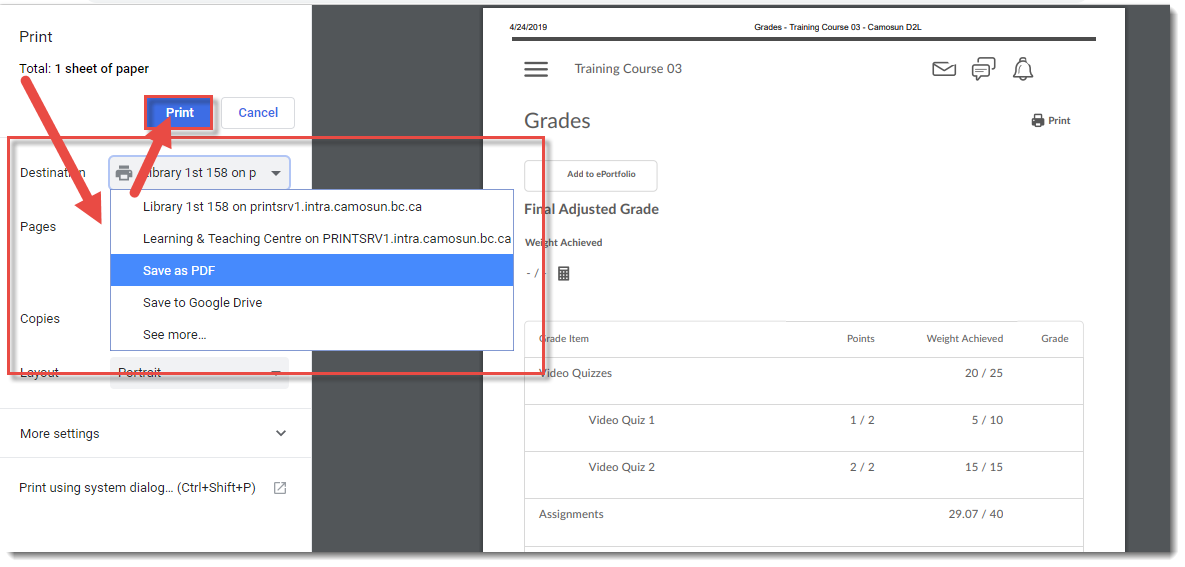
- Select your printer, or change the Destination to PDF to save your Gradebook as a PDF file on your device. Click Print.


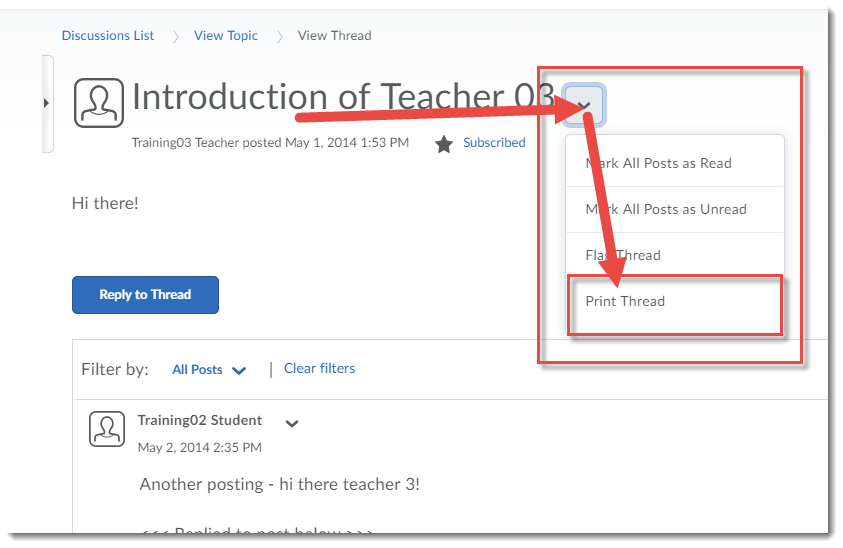
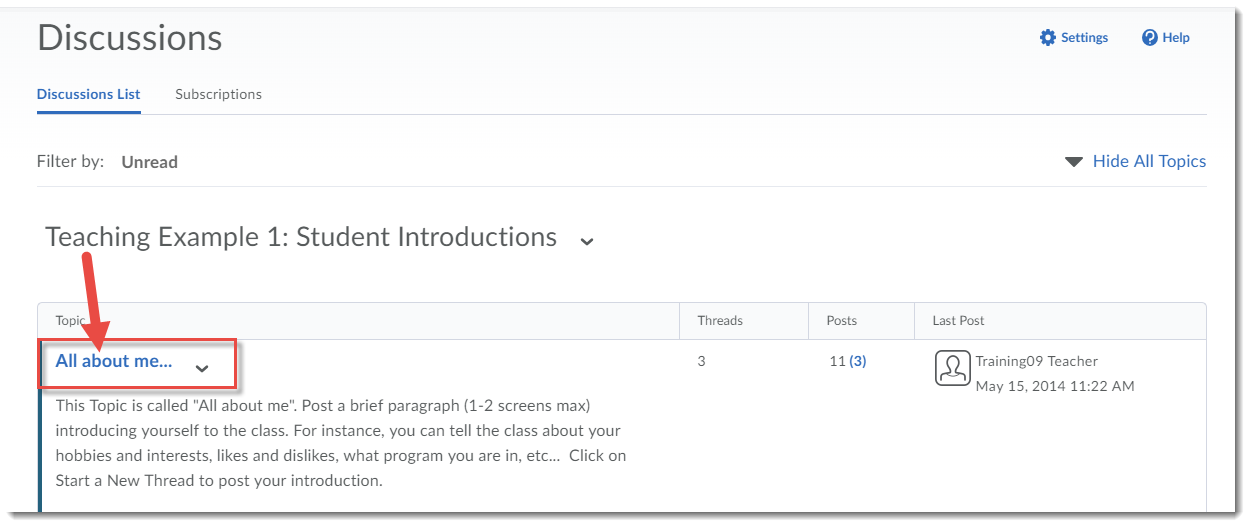
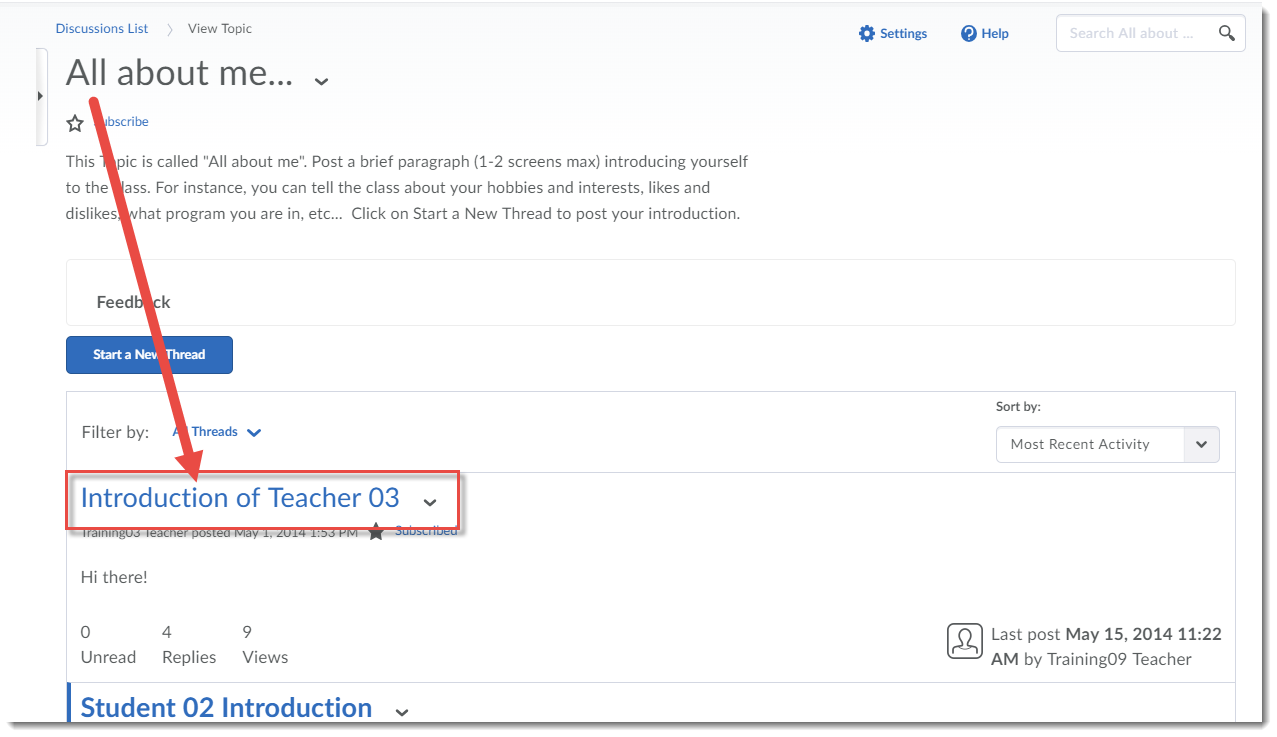
To save Discussion posts, you can print threads by:
- Go to the Discussions tool in your D2L course.
- Click on the Topic you want to print from.

- Click on the Thread you want to print.

- Click on the down arrow next to the Thread title, and select Print Thread.
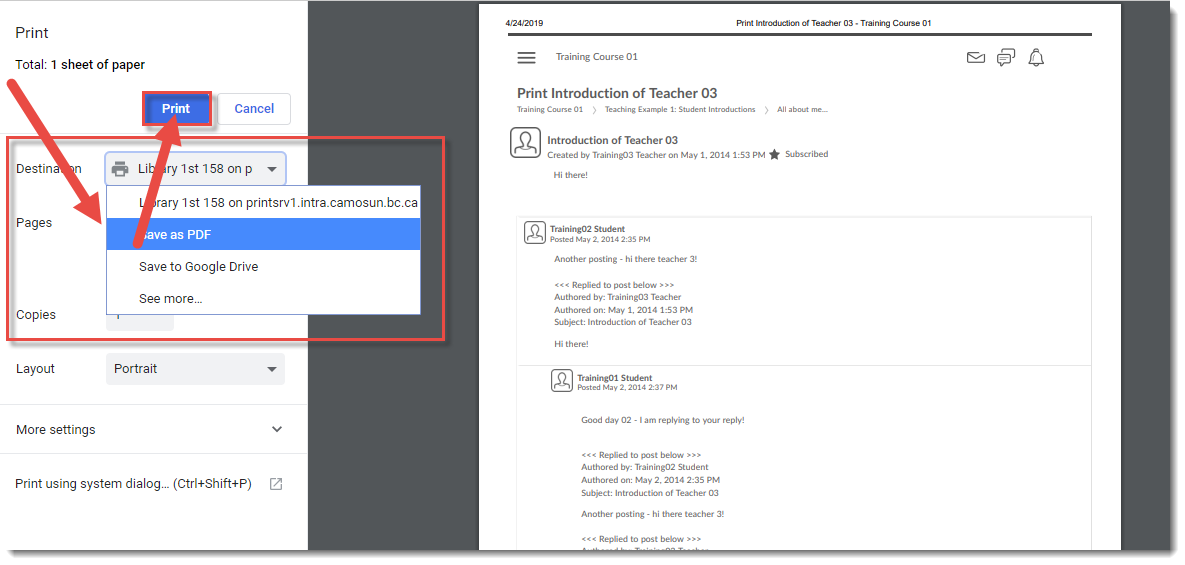
- Select your printer, or change the Destination to PDF to save the Thread as a PDF file on your device. Click Print.


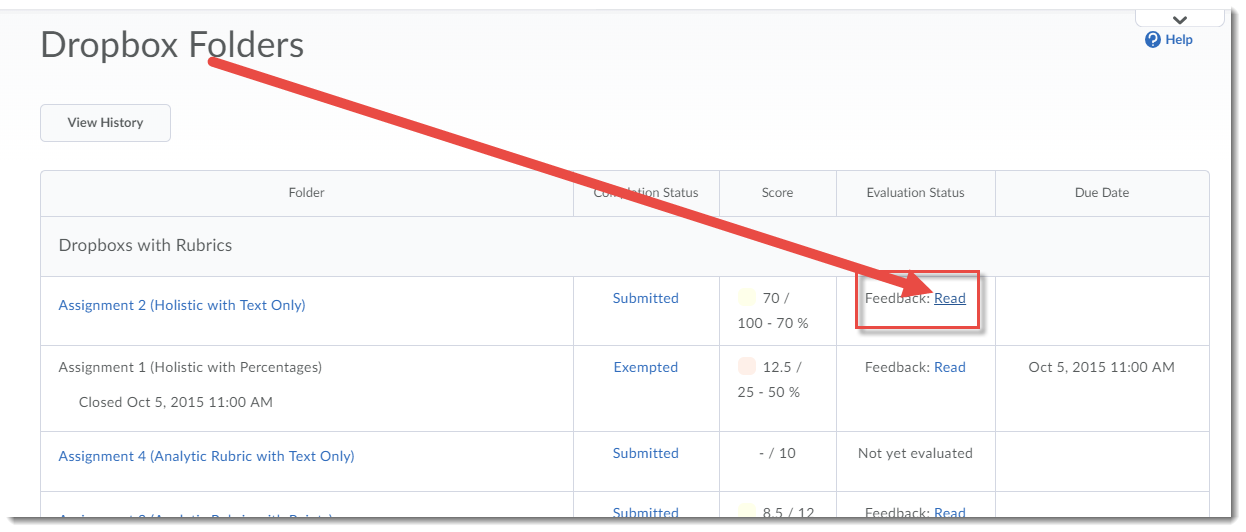
Make sure to download any feedback files you may have received from your instructor in the Dropbox tool by:
- Go to the Dropbox tool in your D2L course.
- In the Evaluation Status column, click the Read link to go to the feedback you wish to print.
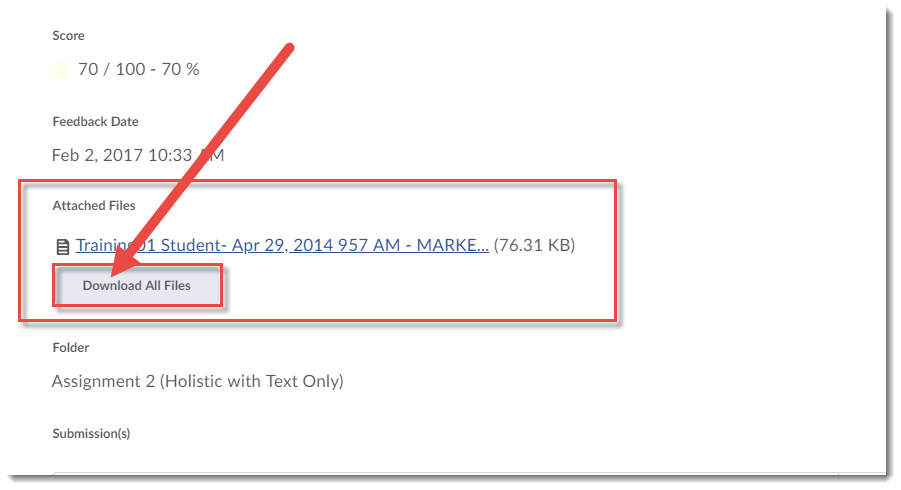
- Scroll down to the Attached Files, and click Download All Files to save the feedback files to your device.

- If you have graded Rubrics attached as feedback to your Dropbox submission, you will need to print them (or print them as a PDF to save to your device) by using the Print function in your Internet browser.

Note that you will not be able to save any Quizzes you completed.
If you have questions about saving any other information from your course site, talk to your instructor.