Last May, Bob Preston (one of our amazing eLearning Support crew) and I ran a workshop for faculty that I called “D2L Design Considerations for Mobile Devices”. In this post, I am going to give you a bit of a synopsis of this workshop, and let you know what you might want to think about when setting up your D2L course site to ensure it is viewable on mobile devices, such as iPhones and iPads.
My conversations with faculty over the years, and surveys and interactions with students, tell us that more and more students are using mobile devices (phones and tablets) to work in their D2L course sites. But faculty don’t often know what their sites actually look like on smaller devices. So, for this workshop, while it was held in a computer lab, I asked faculty to bring their tablets and phones so they could try out some design techniques to make sure their students can get the most out of D2L course sites on their own devices.
The outcomes of the workshop were for participants to be able to:
- Know better how students are viewing their D2L sites on mobile devices
- Integrate mobile accessibility considerations when designing and adding materials
- Consider how they will discuss D2L on mobile devices with students
First, we looked at the homepage of D2L on a phone. I should first note that you don’t need to download an app to use D2L on a mobile device anymore. It has been redesigned to work on browsers. The first image shows what the main Camosun D2L page looks like on a phone – note the “hamburger” menu pointed out on the top left – and the second image shows what it looks like when you click on the “hamburger” menu:
And here is a sample course homepage. Note that if you move your News widget to another location on your homepage, it will NOT be the first thing student see if they are working on their phones.
Next we took a look at the Content tool to check to see what students see for various content pieces. When we open a piece of content on a phone, we see the larger context of the Content tool can be lost (or seemingly lost) on a small device, so it becomes easier for students to “not see” things like the Print or Download buttons (they have to scroll down), and the pages themselves can become so small as to be illegible. The key is organization AND showing (and reminding) students of how D2L is being used for the course.
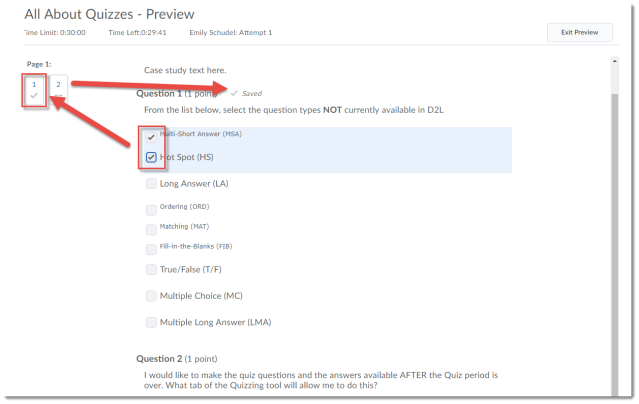
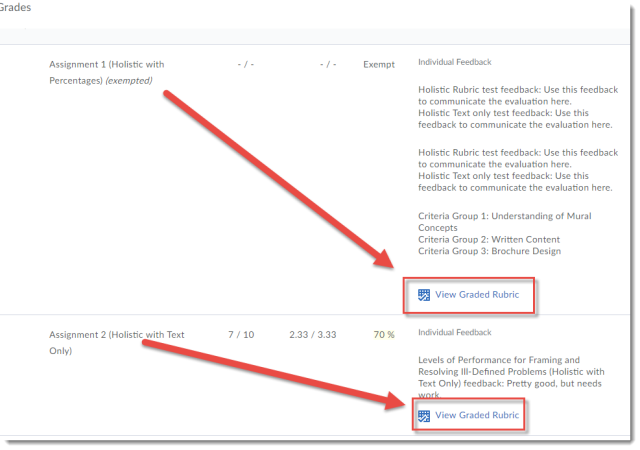
Using the Quizzes tool on a mobile device works relatively well, although we recommend you Preview your quizzes on a phone to check for image size etc. With regards to Dropbox, you may need to advise students on how to upload files from a mobile device (especially if it is an Apple device) and caution them that viewing rubrics might be challenging on a smaller device as students will need to scroll (using the arrows as seen below) to see the full rubric table. This will be the same for students viewing their gradebooks on a phone.
To conclude, based on our experience with common support issues, and questions raised by participants in this workshop, we in eLearning will be looking at developing some tutorials for students using D2L on mobile devices, and additionally will continue to encourage faculty to look at their sites and content on smaller devices, such as phones, and to advocate for accessible course design (Universal Design for Learning) as it relates to both D2L in general, and mobile devices. So, stay tuned as we begin our work!


