ReadSpeaker “is a web-based personal literacy support tool that makes it possible for the user to listen to texts and documents using text-to-speech technology in a standard web browser”. We will be looking at the version of ReadSpeaker which is found in the Content tool of D2L. Some of you may have already seen ReadSpeaker in action, but for those of you who haven’t, this post will introduce you to how to access and use it in Content.
As noted above, one of the functions of ReadSpeaker is to read text-based content (HTML files, WORD documents, PDF files, etc.) aloud. This gives your students the opportunity to either listen to the content through headphones in situations where they might not be able to read easily (for example, while driving, or when using a phone), or to read and listen to the content at the same time (which is especially useful when trying to assimilate complex content).
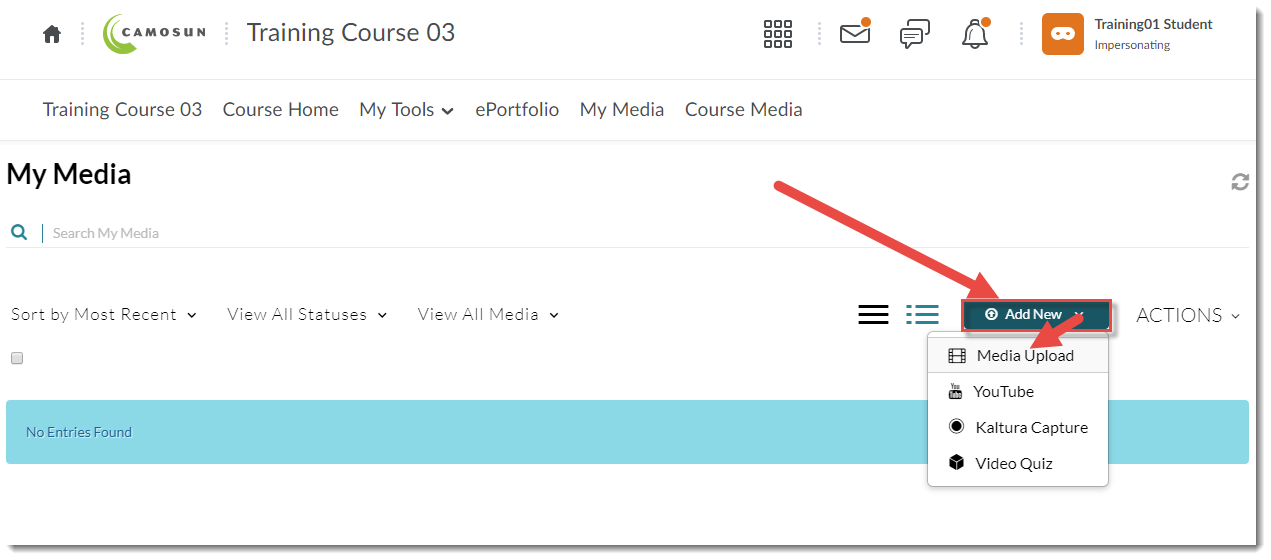
There are two main ways ReadSpeaker can be accessed in Content, and we will look at each in turn.
First, for reading “web pages”.
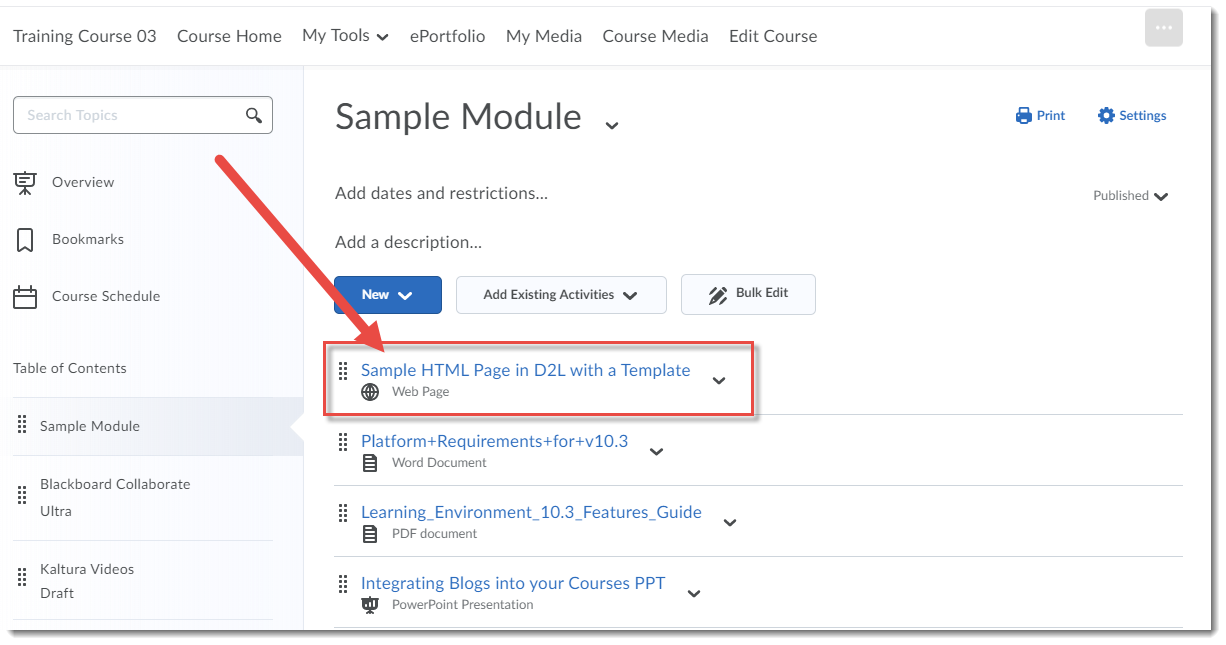
- Go to the Content tool in your D2L course.
- Click on a page that is identified as a Web Page (if your course does not have “Web Pages”, see reading for WORD documents, etc.)

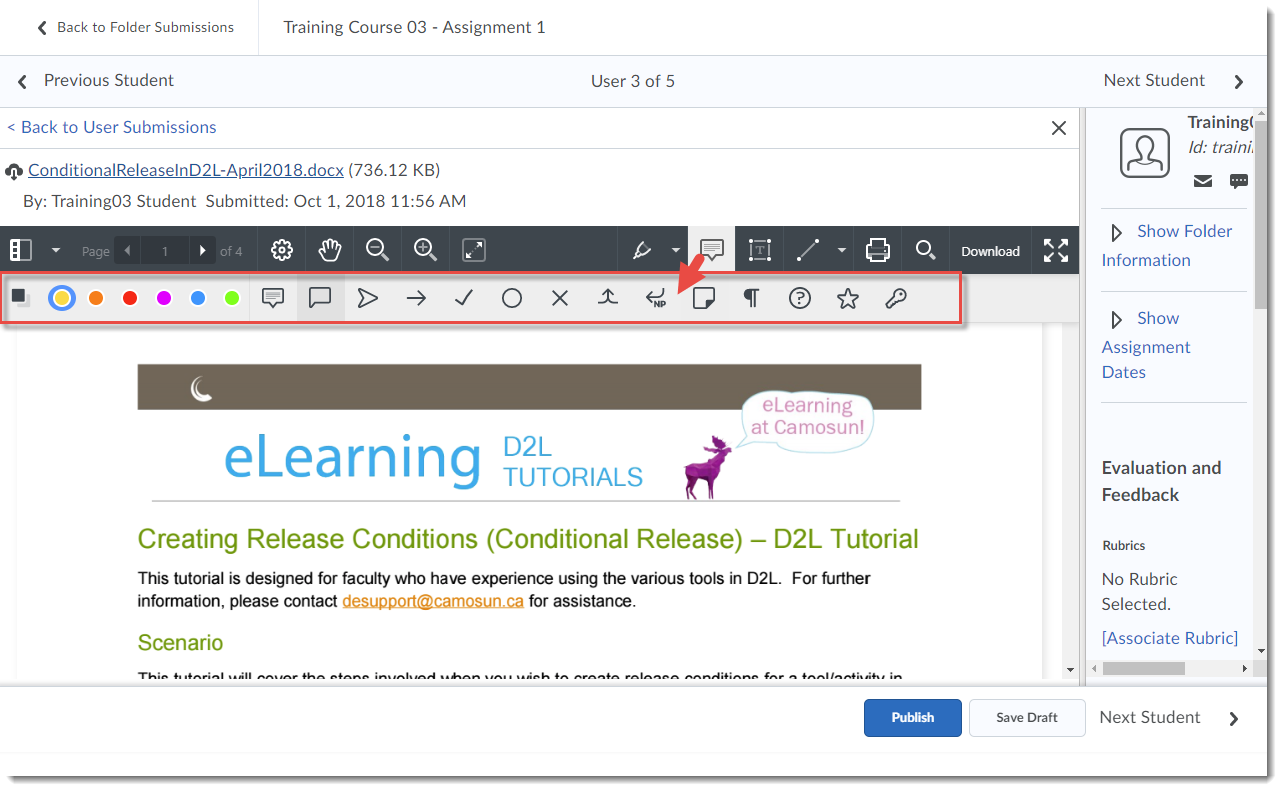
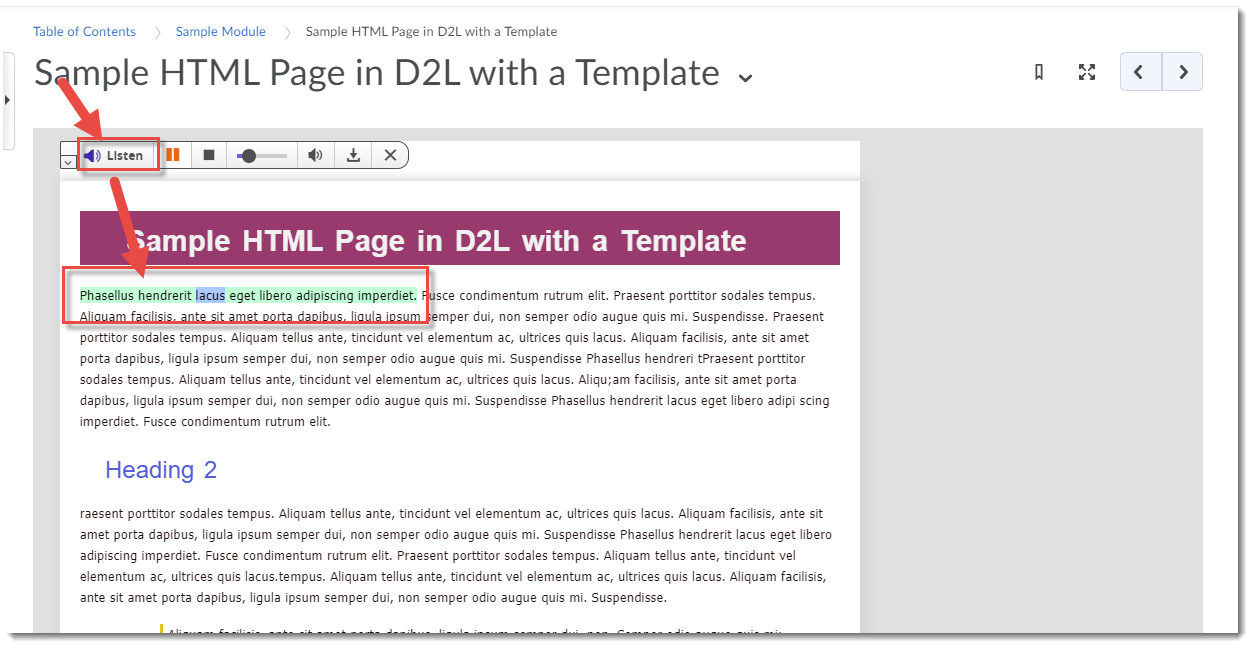
- Click the Listen button at the top, left, and ReadSpeaker will start reading the webpage from the beginning, highlighting words as it reads them.

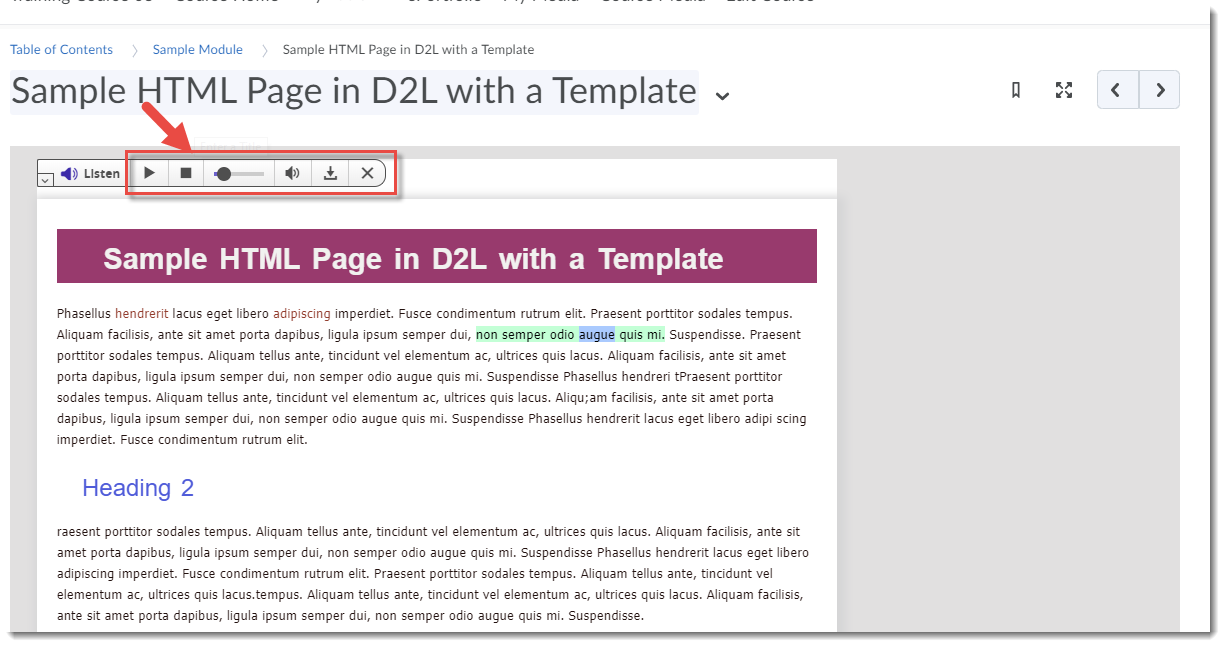
- The Listen toolbar controls include: Pause or Stop buttons to pause/stop play, the Seek bar slider to move forward through the document, the speaker icon to adjust Volume, and the Download icon to save the audio file to your device as a MP3 file.
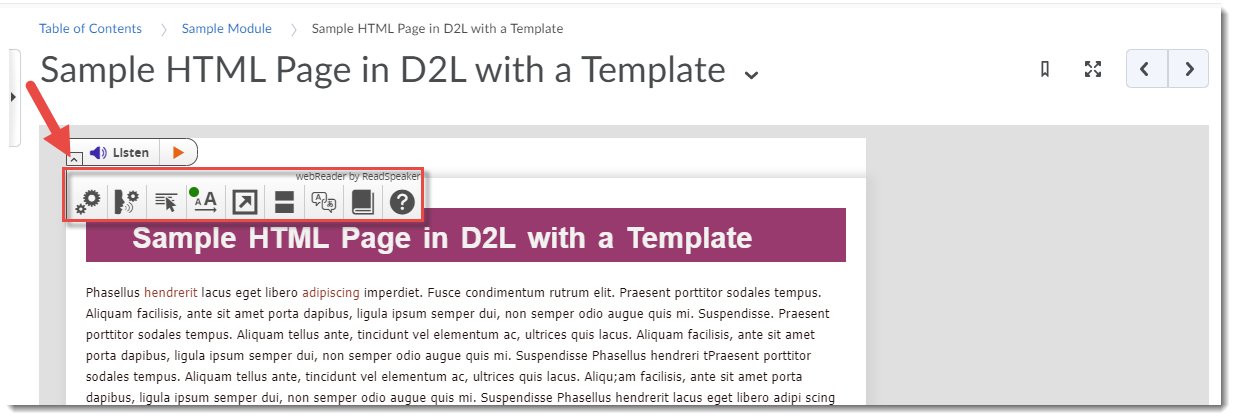
- Click the little down arrow to the left of the Listen button to find additional options, including:
- Settings: change the Reading speed, Highlighting (word and/or sentence, and colour options), Text Settings (font size, type, colours), General (scrolling, etc.).
- Changing between American and Canadian English
- Read on Hover: click then hover your mouse over the part of the document you want to hear.
- Enlarge Text
- Simple View: Highlight text first, then click Simple View. A box will open showing the selected text without any formatting.
- Page Mask allows you to highlight parts of the text as it is being read (the mask is a light horizontal block while the rest of the page is darkened). Click + to make the block larger, and – to make it smaller, click X to turn off Page Mask.
- Translation: Highlight text first, then click Translation (and the language you wish the text translated to). A box will open with the translation.
- Word Lookup: Highlight a word, then click Word Lookup. The definition will open in a box.
- Help (opens a Help box).


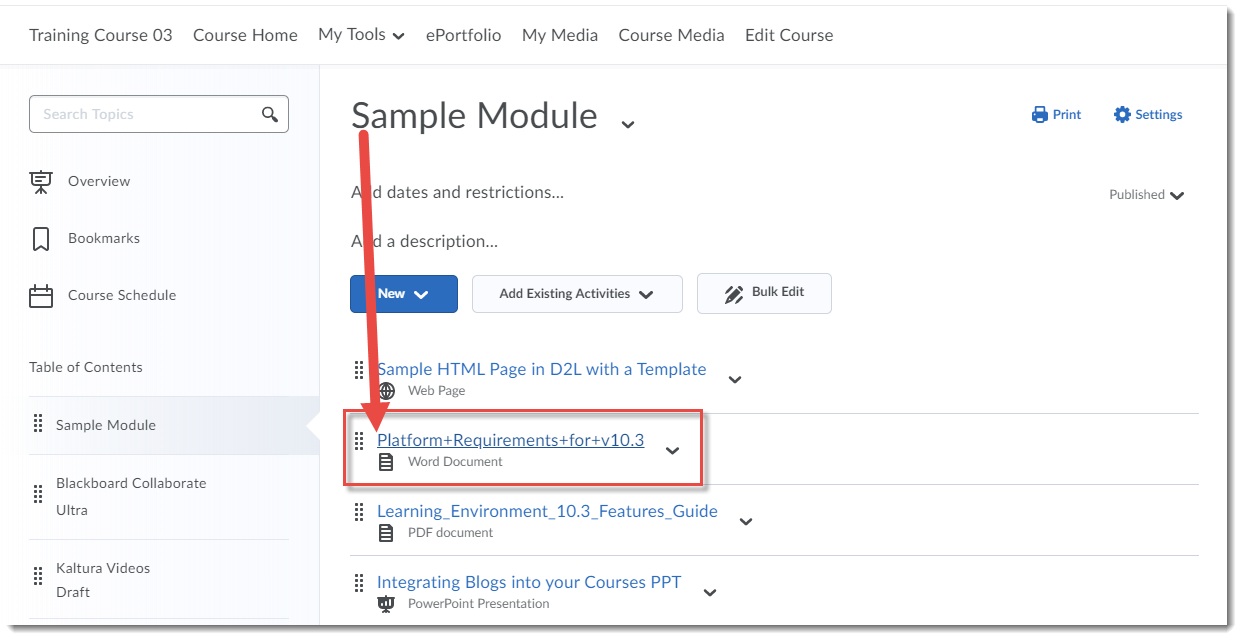
Second, for reading WORD documents, PDFs, and PPTs.
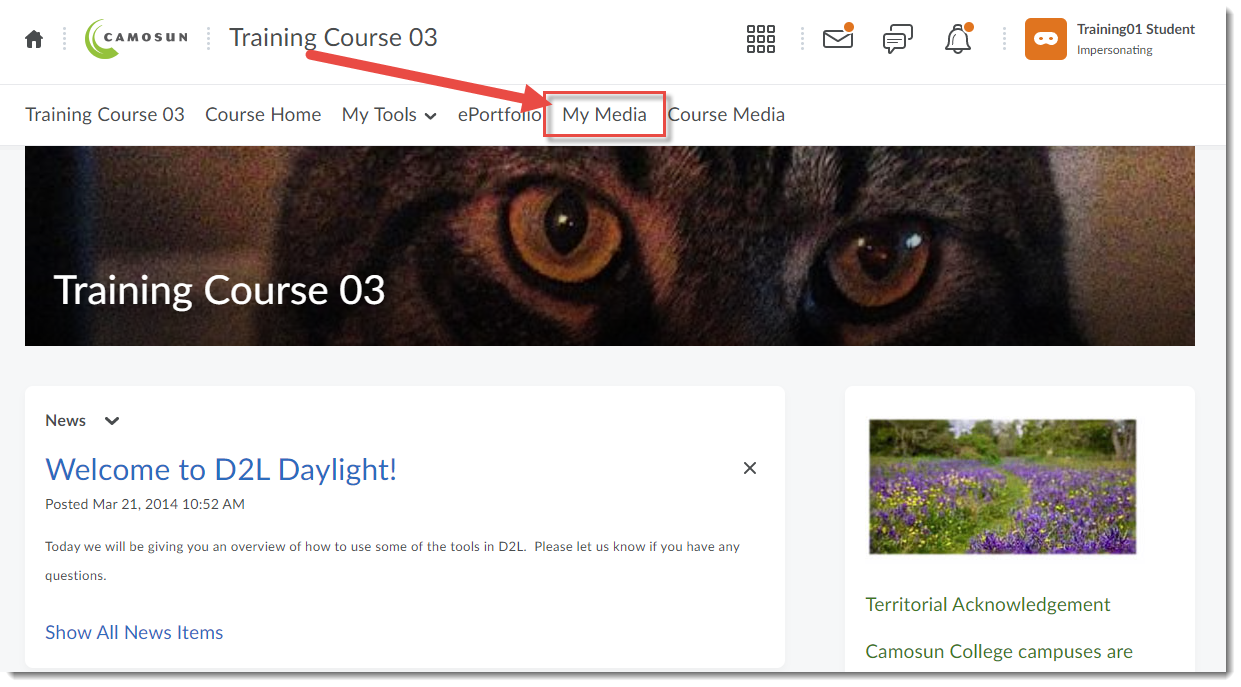
- Go to the Content tool in your D2L course.
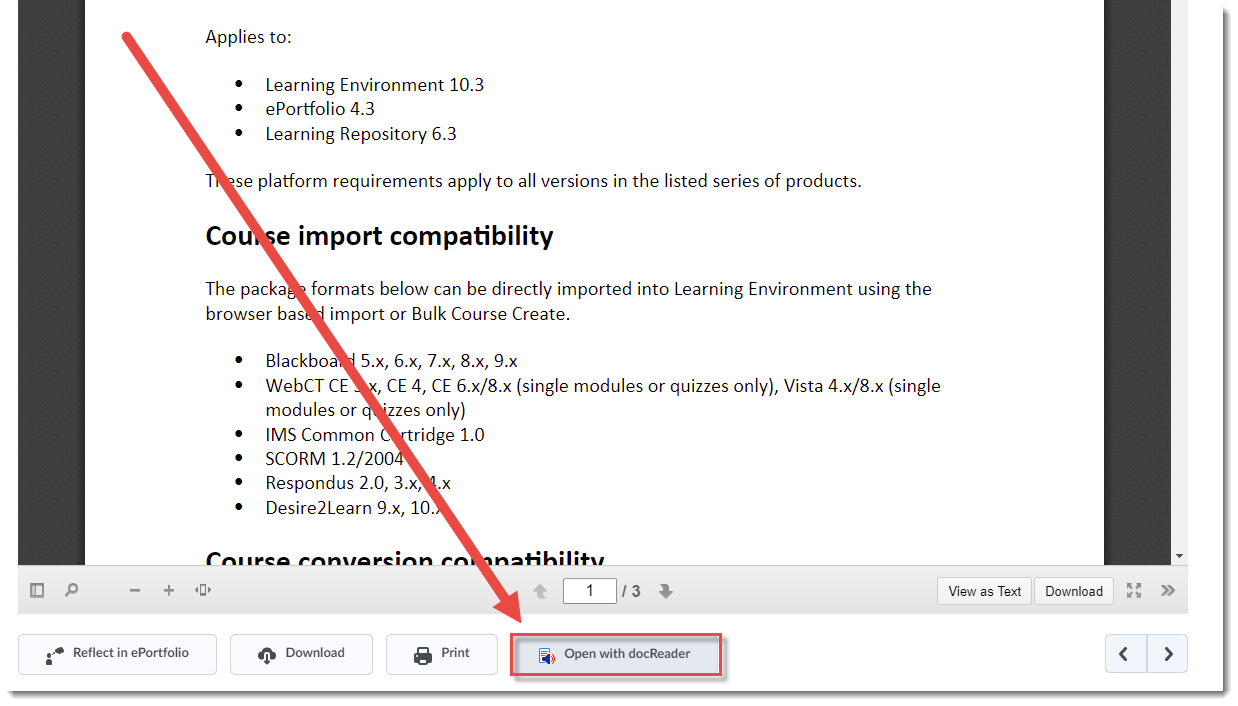
- Click on a page that is identified as a Word Document, PDF document, or PowerPoint Presentation.

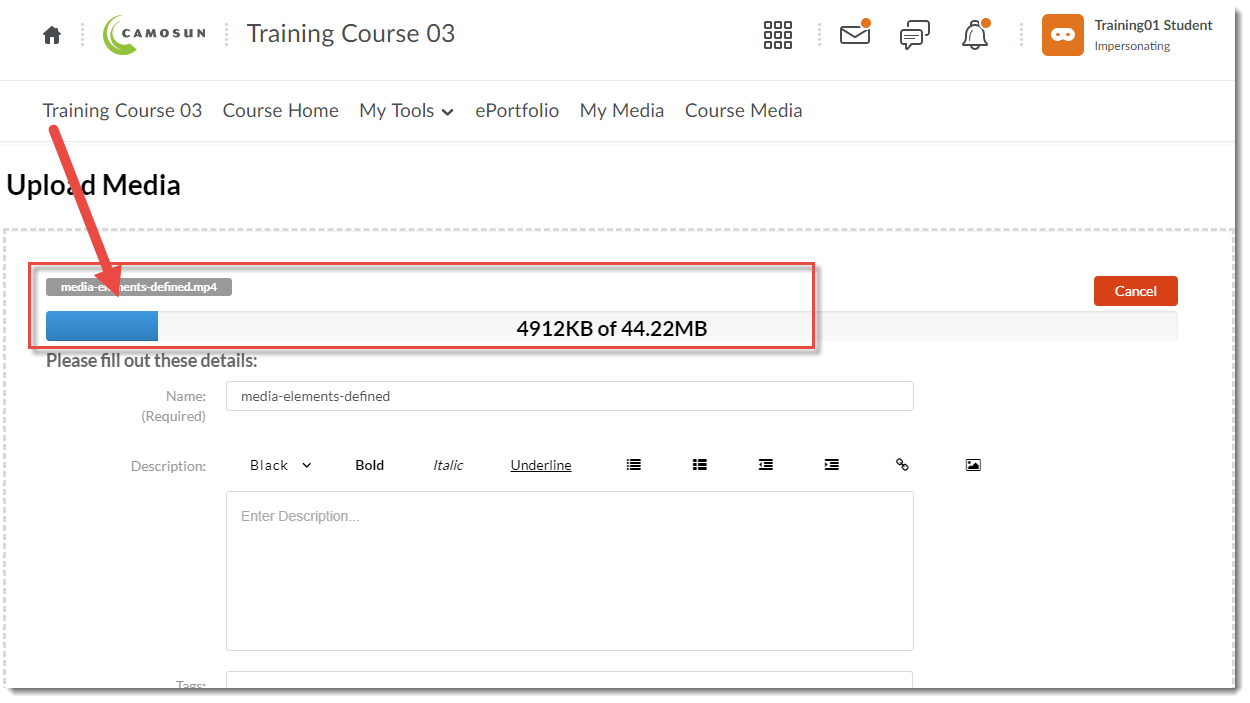
- Scroll down to below the page that opens, and click the Open with docReader button.
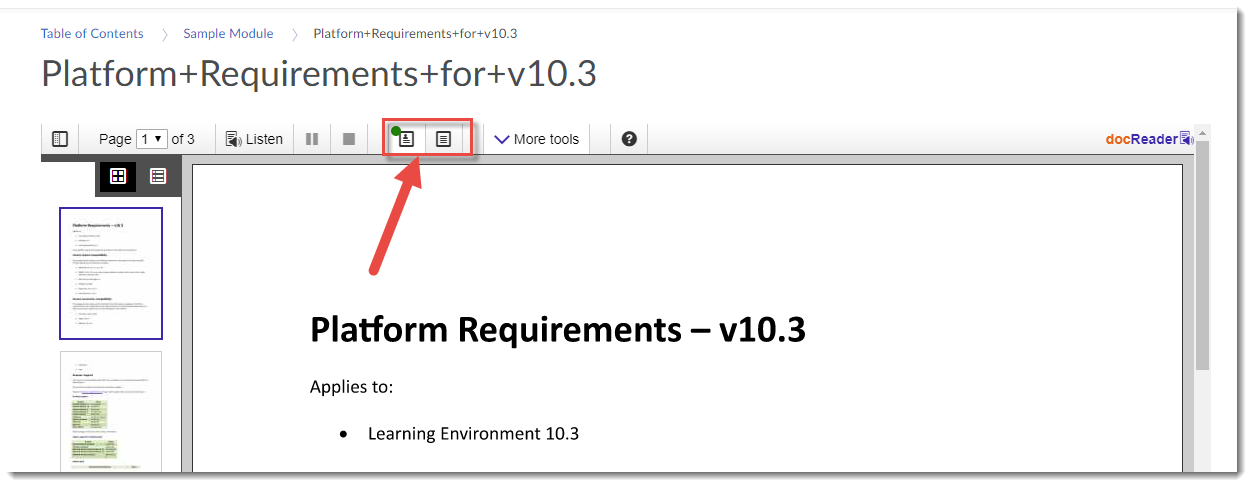
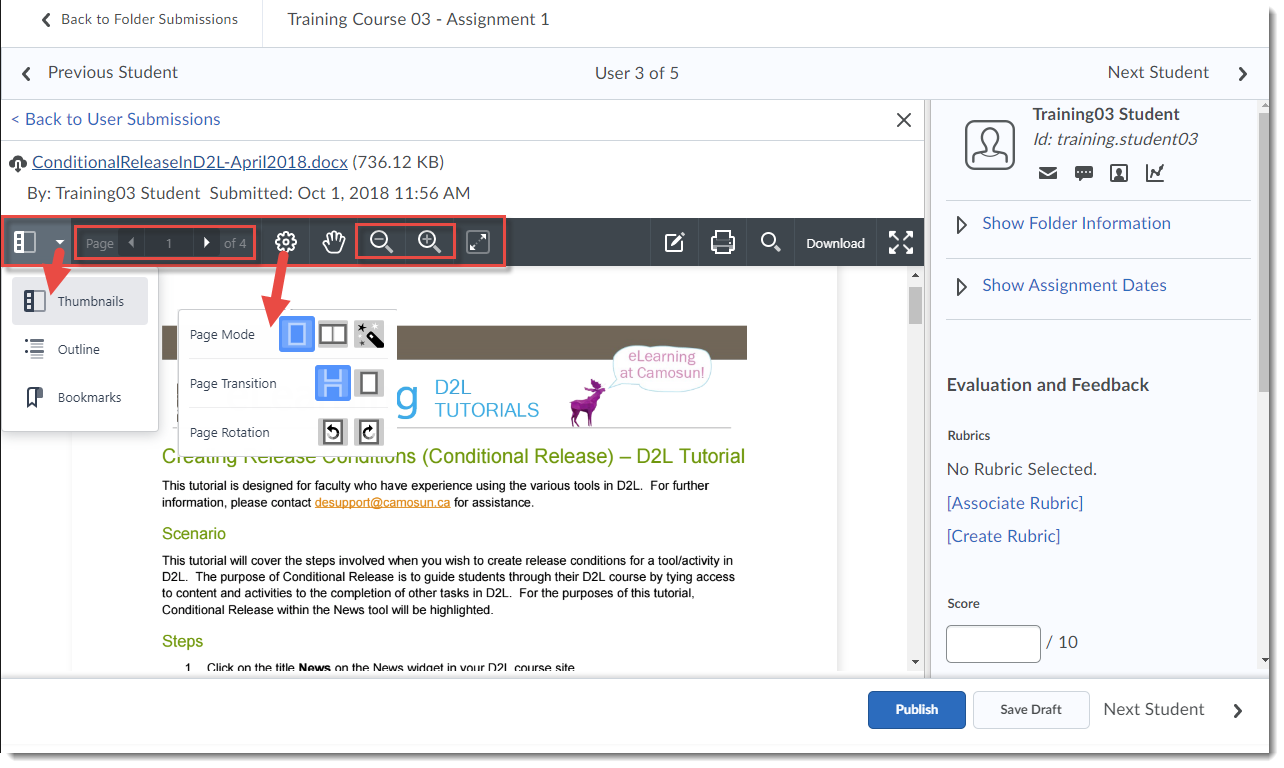
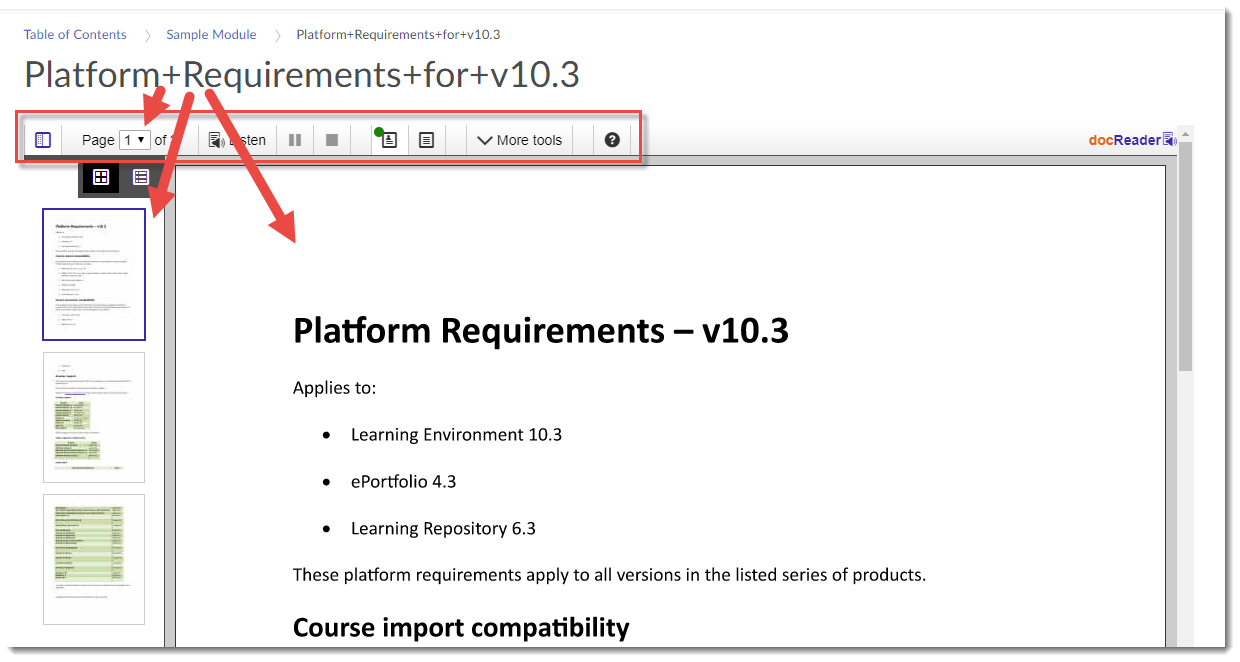
- The page will load into a new interface with a toolbar at the top, a left sidebar allowing you to view Thumbnails or an Outline of the pages in the document, and the document itself on the right.
- In the toolbar, you can Show/Hide the Sidebar, jump to specific pages in the document, click Listen to hear it read aloud (using the Pause or Stop buttons to pause/stop play).
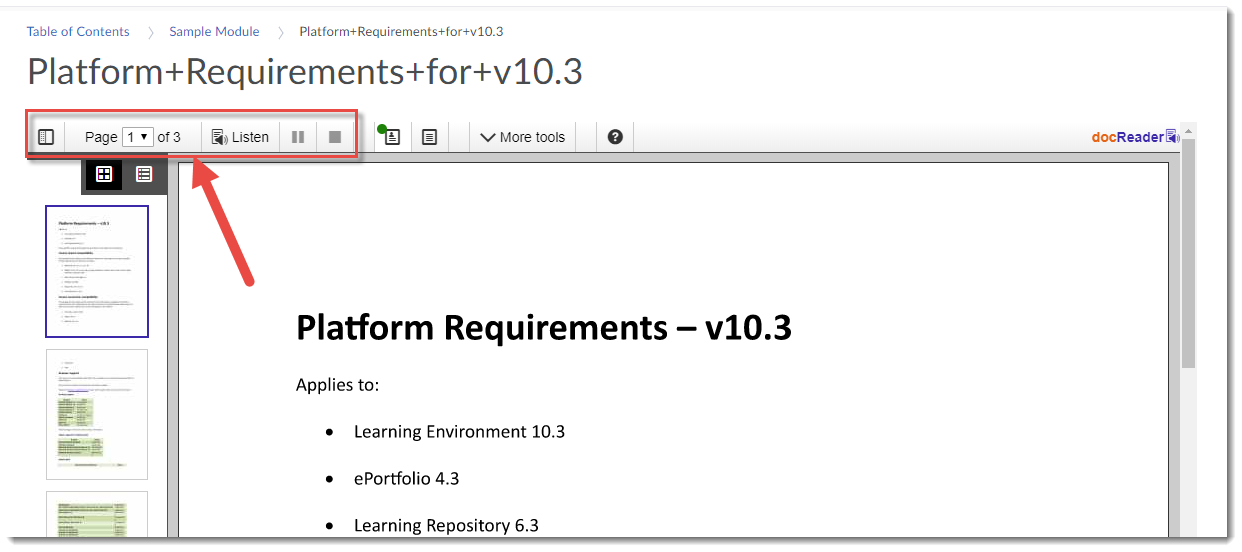
- You can control how you view the document using the Layout mode or Text mode (which will show the text without formatting) options.

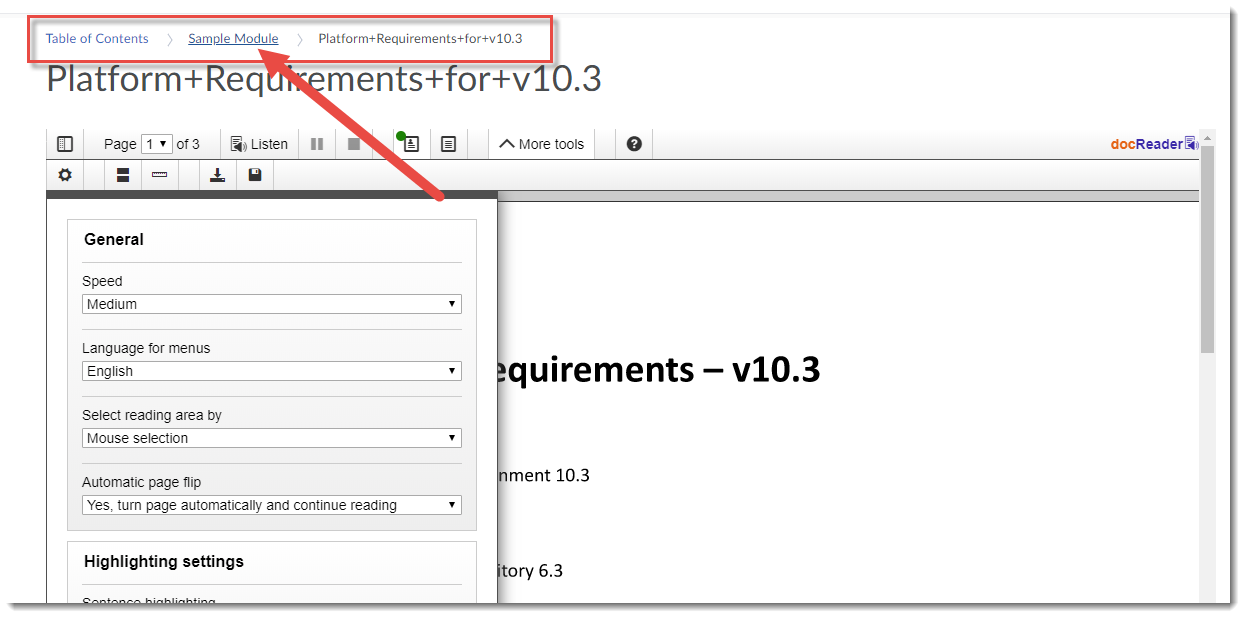
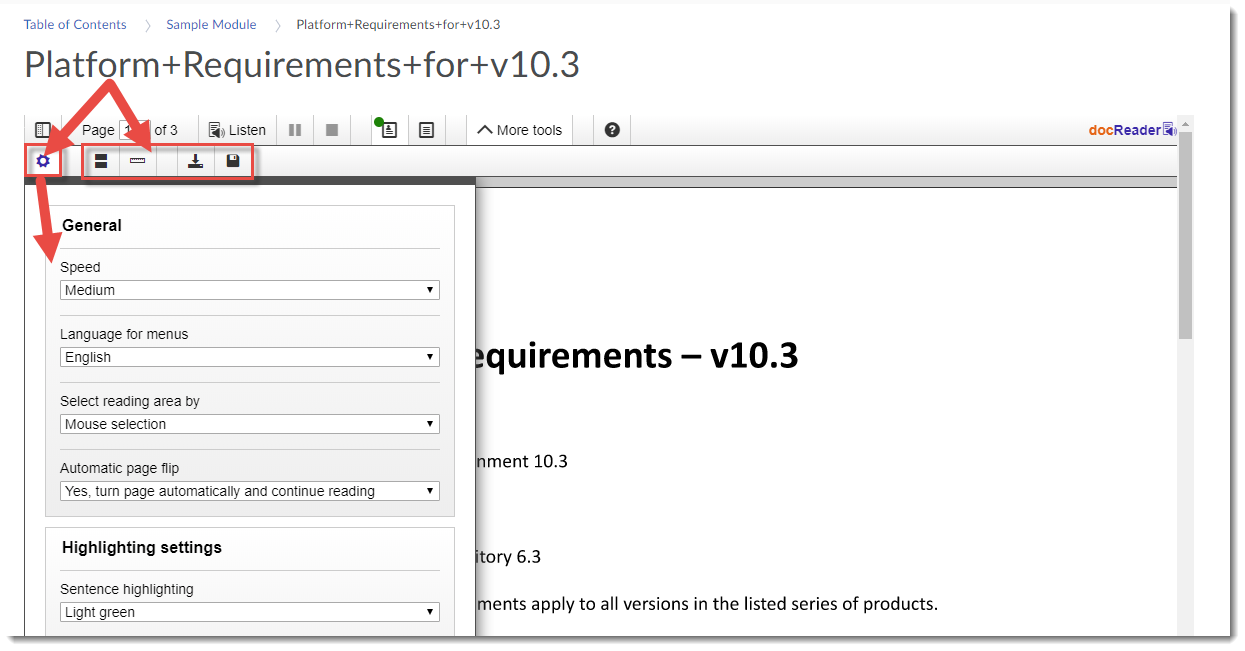
- Under More tools, you can access Settings, Page Mask, Reading Ruler, Download mp3 of page, and Save document.Settings gives you the following options:
- General: Change the Speed, change the menu language, change how you select your reading area, change how the pages flip,
- Highlight settings: Sentence highlighting, Word highlighting
- Text settings: Text Colours, Font size, Font type (all with a Preview window)
Page Mask allows you to highlight parts of the text as it is being read (the mask is a light horizontal block while the rest of the page is darkened). Click + to make the block larger, and – to make it smaller, click X to turn off Page Mask.
Reading Ruler allows you to move a dark block (like a ruler on the page) over the page, for example, to underline the text as it is being read. Click + to make the block larger, and – to make it smaller, click X to turn off the Reading Ruler.
- To return to the Content area, use the breadcrumbs at the top of the page (you can’t move to the next page through the docReader application).