Educational Technology User Group’s 25th Anniversary Conference!

Another re-blog for you, this time about the Educational Technology User Group’s (ETUG’s) 25th Anniversary Conference “Back to the Future” which will take place at Thomson Rivers University in Kamloops, June 20 and 21.  Check it out and register soon – hope to see you there!

ETUG 25th Anniversary Conference


How long will you have access to your course site? A Student D2L Tutorial

It’s the end of the term, and if you are a Camosun student whose courses use D2L, you may be wondering how long you will have access to your course site, and what to do if you want to keep materials from your course.

Due to how D2L integrates with the college’s systems, student have access to their D2L course sites for 20 days after the official course end dates. If you have an accommodation need (i.e., through the Centre for Accessible Learning) for extended access, talk to your instructor who will then confer with eLearning around options for you.

Before you lose access, you may want to save content or other items from your course site for future reference, so I’ll walk you through some of the options for this.

First, you can print or save files from the Content area. To do this:

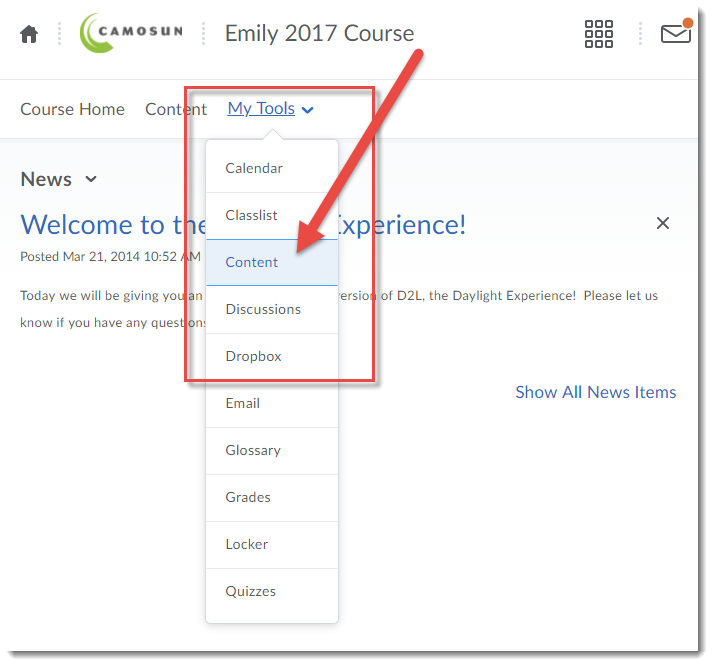
  1. Go to the Content tool in your D2L course.

To print documents (WORD, PDF, PPT)

  1. In the Table of Contents box, click on the title of the Module containing the files/pages you want to print.

    Click the title of the Module you want to print from

  2. Click on the title of the content page you want to print.

    Click on the title of the content page you want to print.

  3. Scroll down to the bottom of the content page and click the Download button to save the file to your computer, then open it in the appropriate program (for example, WORD or PowerPoint) and print the document from there.

    Click Download

To print multiple pages of Content

  1. In the Table of Contents box, click on the title of the Module you want to work with.

    Click the title of the Module you want to print from

  2. Click the Download button at the top of the page. The files in the Module will be “compressed” into a zip file, which you can save onto your computer, and then unzip into separate files which you can then print.

    Click Download

You can also print your Gradebook, or use the print function to save your Gradebook as a PDF file. To do this:

  1. Go to the Grades tool in your D2L course.
  2. Click Print (at the top, right of your Grades area).

    Click Print

  3. Select your printer, or change the Destination to PDF to save your Gradebook as a PDF file on your device. Click Print.

    Select Printer and click Print

To save Discussion posts, you can print threads by:

  1. Go to the Discussions tool in your D2L course.
  2. Click on the Topic you want to print from.

    Click the Topic

  3. Click on the Thread you want to print.

    Click the Thread

  4. Click on the down arrow next to the Thread title, and select Print Thread.

    Select Print Thread

  5. Select your printer, or change the Destination to PDF to save the Thread as a PDF file on your device. Click Print.

    Select printer and click Print

Make sure to download any feedback files you may have received from your instructor in the Dropbox tool by:

  1. Go to the Dropbox tool in your D2L course.
  2. In the Evaluation Status column, click the Read link to go to the feedback you wish to print.

    Click the Read link

  3. Scroll down to the Attached Files, and click Download All Files to save the feedback files to your device.

    Click Download All Files

  4. If you have graded Rubrics attached as feedback to your Dropbox submission, you will need to print them (or print them as a PDF to save to your device) by using the Print function in your Internet browser.

Note that you will not be able to save any Quizzes you completed.

If you have questions about saving any other information from your course site, talk to your instructor.

Releasing Final Grades (with Adjustments) – A D2L Tutorial

Scenario

It’s that time of year again.  Your grades are all entered in D2L and you want to finalize the Final Grades.  This tutorial will cover the steps involved when you wish to get your Final Calculated Grade ready to release to your students (including adjusting grades as needed). For further information, please contact desupport@camosun.ca for assistance.

Steps

  1. Go to the Grades tool in your course, and make sure you are in the Enter Grades.
  2. Click on the down arrow next to the Final Grade (Calculated or Adjusted) and select Grade All.Click the down arrow nect to Final Grade and select Grade All
  3. First, you want to transfer all the Final Calculated Grades into the Final Adjusted Grade column. To do this, click on the down arrow next to the title Final Grades, and select Transfer All.Click the down arrow next to Final Grades and select Transfer All
  4. Click Yes in the Confirmation pop-up box to continue.In the Confirmation box, click Yes
  5. Your Final Calculated Grades will be transferred into the Final Adjusted Grade column. To then release the Final Grades, move on to Step 6 below. If you do NOT want to release the grades at this time, click Save and Close. The final grades will be saved, but NOT released to students.Click Save and Close
  6. To release your Final Grades, click on the select box at the top of the student grade table to select all students.Select all students
  7. Click Release/Unrelease. You will then see checkmarks in the Release Final Adjusted Grade column. Click Save and Close. Click Yes in the pop-up box that appears.Click Release/Unrelease, then click Save
  8. You will then see the Final Adjusted Grades in the Enter Grades table, with open eye icons, indicating that those grades are now released to your students.The Final Adjusted Grades are now released

Things to Remember

As alluded to in Step 5, if you are not finalizing the grades for all your students at one time, you can set and save your Final Adjusted Grades without releasing them, and then release them once you have finalized all your students’ grades.


Minister of Advanced Education announces big investment in Open Education in BC!!

I don’t normally do re-blogs, but this is big news for BC Post-Secondary educators working (or wanting to work) with Open Education Resources.  If you want to know more about Open Education Resources and how to create them or integrate them into your teaching, come see us in eLearning!  Contact desupport@camosun.ca to arrange to meet with an instructional designer.

More open textbooks arriving on student bookshelves


Exempting Students from Grades – D2L Tutorial

Scenario

This tutorial will cover the steps involved when you want to exempt a student from a specific grade item. For example, if a student has missed an assessment due to illness and you want that assessment to be excluded from their final grade (meaning that their final grade will be automatically recalculated to exclude that grade item). For further information, please contact desupport@camosun.ca for assistance.

Steps

  1. Go to the Grades tool in your course, and make sure you are in the Enter Grades.
  2. Click the down arrow next to the title of the item you wish to exempt the student from, and select Grade All.Select Grade All
  3. Select the student you want to exempt, then click Exempt. The word Exempt will appear in the Scheme column for that student. Click Save and Close.

    Select the student, click Exempt.  Click Save and Close.

  4. In the Confirmation pop-up, click Yes. The selected student will now have a Final Grade calculation which excludes the exempted item.

    Click Save and Close, then in the pop-up, click Yes

  5. You can also exempt a student from multiple items. To do this, from Enter Grades, click on the name of the student you wish to exempt from multiple items.

    Click the name of the student you want to exempt from multiple items

  6. Click on the down arrow next to their name, and select Bulk edit exemptions.

    Select Bulk edit exemptions

  7. Select the items you wish to exempt the student from, and click Save and Close.

    Select the items to exempt the student from

  8. In the Student details area, click Save and Close to return to Enter Grades. In the Confirmation pop-up, click Yes. That student will now be exempted from the items you selected.

    Click Save and Close

Things to Remember

Exempting a student from a grade is not the same as dropping the lowest grade item in a Category. See the tutorial Dropping the Lowest Grade Item in a Category for further information.


Top 10 Things for Faculty to Know about Kaltura in D2L

What is Kaltura?

Kaltura is a new streaming media tool recently adopted by Camosun, which will be integrated into D2L, and supported by eLearning, in May.  Kaltura gives faculty and students a place to upload, create, and edit their course-related videos, audio files, and images.  These media files can then be embedded into the HTML editor, wherever it appears in D2L (for example, in the Content tool), or viewed in your course’s Media Gallery.  Because Kaltura is hosted in BC (at UBC), and not on U.S. or foreign servers, it is compliant with BC-FIPPA legislation.

Talk to eLearning before starting!!

Because Kaltura is a complex tool, we recommend you either attend a Kaltura workshop or make an appointment with an instructional designer in eLearning prior to setting up and using Kaltura in your D2L course site.  Tutorials will be available in the On-Demand Training site, but they have been designed as reminders rather than as first-step learning tools.

Top 10 questions about Kaltura:

1.      Where do I find Kaltura in D2L?

Kaltura is an External Learning Tool in D2L, and has two sides: a personal My Media space (which links a user to a personal media upload space) and a Course Gallery (which you can set up to contain all the media for that specific D2L course site).  You can either set up a link to your My Media area in a draft Content topic (preventing students from using it) or add links to My Media and/or the Course Gallery on the NavBar or My Tools menu in your D2L course.

2.      Can my students use Kaltura in D2L?

If you have the My Media link on your NavBar or My Tools menu, your students will also be able to upload video to their own personal My Media space.  You will need to make sure they have access if you are requiring them to upload videos to Discussions or Dropbox for assessment.

3.      Can I share videos with other instructors?

If other instructors have access to copy components from your D2L site (we recommend using a DEV or Master Course site for this purpose), they can copy videos embedded in Content, and from other tools with video embedded in the HTML editor.  They would either copy the whole course, or select the appropriate components (for example, Content and External Learning Tools) to copy into their own course site.

4.      Can I create a video in Kaltura?

You can use the Kaltura Capture tool to create audio files and/or video containing video captured from your webcam and/or your computer screen(s).  In addition, you can use Kaltura Capture to create a PowerPoint presentation with voiceover.  And yes, students can also use this function.

5.      Can I add YouTube videos into my Kaltura?

You can add YouTube videos to your My Media space, and also include them in playlists you create in the Course Gallery. This means when you embed these videos into a Content page, for example, they will play without advertising or providing “helpful” suggestions for additional videos to watch.

6.      Do Kaltura videos have closed captions?

Every video you upload to Kaltura will have captions automatically created for it.  You can then edit the captions if they are not accurate, or replace the auto captions with paid captions if you have arranged for those to be created.  Be aware: the automated captioning is about 70% accurate and is it your responsibility to ensure captions are accurate.

7.      Can I edit videos in Kaltura?

You can make minor edits to videos through Kaltura (for example, you can trim beginnings and endings of a video, or chop pieces out of it).  If numerous edits are needed, especially if they are complex, we recommend you make them in a video editing program on your own computer before uploading your video to Kaltura.

8.      Can my students download my videos or audio files?

No.  At this time, you cannot give permission to students to download media from Kaltura.  You could, however, email copies of your media to students if you need to.

9.      Where can I get help with Kaltura?

You can get help with Kaltura from eLearning.  Contact desupport@camosun.ca to arrange for a consult with an instructional designer to get you started!

10.   What else do I need to know?

  • You can create Interactive Video Quizzes out of your uploaded videos, adding multiple choice, true/false questions, or reflection points. These can be connected to the gradebook in your D2L course.
  • You can also create Playlists from videos you add to the Course Gallery, so you could, for example, create a playlist of videos for each of the Modules or Units or Topics in your course. You can then embed these playlists in the Content area.
  • When creating a video for a course, consider its purpose and length. First, take some time to consider if video is the best presentation option for the content in question.  Remember, you can present content in multiple ways – use video when it makes the most sense.  Second, the longer the video, the longer it takes to plan and create, edit, and upload it into Kaltura.  In addition, research shows that students stop absorbing video content after about 6 minutes, so keep your videos short and sweet, and make sure to chunk longer videos into shorted pieces.

Restoring a Dismissed News Item – a Student D2L Tutorial

Scenario

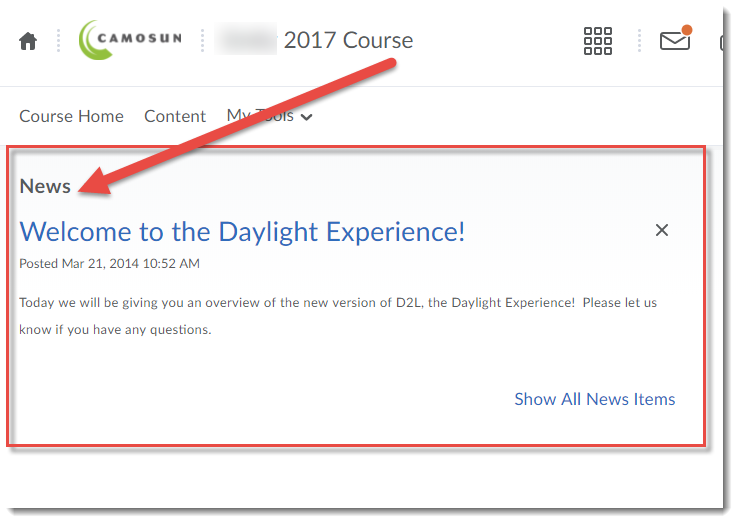
This tutorial will cover the steps involved in dismissing a News item from, and restoring a News item to, the News widget in your D2L course site. “Widget” is the name for the boxes that contain information on your D2L homepage. Dismissing a News item means that you are deleting it from the widget, but it is still available to you in the News tool itself. We will show you how to both dismiss and restore News items in this tutorial. For further information, please contact desupport@camosun.ca for assistance.

Steps

  1. Go to your course in D2L.
  2. Click on the X next to the News item(s) you wish to dismiss from the News widget. You will no longer see the News item in the widget.

    Click the X to dismiss the News item from the widget

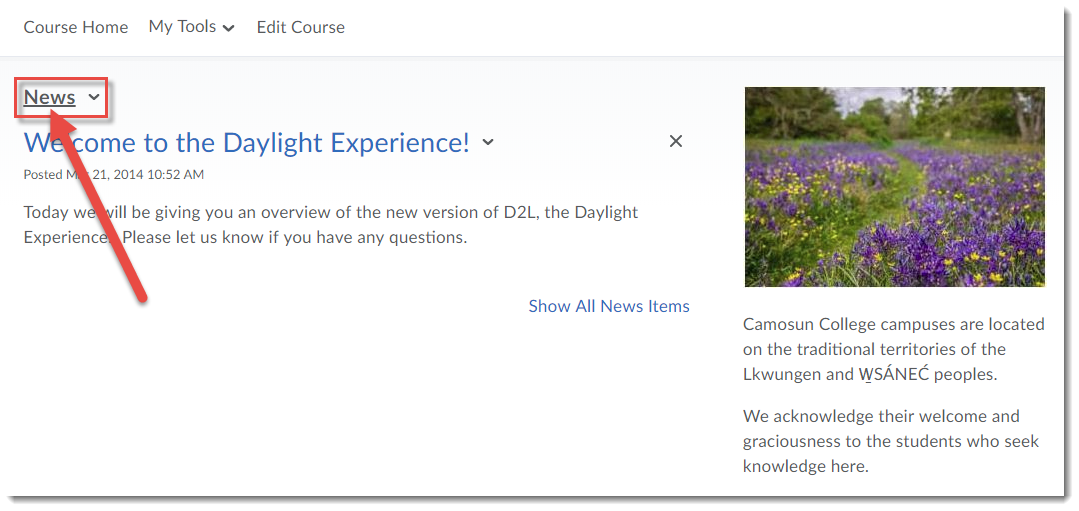
  3. To restore a News item into the widget, click on the down arrow next to News, and select Go to News Tool.

    Click the arrow next to News and select Go to News Tool

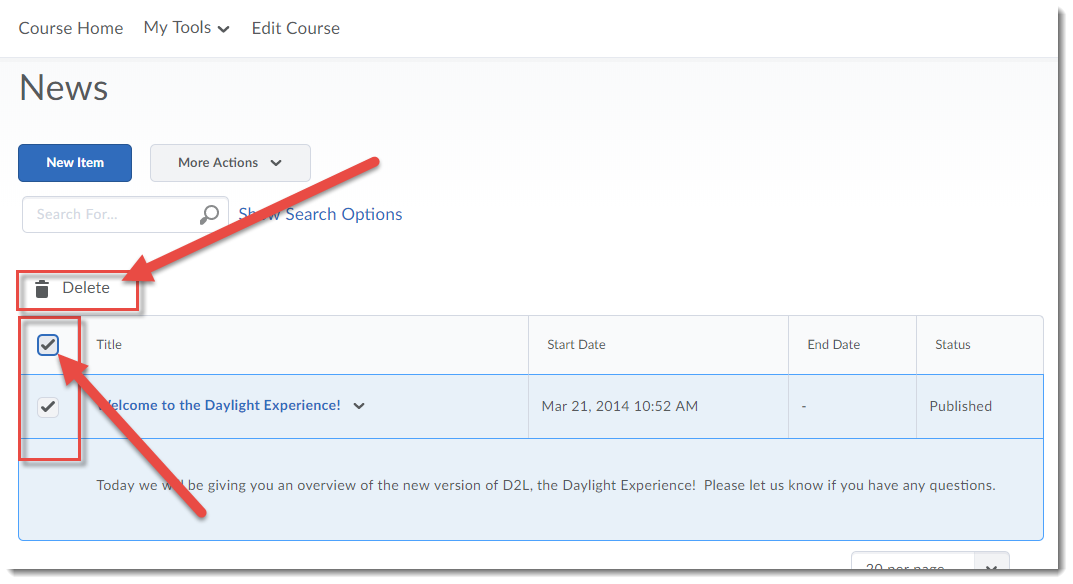
  4. Click on the down arrow next to the name of the News item you want to restore into the widget, and select Restore.

    Click the arrow next to the title of the News item and select Restore.

  5. Click Course Home to go back to the course’s homepage. The News item you restored will now appear back in the News widget on your D2L course homepage.

    Click Course Home to go back to the Homepage

Viewing Students Who have Not Attempted a Quiz – D2L Tutorial

Scenario

This tutorial will cover the steps involved when you wish to see a list of students who have not yet attempted a Quiz yet. For further information, please contact desupport@camosun.ca for assistance.

Steps

  1. Go to the Quizzes tool in your course.
  2. Click on the down arrow next to the Quiz you wish to see attempts for, and select Grade.

    Click the down arrow and select Grade

  3. In the Restrict to drop-down menu, select Users who have not taken an attempt.

    Select Users who have not taken an attempt

  4. Click the magnifying glass in the Search for box near the top of the Grade Quiz area.

    Click the Magnifying glass

  5. Scroll down, and you will now see a list of the students who have not yet attempted the quiz.

    List of students who have not completed an attempt

Things to Remember

When you go back to the Grade Quiz area, the Restrict to drop-down should retain the last option you selected, meaning if you want to see a list of students who HAVE attempted a quiz, you will need to select that option (Users who have completed an attempt) from the drop-down.