I just wanted to alert you to some “improvements to consistency” in D2L that will be added to D2L this month. These changes will have implications for several tools in D2L, so I wanted to take a moment to outline some of them to you today.
Because there are so many little changes, I am going to simply give you D2L’s list of explanations, so you can go check out these changes out as you want or need to, or you can contact desupport@camosun.ca to arrange a consult with an instructional designer if you have questions.
From D2L: “The language and methods by which instructors make activities hidden or visible to learners across different tools is now consistent. Changes include:
- The visibility control now uses a checkbox with the consistent terminology Hide from users in all instances. This change affects the Assignments, Discussions, Quizzes, Surveys, and Grades (grade item and grade category) tools.
- In Discussions, the Visibility, Availability Dates, and Locking options move from the Properties tab to the Restrictions tab.
- The Hide from users checkbox appears under the title field of all activity creation pages in the Content tool.
- In Content, on the table of contents, there is now a visibility icon button for use with both content topics and modules. The icon serves as a visibility switch. The visibility status of a topic appears when the topic is not visible, when the table of contents is in bulk edit mode, or when a topic is in edit-in-place mode. The table of contents fly-out no longer provides the ability to switch the visibility of a topic or module.
- In Content, the Hide from users and Make Visible to users options are available in the context menus for topics and modules in the table of contents, and in the context menus of topics on the topics’ detail page.
The Instructor view of the list page of several tools now has consistent icons in a consistent order for activity restrictions. Changes include:
- All common activity icons appear before tool-specific icons.
- There is now only one Special Access icon in Quizzes (previously there were two, one for each type of Special Access). The Special Access icon also now appears in Assignments where it previously did not.
- All icons have been updated to the Daylight style (except the Bonus Grade item, which will be done in a future release).
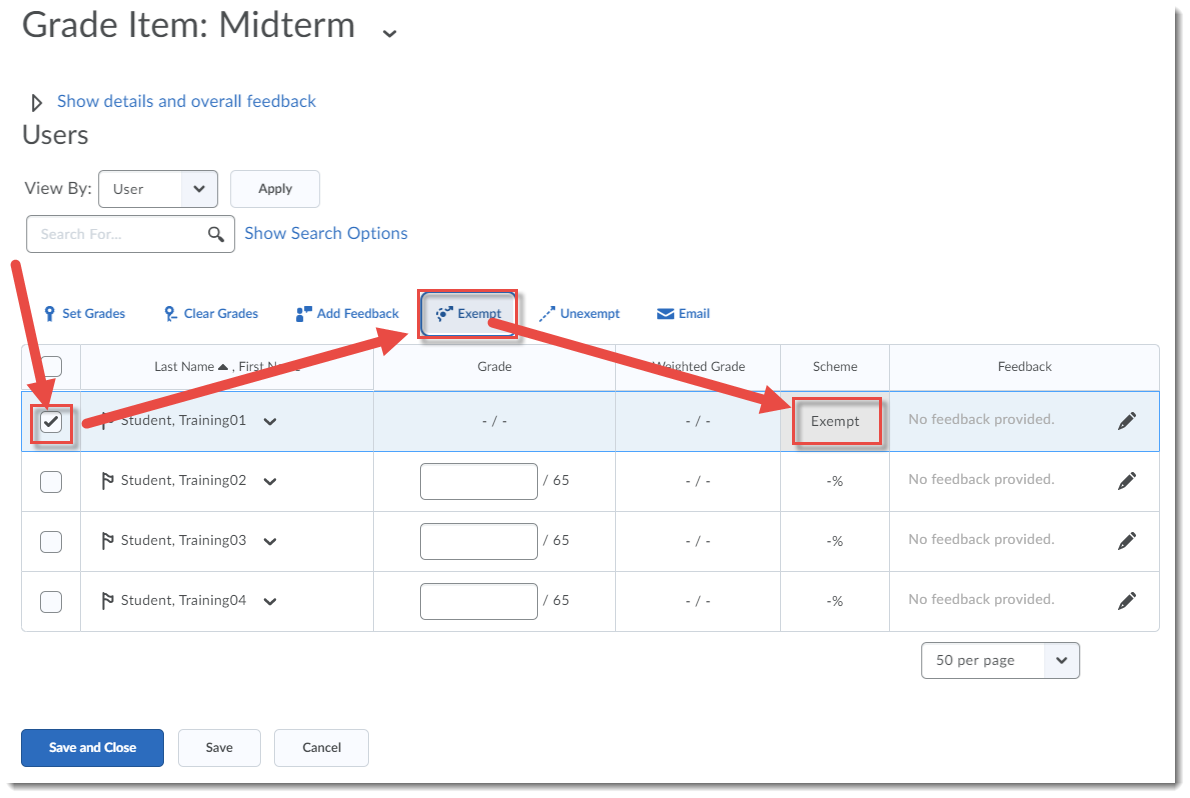
- The Exemptions icon now appears on the list pages.
- Alt-text appears on all icons on the activity pages. In some cases, the alt-text has been changed to provide consistent text across all icons of the same type.
Across many tools, including Quizzes, Surveys, Grades, and Discussions, the Restrictions tab provides the ability to control the visibility status and availability dates for an activity. Changes include:
- Changes to the Restrictions tabs in Quizzes, Survey, Grades, and Discussions to show Hide from Users with a check box control to turn on or turn off the visibility of the item.
- Previous sections containing the visibility settings in Surveys, Grades, and Discussions (for Forums and Topics) are renamed to Availability.
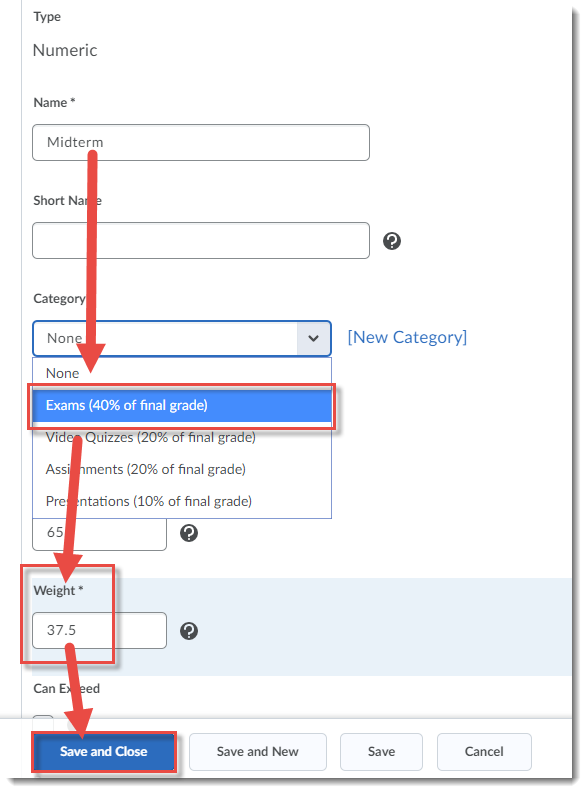
- Availability dates in Grades (for a grade item and grade category) and Discussions (for Forums and Topics) now appear and can be hidden.
There is now a consistent individual and bulk process workflow to hide or show activities. With this workflow, users can quickly change the visibility status from the list of activities without first having to edit the activity. Changes include:
- In Quizzes, Surveys, and Grades, users can hide or show individual items under the context menu of an individual item or bulk items from the More Actions button at the top of the page.
- In Discussions, users can hide or show individual items under the context menu of each topic and forum. Bulk hide or show is not available for Discussions.
The language and methods by which instructors save content on the New Activity page (Content tool) are now consistent. Whether the item is visible or not is determined by the Hide from Users permission check box. Changes include:
- Publish and Save as Draft have been combined into a single button called Save.
In addition, there are other consistency updates throughout the Brightspace Learning Environment:
- The Completion Method icon in the table of contents in the Content tool is now a menu. If an instructor does not have permission to edit the Completion Method, the icon is displayed and the button menu does not appear.
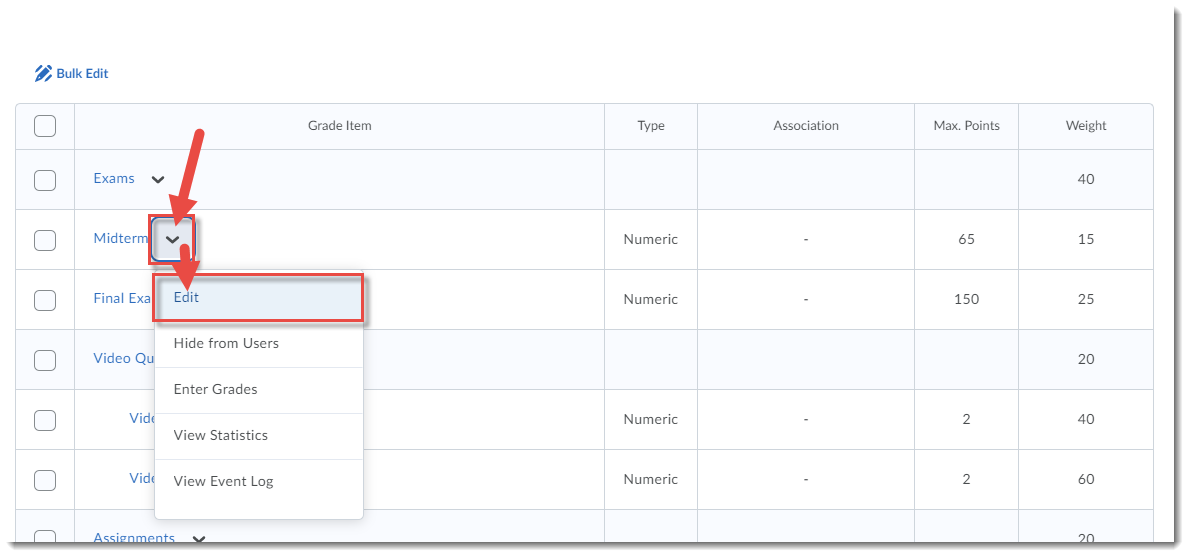
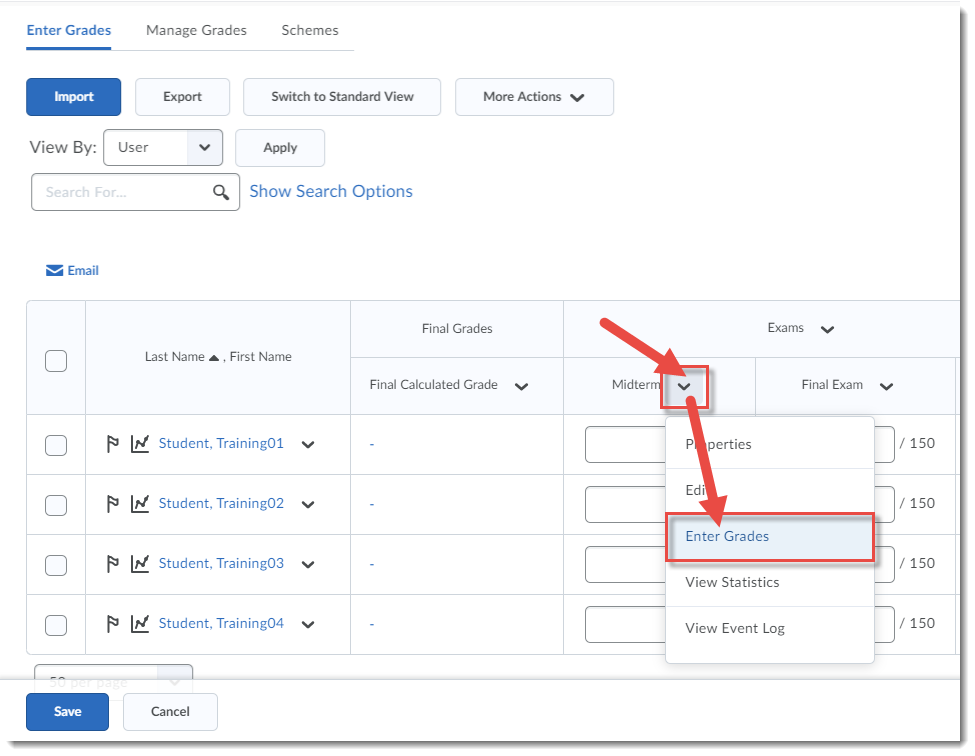
- In the Grade book, on the context menu for a grade item, the Grade All option is now Enter Grades.
- In the Grade Item and Grade Category event log, the Visibility property is now Visibility Status. Status options are now Hidden or Not Hidden.
- In the Grade Item and Grade Category event log, the End Date Restriction and Start Date Restriction properties are now Availability End Date and Availability Start Date.
- In the Grade Item and Grade Category event log, changes to the Visibility and Date properties are now logged independently.
- In Surveys, the display of availability dates on the survey Administrator and User list pages are now consistent with the display currently used in Quizzes.