If you are an instructor in a D2L course site containing multiple instructors where each instructor is responsible for a specific group of students in the course, or if you are working in a D2L site with merged sections where you want to create separate assignments for each group/section’s students, this post is for you!
In this tutorial post, we will cover the steps involved with setting up Release Conditions in an assignment when you want an Individual Assignment Type assignment folder available only for a specific group of students (you will need to create Groups in your D2L course first to use this feature – see the various Groups tutorials for more information.) For more general information about Conditional Release see the Conditional Release – Setting up Release Conditions tutorial under Course Admin.
Note that this tutorial will show how this process works in the new Assignment Creation Experience interface. If you are using the old interface, the steps will be similar, but you will find all of the Release Conditions functions under the Restrictions tab. For information on how to turn on the new Assignment Creation Experience, see the tutorial Creating an Assignment in D2L in the New Assignment Creation Experience.
For further information, please contact elearning@camosun.ca for assistance.
Steps
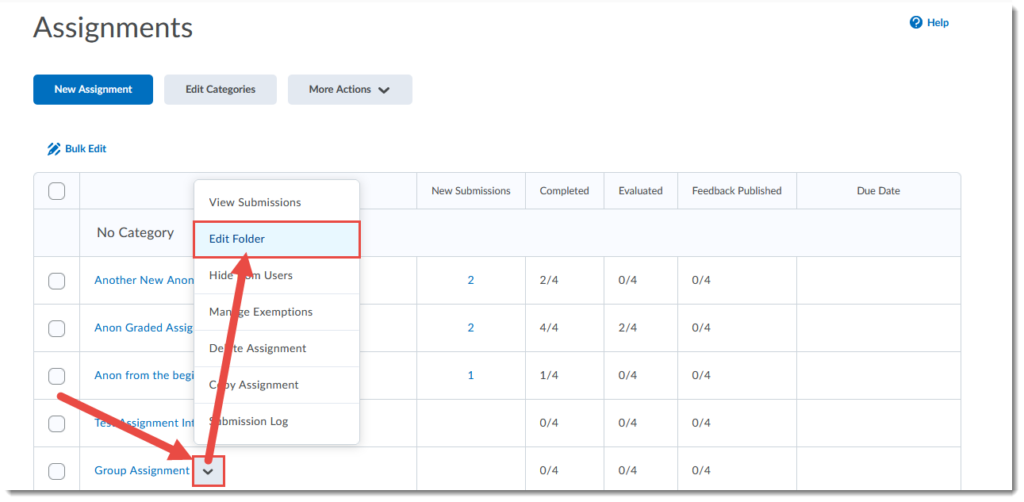
- Go to the Assignments tool in your course.
- Open an existing assignment folder, or click on the New Assignment button to create a new assignment folder.
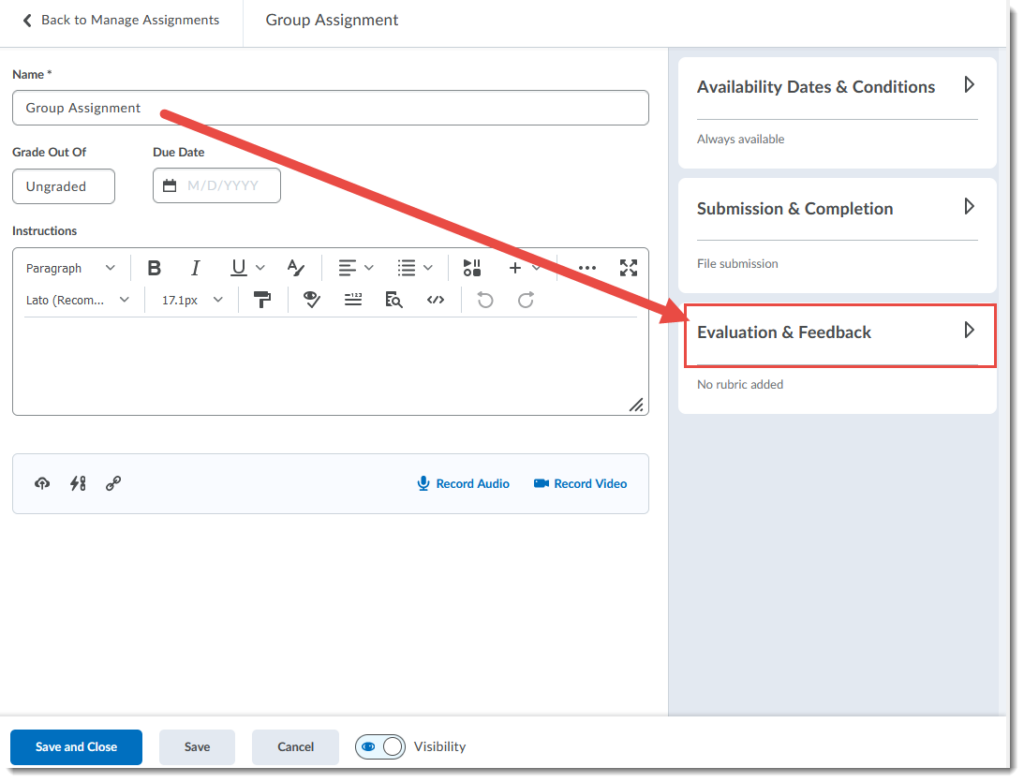
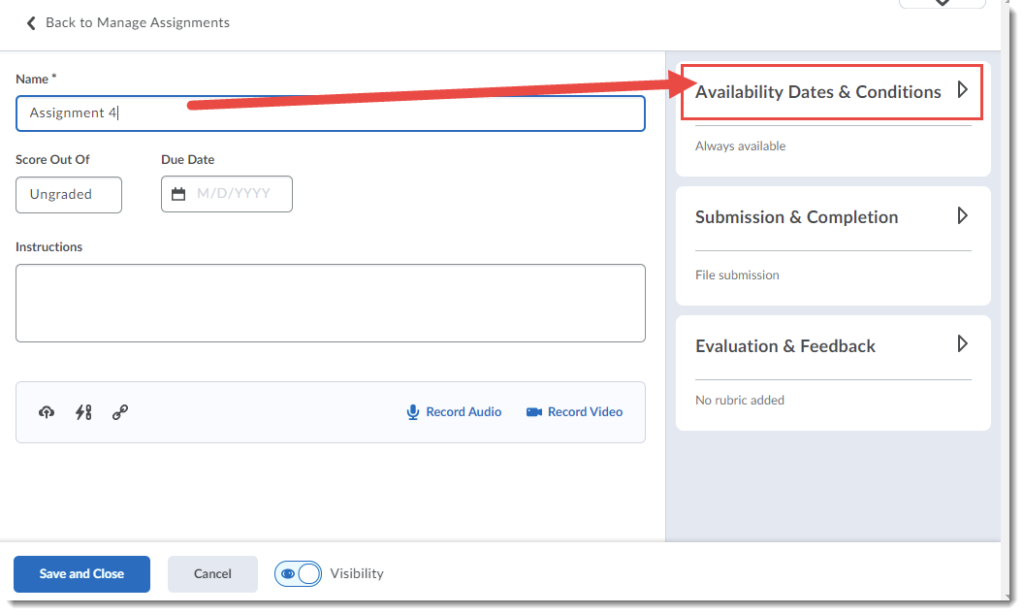
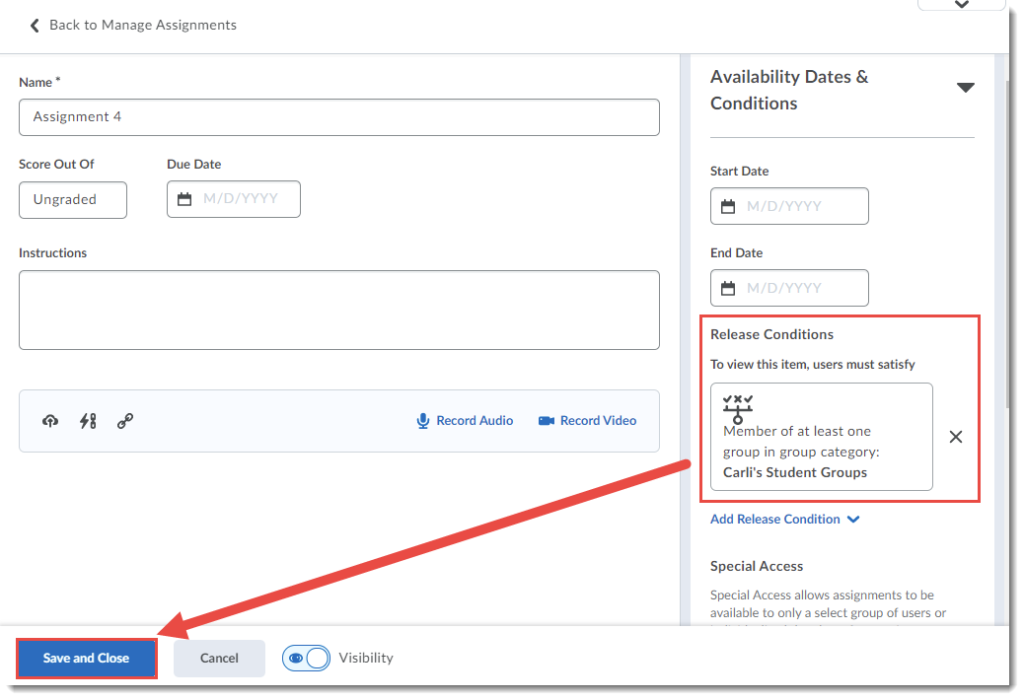
- After adding an assignment Name, and any other settings in the main assignment creation area, click Availability Dates & Conditions to open that part of the right side panel.
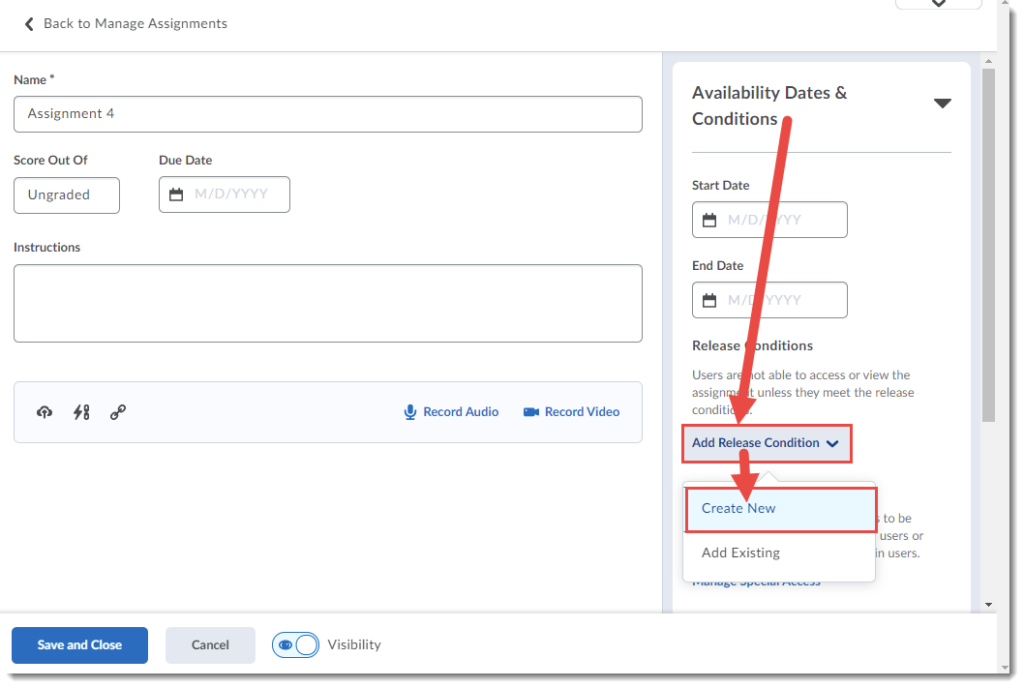
- Click Add Release Condition. Select Create New. NOTE: Once you have created a release condition, you can click Add Existing to use it again.
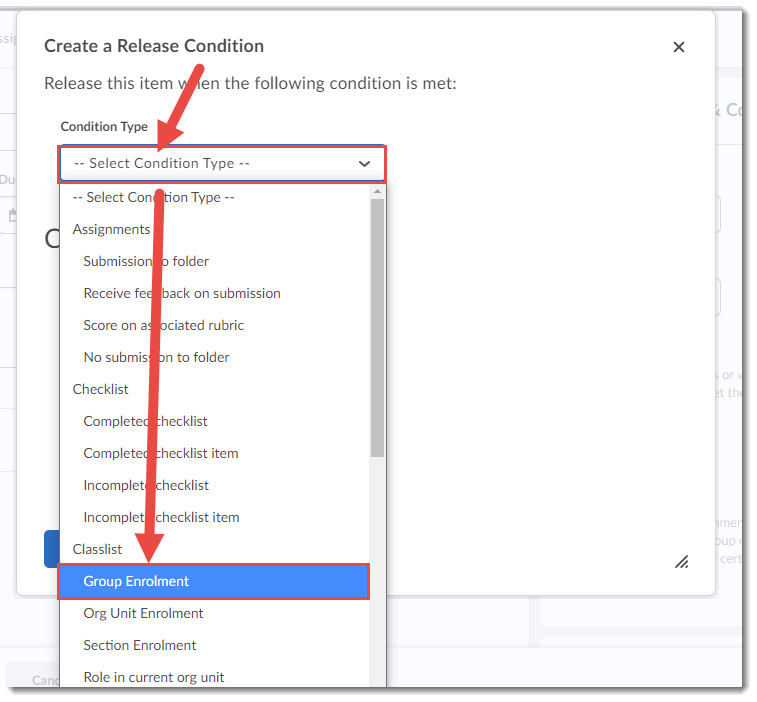
- From the Create a Release Condition pop-up, click the Select Condition Type drop-down, and for this tutorial, we will choose Group Enrolment. (For information on all the various Release Conditions, see the tutorial What Release Conditions are Available in D2L under Course Admin for more information.)
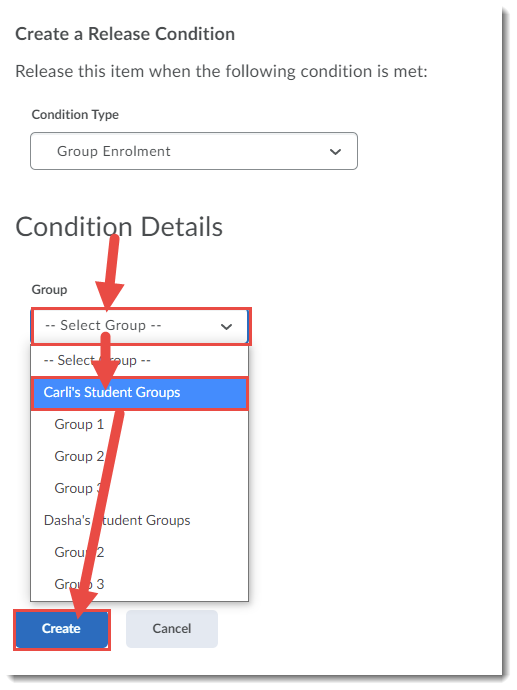
- Click the Condition Details drop-down, here, a Select Group drop-down, and select the Group you wish to attach this assignment folder to. Then click Create.
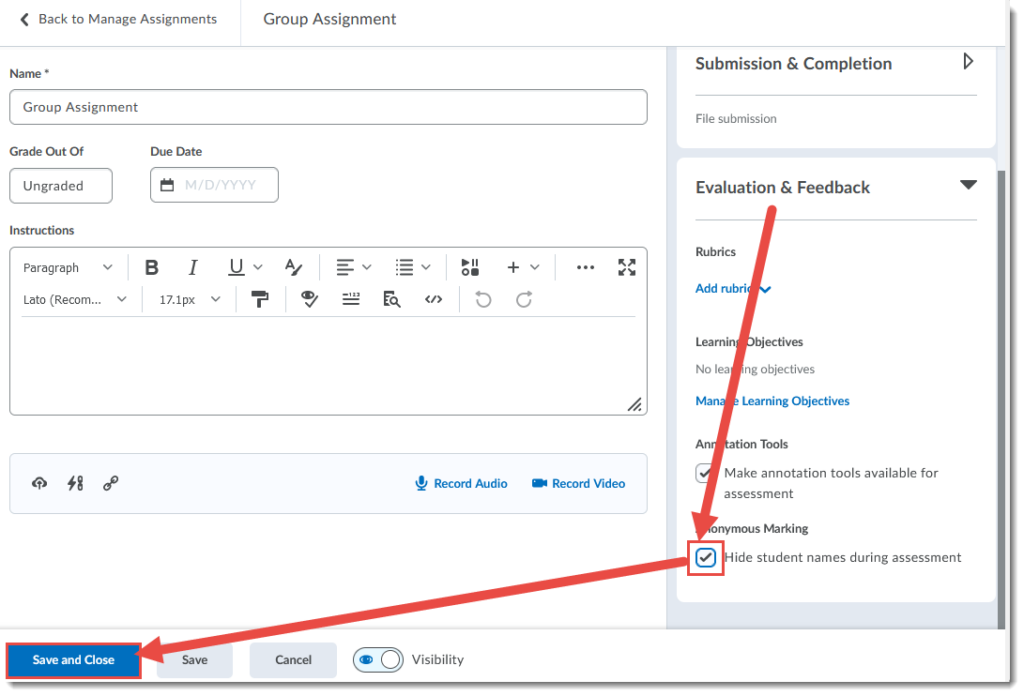
- Finish setting up your Assignment, and click Save and Close.
Things to Remember
Note that connecting an Individual Assignment folder to a group is NOT the same as creating a Group Assignment folder. For a Group Assignment folder, every student in a group can see everything submitted into their group folder – it is set up for group submissions. Conditionally releasing an Individual Assignment folder to a Group means each student in that Group only sees their own individual submissions.
Once you create a Group Assignment folder you can NOT change it back to Individual. You have to delete it and start over.