This tutorial is designed for faculty who have previous experience using Kaltura in D2L, as well as the Assignments tool. For further information or assistance, go to our Team Dynamix Support portal and click the appropriate Category to submit a ticket.
This tutorial will cover the steps involved when you wish to create a simple video right within D2L. Kaltura Express Capture allows you to created videos using your webcam and audio within various assessment tools in D2L (such as Assignments) as well as in your My Media area. Kaltura Capture Express recordings are saved in your My Media space in D2L.
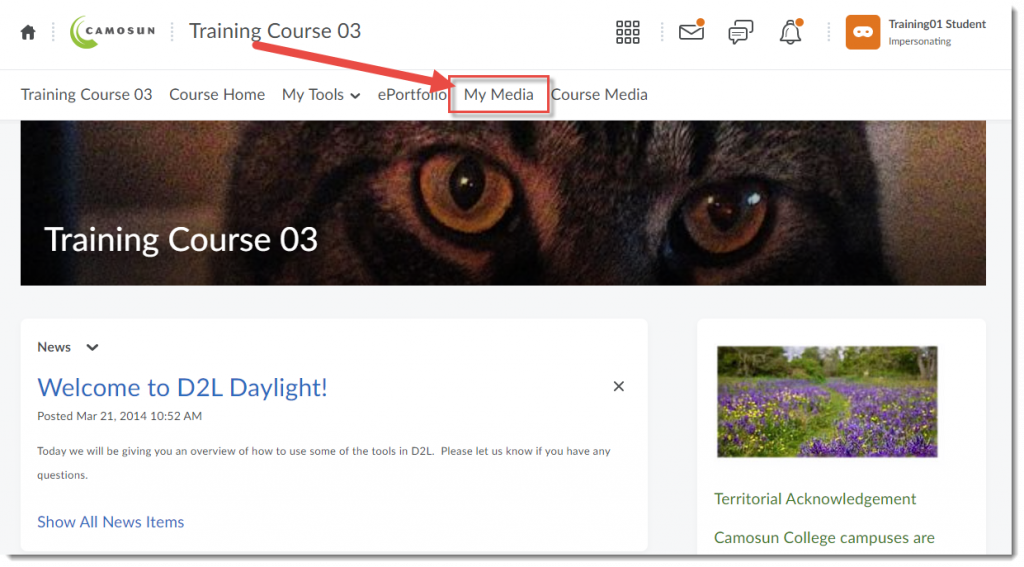
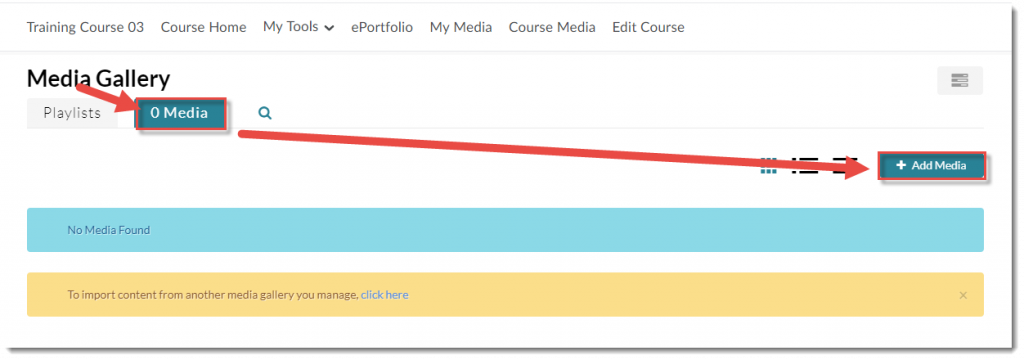
Scenario 1: Adding a Kaltura Capture Express recording to My Media
- Go to your course in D2L.
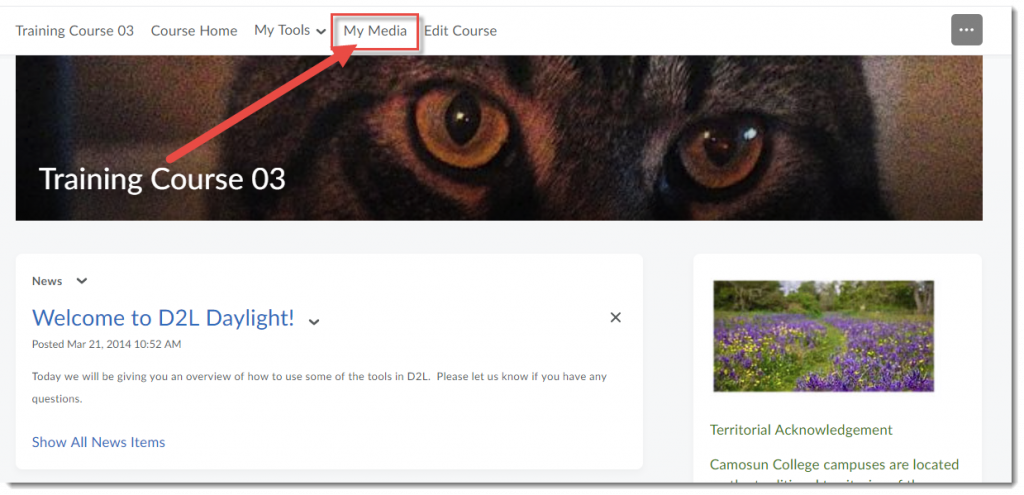
- Go to My Media.
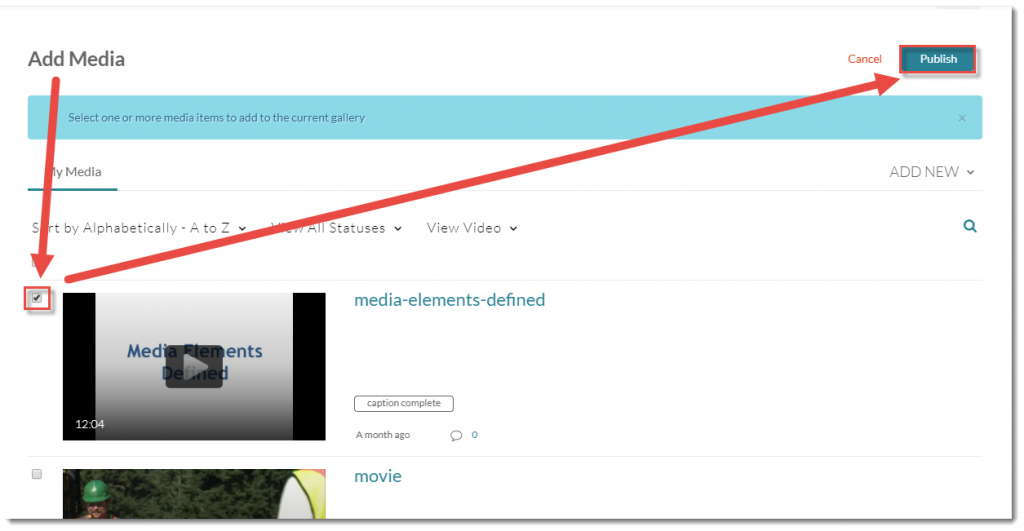
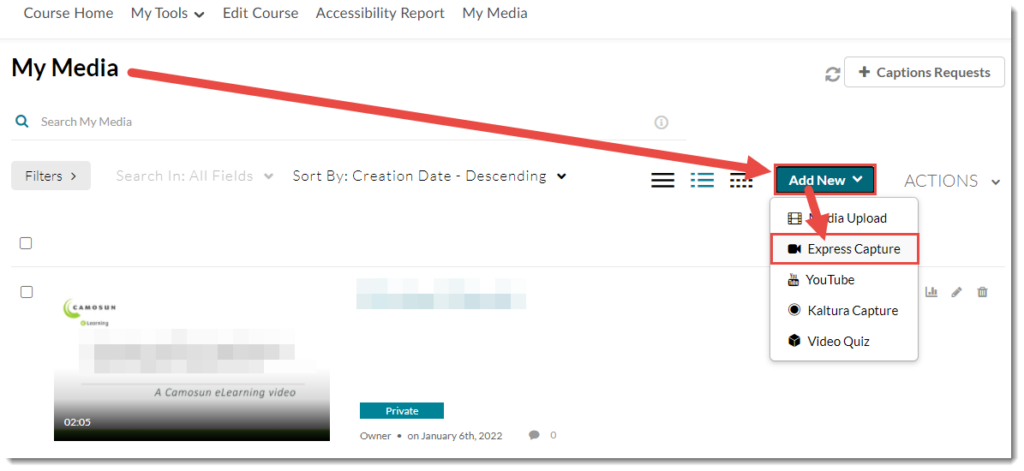
- Click Add New and select Express Capture.
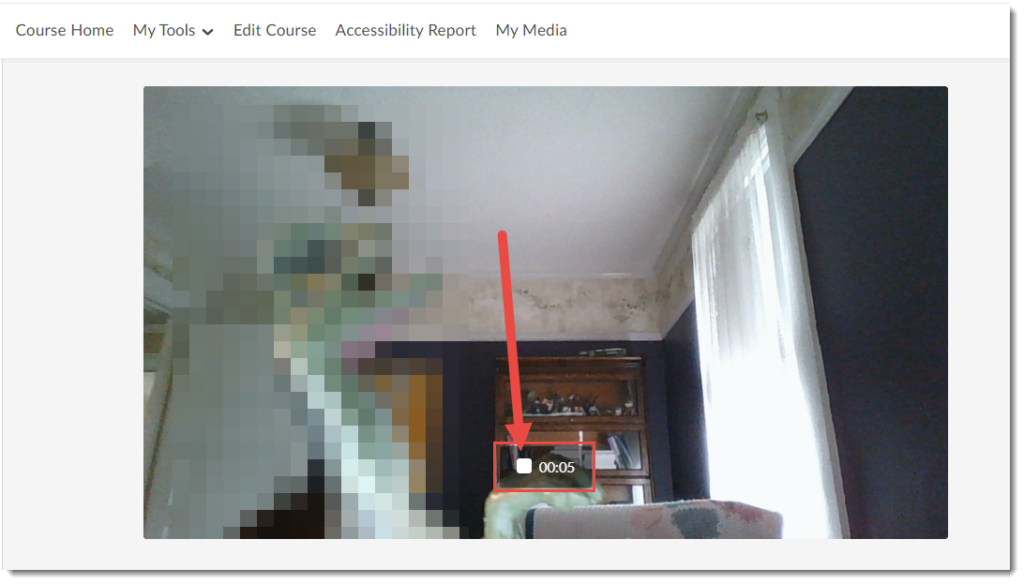
- You will see your webcam video appear with a red round record button at the bottom centre. Click the Settings icon at the top right of the video to change your camera and/or microphone settings. Click the record button to begin recording your video.
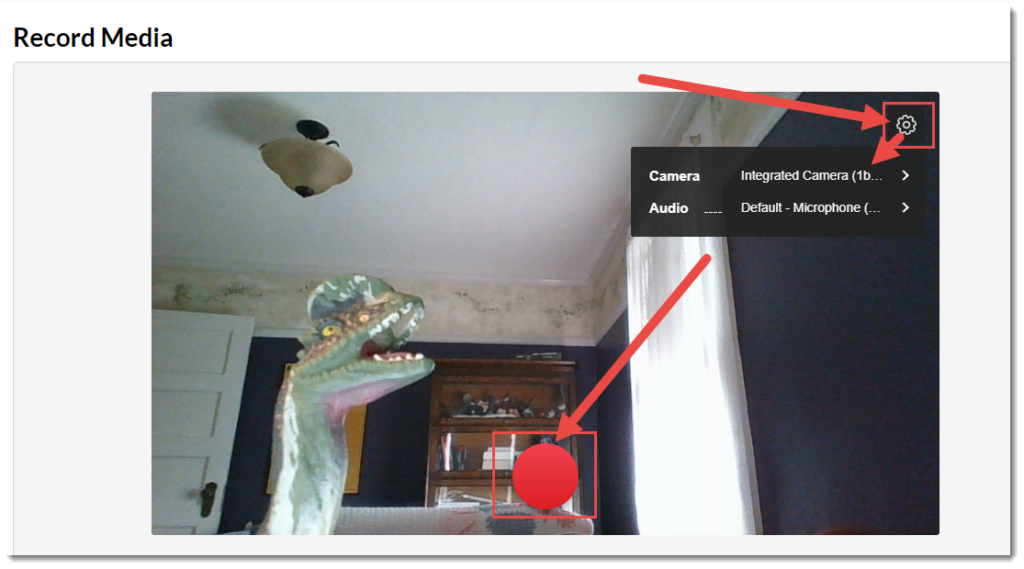
- After the countdown (from 3) ends, start talking (note that it’s good to have a script or very clear idea of what you want to say to avoid having to re-take or edit your video(s) later. Click the Stop button to end the recording.
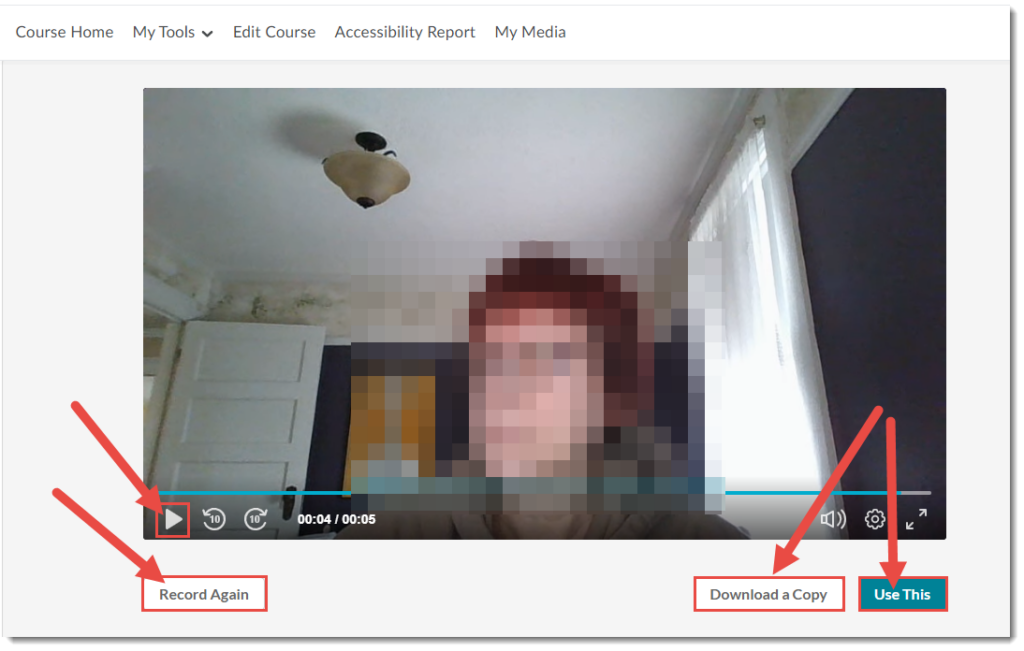
- Click the Play icon to play the video. Click Record Again to re-record your video. Click Download a Copy to download the video to your device. Click Use This to save the video to My Media.
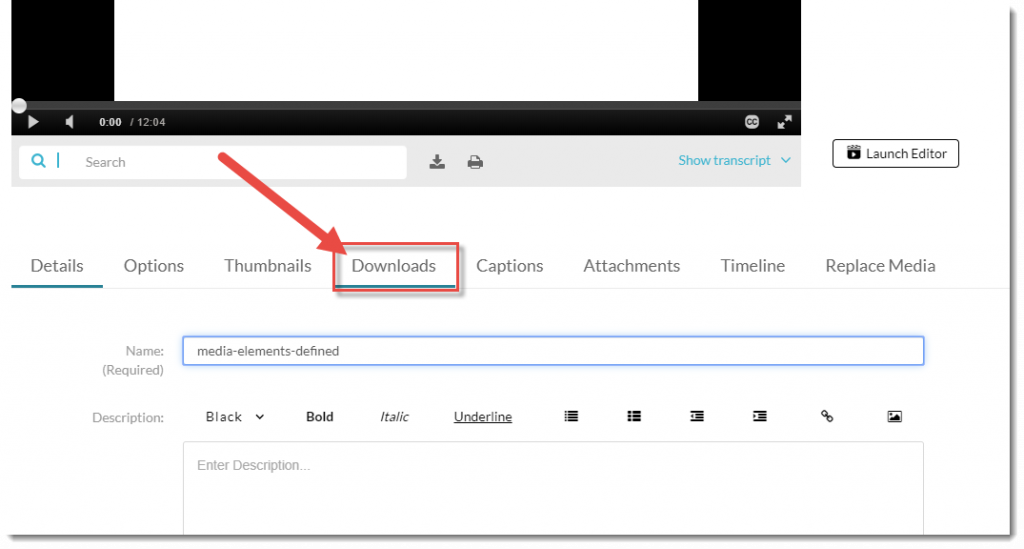
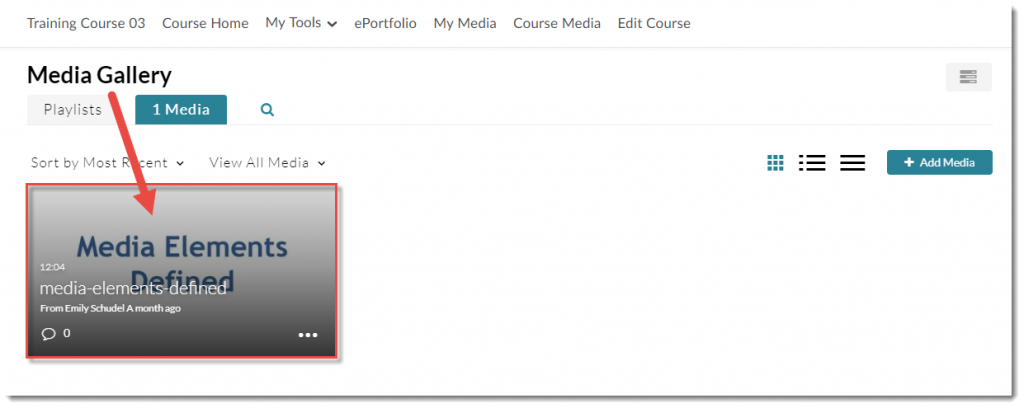
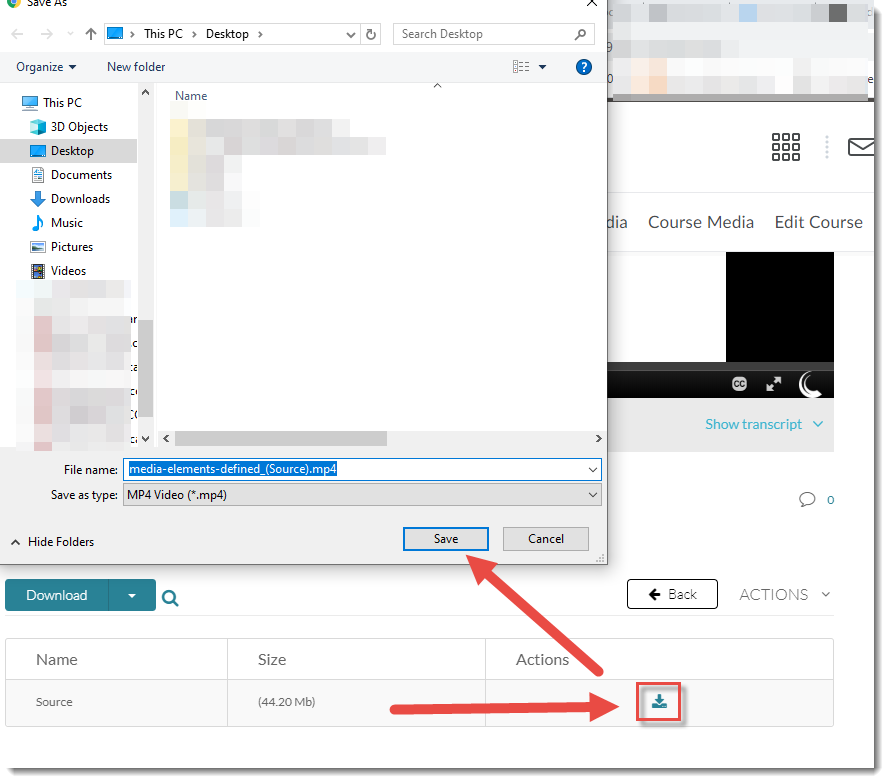
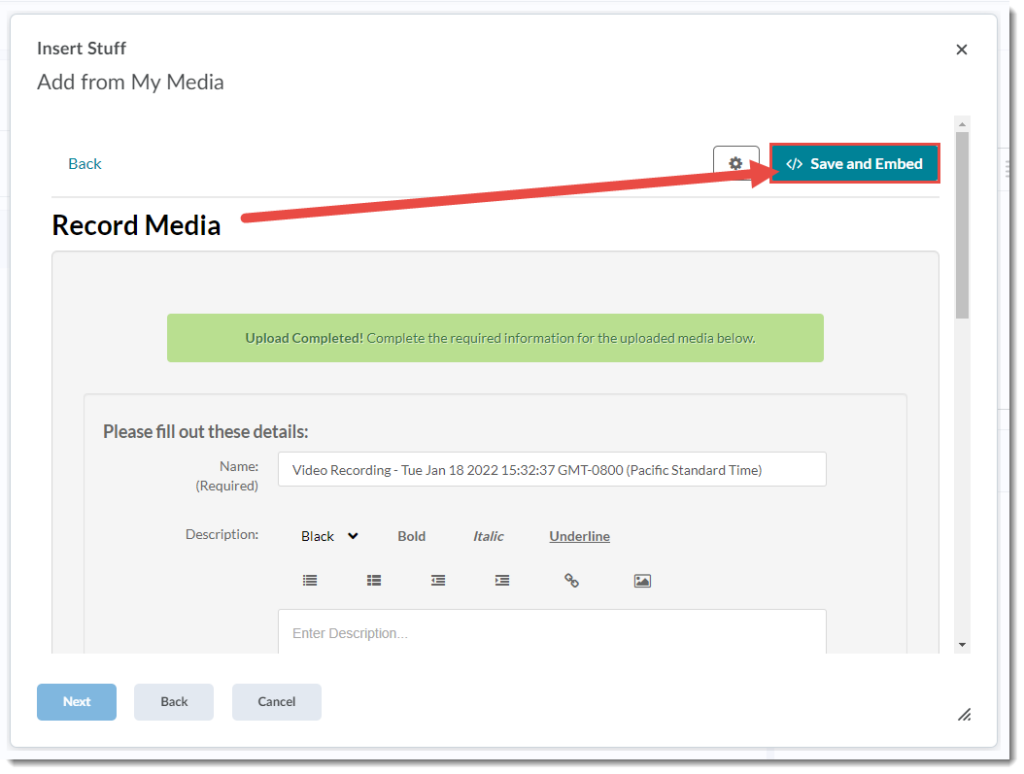
- Once the video is saved to My Media you can change the Name, add a Description, etc. See the Tutorial Uploading Media to My Media (page 4) for more information.
Scenario 2: Adding a Kaltura Capture Express recording as feedback to an Assignment submission
- Go to your course in D2L. Go to Assignments (through the link on your Navbar, or in your My Tools drop-down menu, or in a draft Topic in the Content tool).
- Go to the Submissions area for an assignment and go to a specific assignment submission.
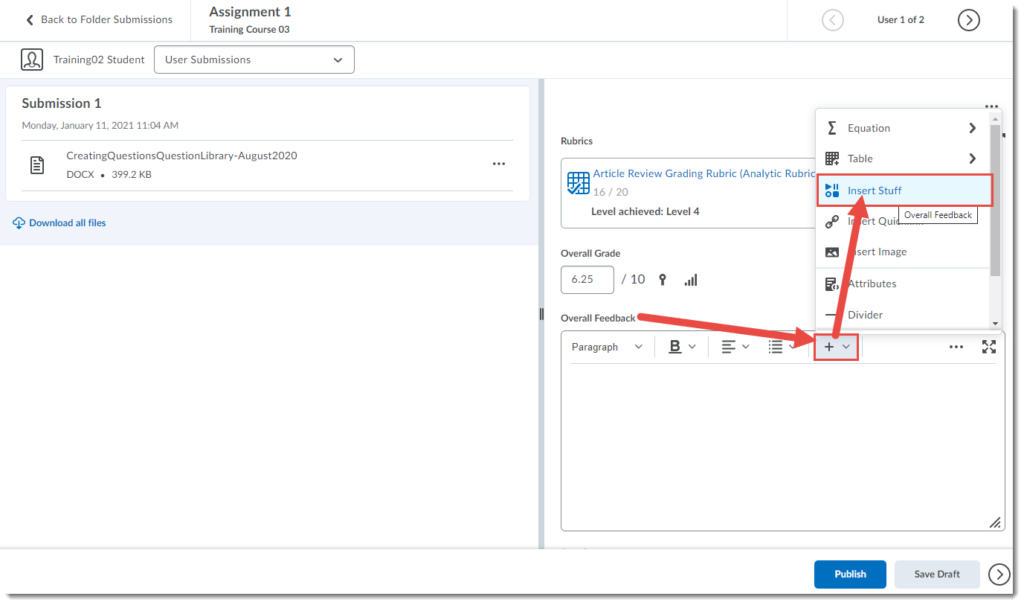
- In the Overall Feedback box, click the Plus drop-down menu and select Insert Stuff.
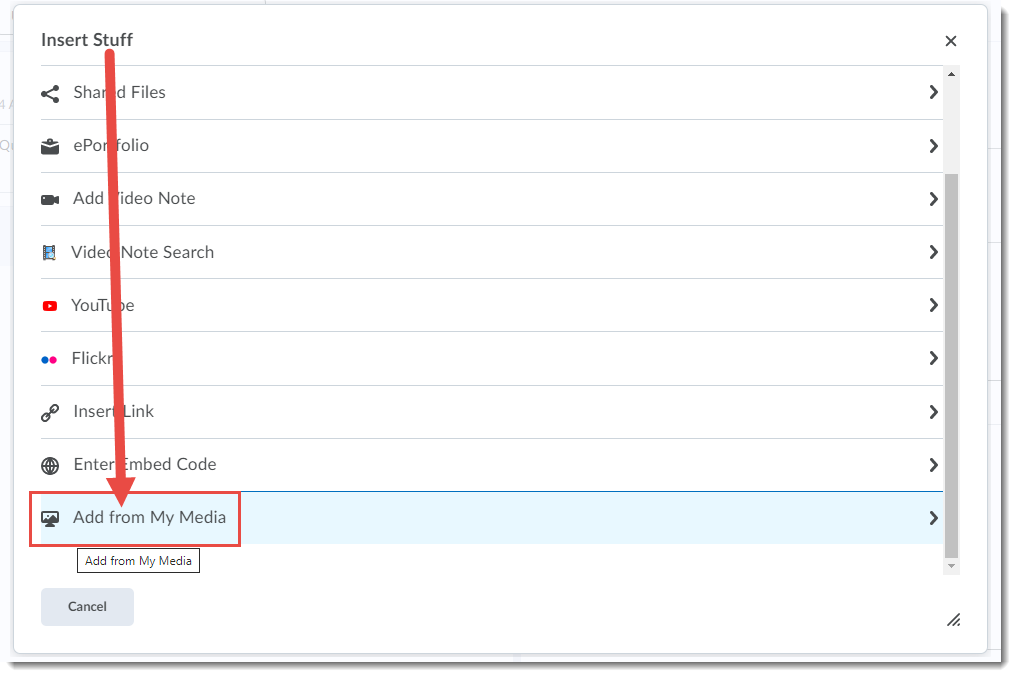
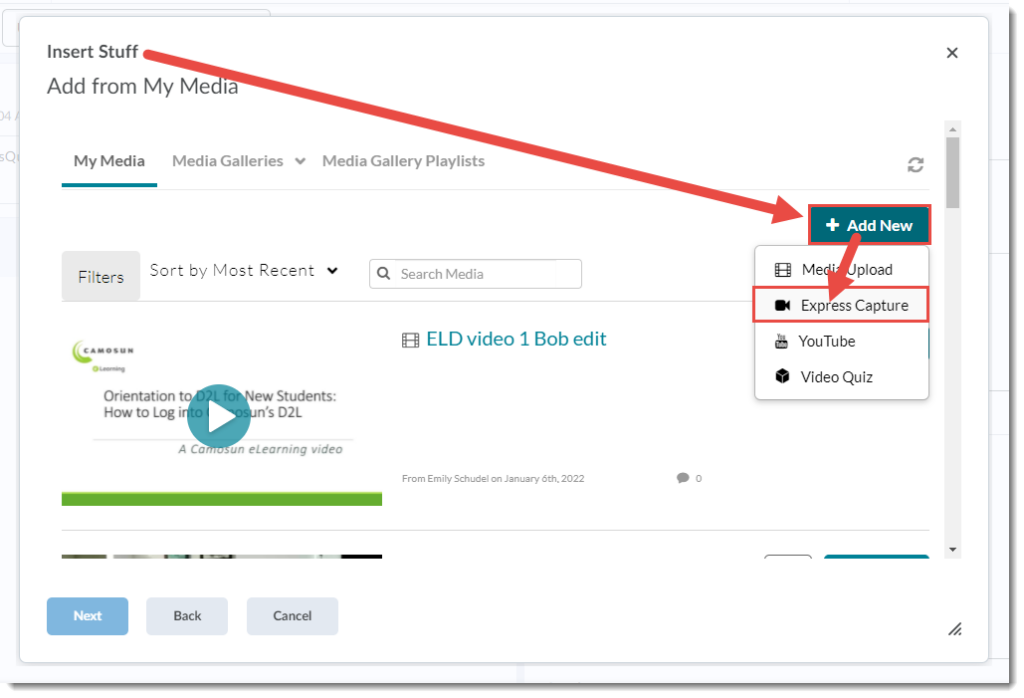
- In the Insert Stuff pop-up box, click Add from My Media.
- Click Add New and select Express Capture.
- As per step 4 in the previous scenario, you will see your webcam video appear with a record button at the bottom centre. Click the Settings icon at the top right of the video to change your camera and/or microphone settings. Click the Record button.
- As per step 5 in the previous scenario, after the countdown (from 3) ends, start talking (note that it’s good to have a script or very clear idea of what you want to say to avoid having to re-take or edit your video(s) later. Click the Stop button to end the recording.
- Click the Start Over icon in the centre of the video to play the video. Click Record Again to re-record your video. Click Download a Copy to download the video to your device. Click Use This to save the video to My Media.
- Click Save and Embed.
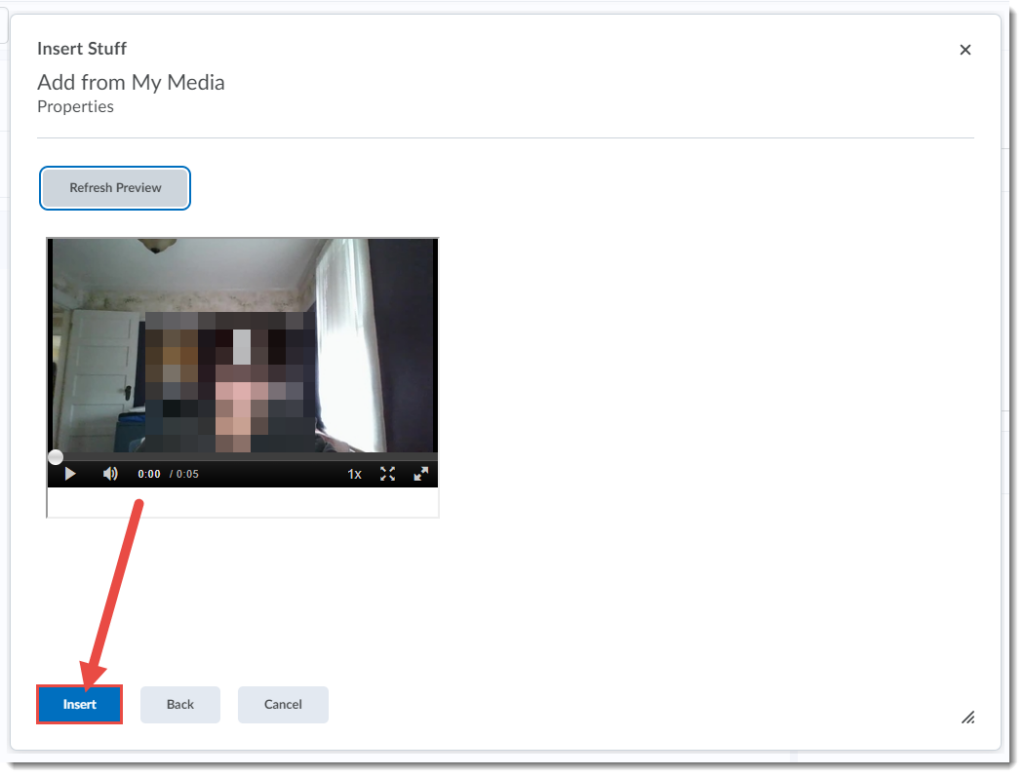
- Click Insert.
- Publish or save your feedback as Draft and continue to the next submission.
Things to Remember
You can add a Kaltura Express Capture video into the HTML editor wherever it appears in D2L. For example, you could add a quick video into a News post or a Discussion post. But we recommend if you are creating videos you want to use for more than one iteration of a course (a video for more than just in the moment feedback), use the regular Kaltura Capture on your device. See the tutorial Introduction to Kaltura Capture for more information.
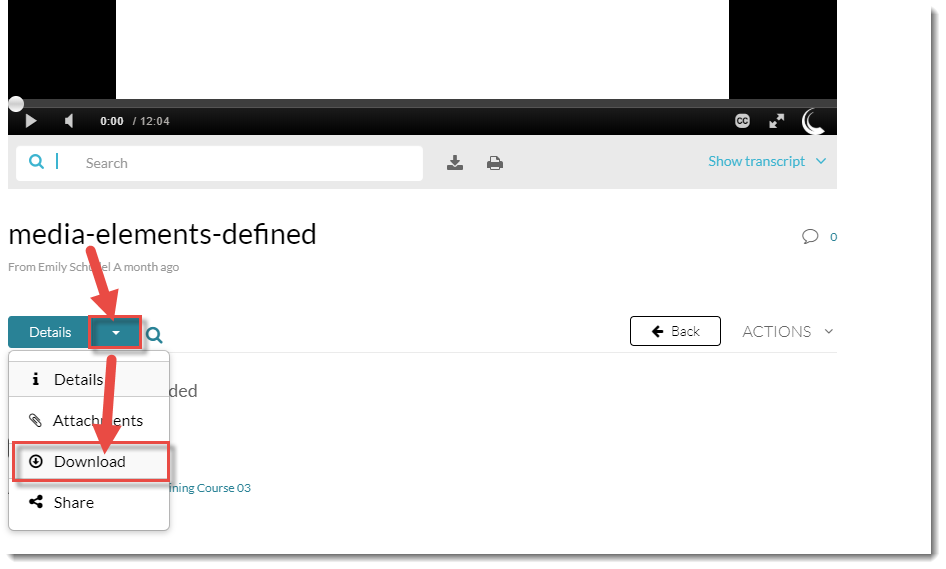
All videos you create using Kaltura Express Capture will be saved in your My Media area no matter where you create them, so you should delete them from the My Media area periodically (e.g., a year after a course has ended) so you don’t end up with hundreds of feedback videos in your My Media space.